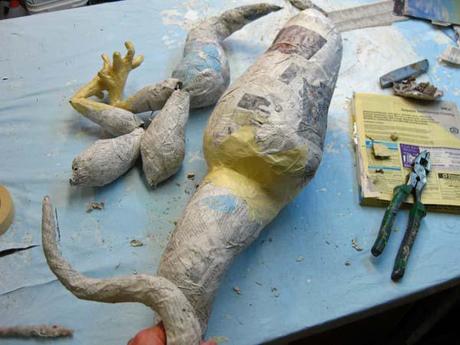
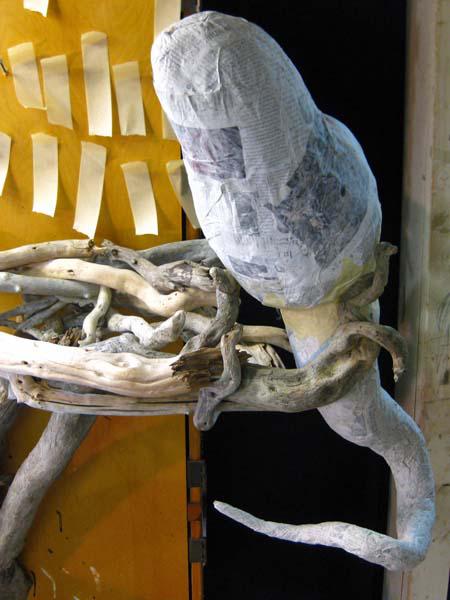
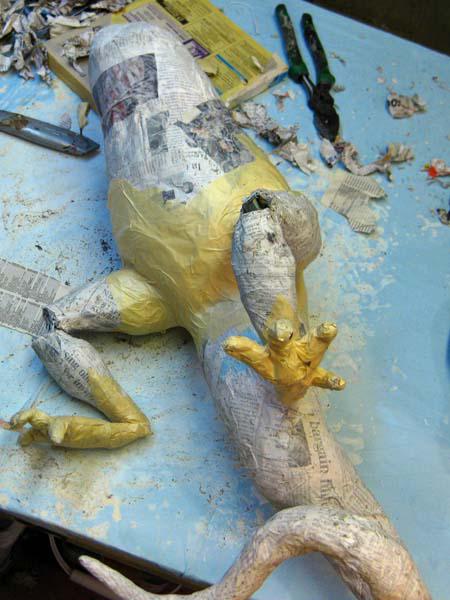
As you can see, I chose the larger, more elongated paper mache ball for the body. I cut a hole in the bottom and inserted the tail. I continually check the dragon against the nest.
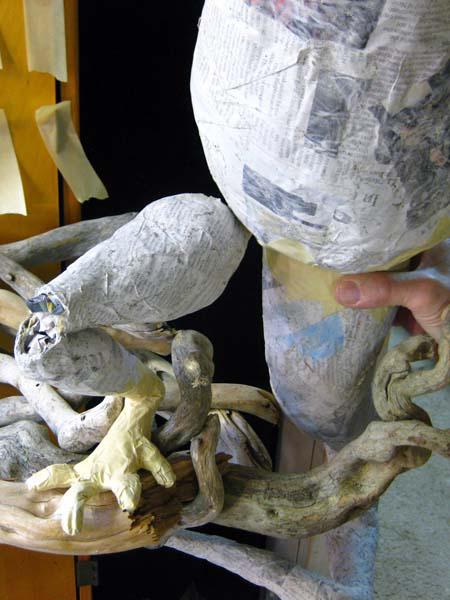
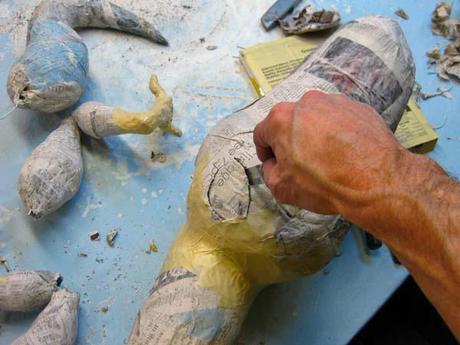
I get an idea for where the right leg will need to be. I cut a hole in the paper mache body. I always try to make the hole slightly smaller than the appendage I insert. Paper mache will give a bit as I push the leg in and the fit will be tight.
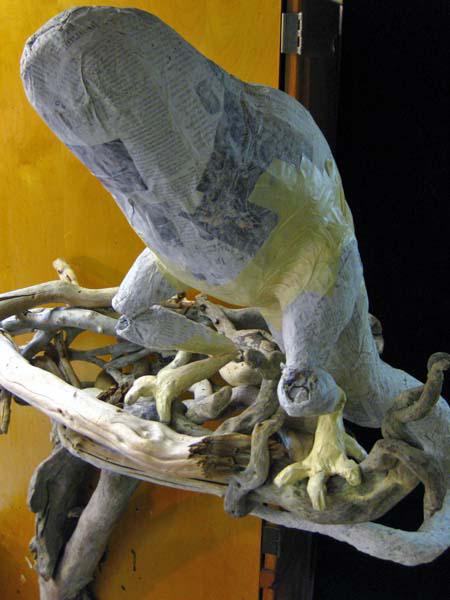
This is how the dragon will stand on the nest.
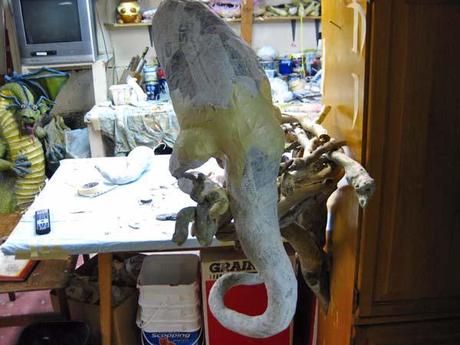
Here is a look from behind. I'll have another post soon. Thanks for stopping by.
Oh, by the way, I was accepted for a second round of the "Storefronts Project". So I'll get to have another display somewhere in the Pioneer Square or International District of Seattle. I hope to finish this project for that display.

