It’s taken a little longer than I’d hoped, but my vintage dress is finally fixed!
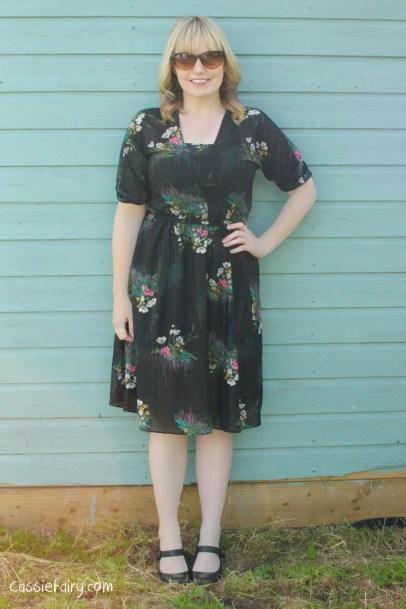
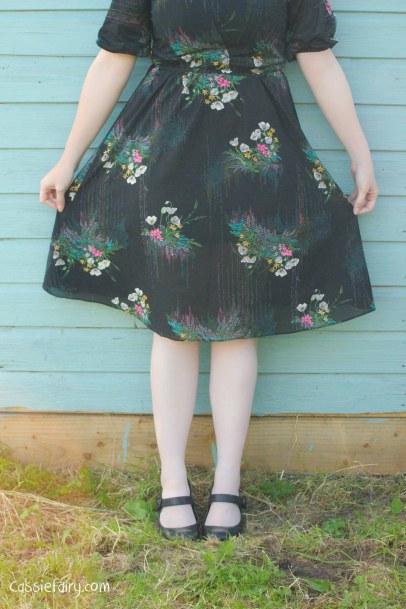
My retro tortoiseshell cat’s eye sunglasses are from Sunglass Junkie and shoes from New Look
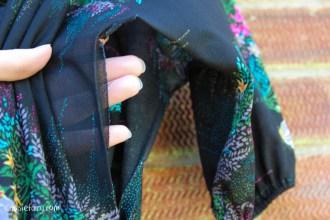
It was mostly down to my laziness over the summer holidays that delayed the repairs but I spent an evening at my sewing machine this week and cracked on with it. My second excuse for the delay is that there was actually more to do to the dress than I’d initially thought. I knew that the sides needed to be repaired – both were split under the arms – but the length and the front of the dress were an altogether more difficult project that I’d imagined. Here are my photos of the ‘easy’ repair, when I ran a simple straight stitch up the sides of the dress and along the arms to rejoin the split seams:
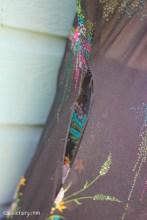
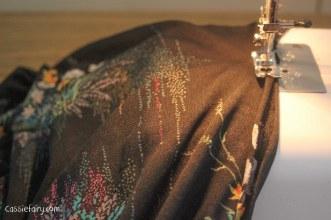
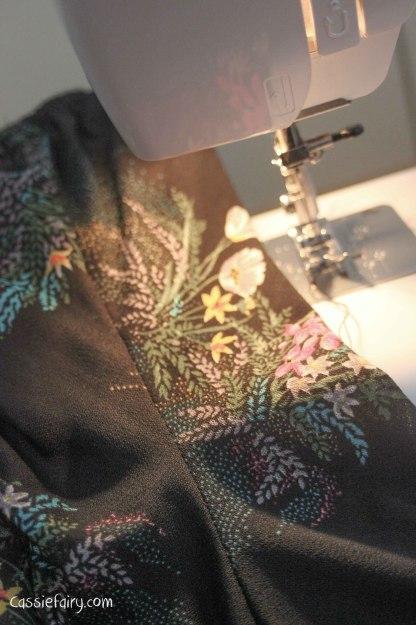
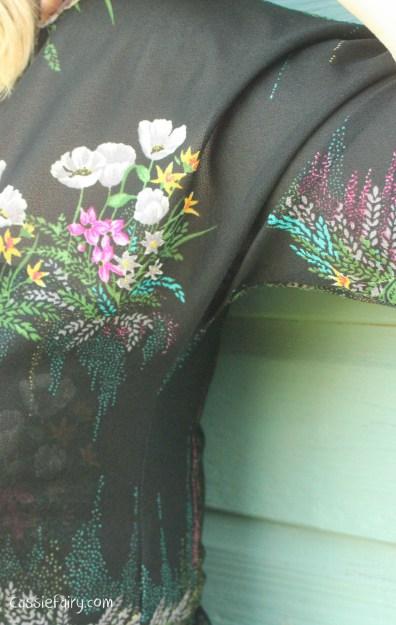
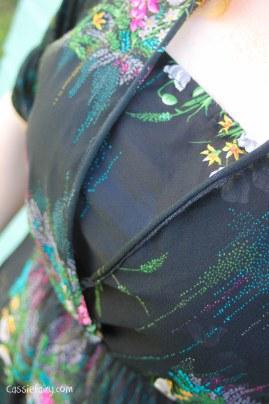
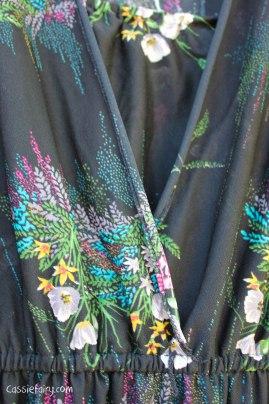
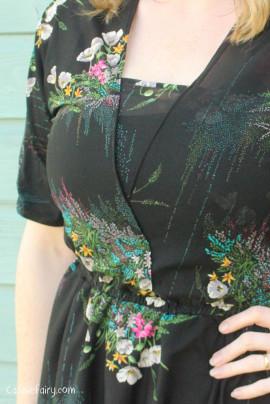
The front of the dress was slightly harder to manage: I didn’t like how the fabric rolled over at the front and no amount of pressing would make it lie flat, so I thought that a little bit of understitching would solve the problem. Unfortunately, the fabric continued to roll outwards even after I’d understitched it, so I tried to re-hem the edge altogether. Again, the fabric rolled out and looked untidy, so I decided that there was only one thing for it: stitch the wrap front to the internal vest so that it became one piece. Thankfully, this worked and now the wrap front lies flat and looks tidy!
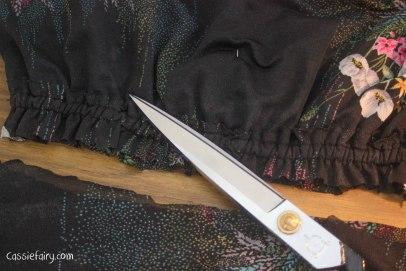
Changing the length of the dress was really rather straightforward, once I’d got my head around it! I liked the pattern along the existing hem and I knew that I wouldn’t be able to made a nice job of taking it up and re-hemming the skirt. So I decided to take it up at the waistband instead. I bravely (or stupidly?!) chopped the skirt off the dress at the waistband and shortened the top of the skirt by 3 inches all round. I then pinned the skirt inside the top section, with right sides together, and stitched all the way around the skirt to reattach it.
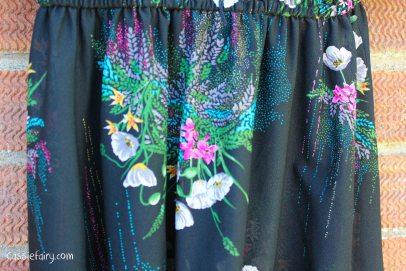
Thankfully the elasticated waistband helped to ease the skirt into the top and it is now a knee-length dress on me and looks much nicer! Here’s a photo of before the chop and the length afterwards:
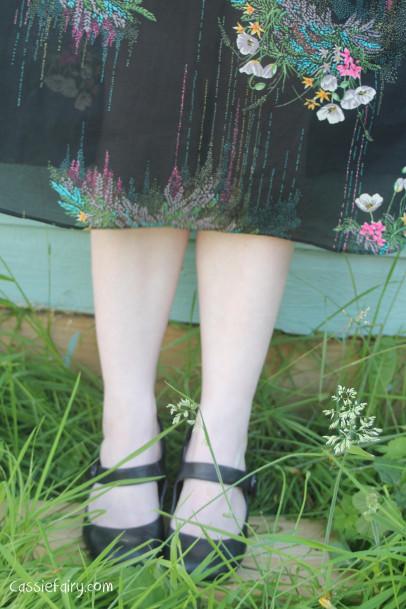
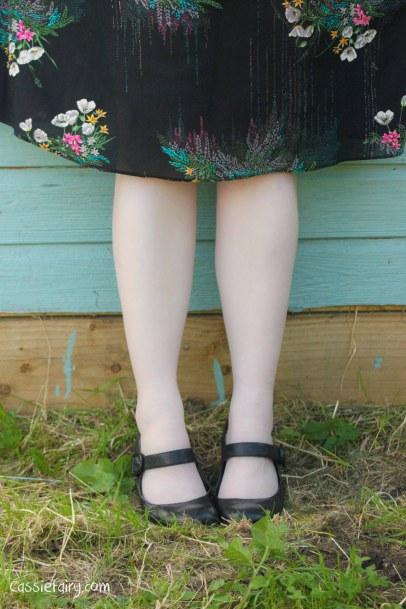
So my bargain buy at the Americana Day might have taken me a bit of time and a lot of head-scratching to repair, but now that it’s finished I m delighted! I’m sure I will get a lot of use out of this dress, and because of the dark colour, I think it will be a year-round outfit so I look forward to wearing it with tights and boots this winter too!
I still can’t believe that Cassiefairy.com has made it onto the Cosmo Blog Awards 2014 shortlist for Best Lifestyle Blog! It would mean the world to me if you would vote for my blog before voting closes on 29th August – thank you SO much!

