I love the thrifty nature of a makeover project to ‘get the look for less’ and I’m always keen to recycle and renovate old or unwanted items to keep them out of landfill. So when I needed a little extra storage space for my little vintage caravan, I headed to the car boot sale and kept my beady eye open for a suitable project to get started on.
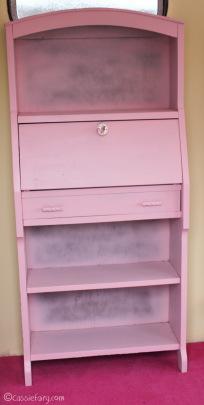
Many of the furniture items at the boot fair had rather hefty price-tags and I quickly excluded anything that had already been painted or renovated in the past. I also didn’t want to buy a gorgeous piece of wooden furniture in good condition just to paint over it, so I kept hunting for the perfect piece. At a particularly ‘junky’ stall, I spotted a mini-desk/shelving unit tucked away at the back. The wood on the top of the unit was peeling off and the entire unit was crying out to be sanded down and painted. It would be the perfect desk for my small caravan space and in my mind’s eye I was already imagining all the things I could do to improve it. I tentatively asked about the price (worrying that it would be outside my budget) and was delighted when it was being sold for a ‘secondhand’ rather than ‘antique’ price! I snapped it up for less than a tenner and enlisted my husband to help me carry it back to the car.
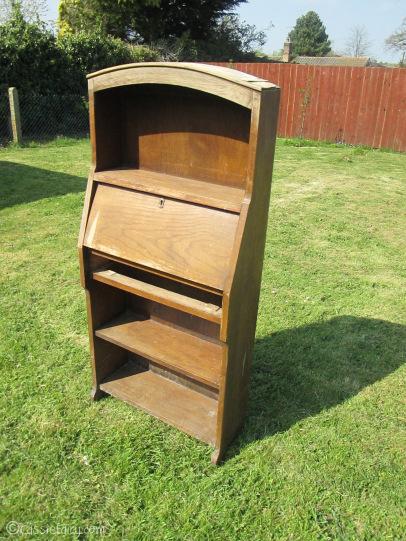
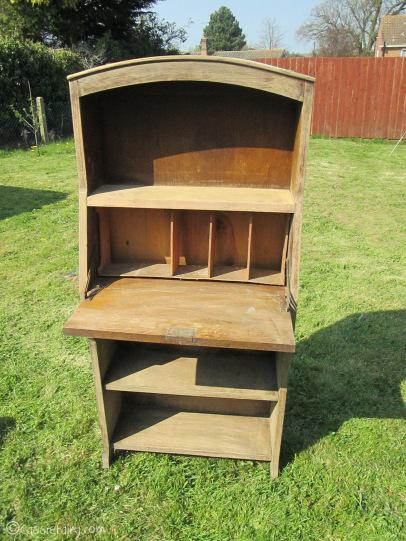
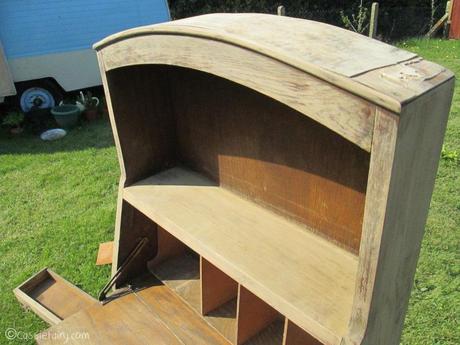
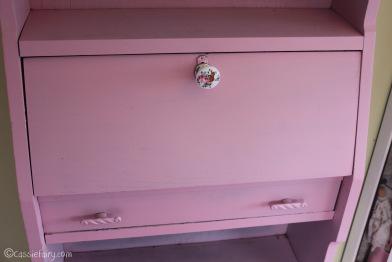
As we loaded it into the car I noticed that a butterfly was sleeping beneath the shelf, so the cabinet would forever more be known as ‘the butterfly unit’ and it inspired my choice of colour and designs for decorating the desk. I picked up a couple of cans of pink spray paint from the car boot sale too and stopped off at the local hardware shop to find a new drawer knob. The butterfly fluttered off during the journey home, presumably to find somewhere more suitable to sleep!
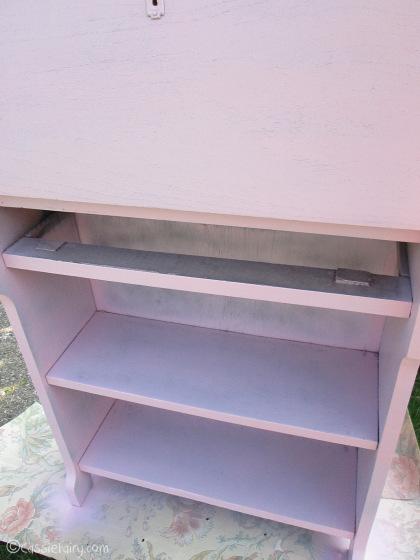
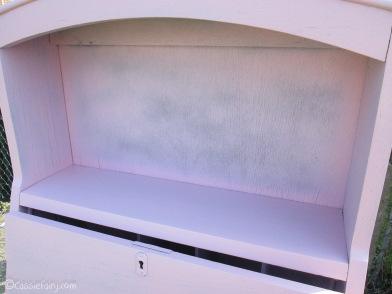
That same afternoon, I sanded down the old varnish and wiped it over with a damp cloth to clean off the dust. After the cabinet had dried in the sun, I began spray painting in earnest and covered the unit it a couple of light coats. I left it to dry and came back to the project the following day to spray another fine coat of pink paint to get a smooth finish. I didn’t worry about spraying the back of the cabinet too much, because I knew that I wanted to decorate the inside with paper and fabric.
My tips for renovating a piece of furniture:
- Clean thoroughly before you begin work on your furniture – inside and out!
- Sand down wooden furniture to create a surface that paint will adhere to
- If you’re keeping the wood-grain visible only sand in one direction with the grain
- Use a vacuum with brush attachment to suck up the dust and wipe over with a damp cloth to get the last of it
- Make any repairs before you start to paint
- Make sure the unit if fully dry before painting
- Spray in long strokes and about 30cm away from the wood to get a smooth finish
- Build up layers of paint – it’s better to do three or four fine layers because the paint is more likely to run with one thick layer
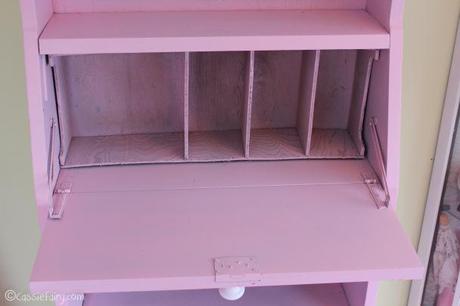
Here’s how the desk looks at this stage of the ‘renovation’ and I’ll be sure to add some more photos of my progress and (hopefully) the finished cabinet next week:
