Baby’s room, it certainly seems like both you and little one spend a lot of time in there, especially when they are small. So it makes sense to make it as pleasant as possible. Although, it can be pretty pricey to kit out the nursery exactly how you’d like it. Luckily, there are some easy DIY items you can make that will look great and not cost a fortune. Read on to find out what they are and how to make them.
A few notes before we begin
First of all, things that are made commercially for babies and young children have to pass a variety of safety tests. Obviously, homemade stuff won’t be to this standard so make sure that it’s out of the reach of little hands, isn’t falling hazards, and is as safe as possible.

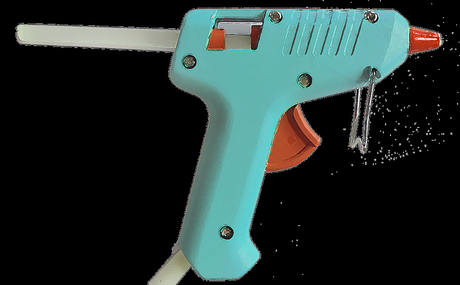
Also, if you plan to make a few things it can be a good idea to invest in a few basic craft kit items to make the end result better and the process easier. These include a hot glue gun like the ones from Glue Guns Direct, as this will ensure any thing you stick, actually stay stuck. A sharp craft knife and a cutting mat are also a good idea to help you get those clean edges on things, and knowing someone with access to a power saw can be a great help.
Pom Pom Letter

A really nice touch in any baby’s room is to personalise it with their initial. There are all sorts of way of doing this as you can see here, but in particular, one that has caught my eye is a pom pom letter.
To make this you need the first letter of your baby’s name. You can cut this from wood if you have a jigsaw or you can buy them ready made from wood, or even card from most craft shops. Then you will need pom poms and lots of them. I’ve seen this item made with little-felt craft balls, and this looks cute too. Although, if you are looking for a slightly more in depth project you can make the pom poms yourself.
All you need is a pom pom maker like this, or take two circles of card about 6 cm in diameter. Flexible card works the best, so use something like the outside of a cereal box. A note to the wise here though, the actual size of the pom poms you will need is dependent on the size of the letter you are using. The smaller the letter, the smaller the pom poms. Otherwise, you will lose the shape, and it will just look like a big splodge of color.
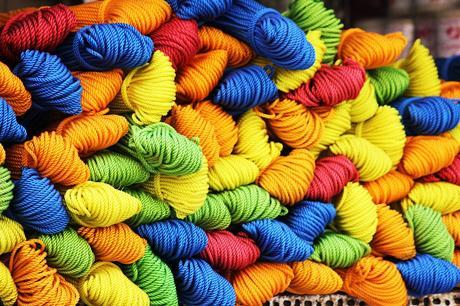
Next, cut a hole in the middle of the two card circles with a 3 cm diameter, and put them back to back. Then take some yarn, texture, and color of your choice, although I have found that the very thin almost string like wool works the best for this project.
Then wrap the yarn around the cardboard circle from inside to out. Do this all the way around, in several layers, and when you can no longer fit anymore on stop.

Then get another piece of yarn ready as you will be passing this in between the 2 pieces of card as you cut through the pom pom. Take some sharp craft scissors and place them in between the two piece of card and start to cut. As you create a space maneuver the yarn between the two piece of card and continue doing this until you have cut all the way around.
You should then be able to get that single piece of yarn all the way around in the center. Then tie the pie of yarn tightly in a double knot. At this point, you can get rid of the card templates. What you will have now is an almost bow shaped ball. Fluff the cut string to make it into more of a round shape, and then take some scissors and trim any pieces that are uneven including the central string, and there you have it. One single pom pom for your nursery letter.
Of course, you can choose to make them as big or as small as you like by changing the card circle diameter. Yes, it sounds like a lengthy process when it’s all written down, but actually, it’s pretty quick. You won’t end up spending more than 5 mins per ball, and you can do it in front of the telly too.
So then you repeat the processes and make enough balls or pom poms to cover the whole letter. Once they are all completed, the next step is to glue them to the letter. For this, it is a good idea to use a glue gun, as it makes things quicker, easier and gives a more lasting finish.
Once all the pom poms are fixed onto the letter, you can hang it on a wall by adding a hook to the back or using removable picture hanging strips. Just make sure that you check they will hold the weight, especially if you have made it from wood and not cardboard. Alternatively, you can place the personalise pom pom letter on a shelf for equally beautiful results.
Whimsical Animal Hooks
Another awesome DIY craft I have seen in Baby’s room that I would love to try is a simple rack of animal hooks. This entails fixing some plastic animals figures to a piece of backing wood, instead of plastic or metal hooks. You can then keep towels or hats over them. If you want to cover them up that is!

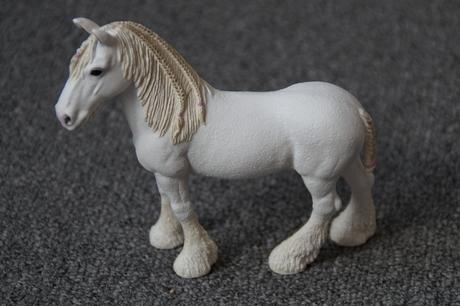
To make these you first need to find some large plastic animals toys like the one you get in playsets, and a piece of wood to fix them too. A length of flat skirting can work well, and they aren’t expensive either.
Then use a saw to cut them down the middle in a straight line. Next use spray paint to cover them in a color of your choice. Pick one that matches the nursery if you like, or metallics like gold can work well too. Watch out for toxic paints though, as you don’t want these in babies room or next to baby’s clothes or towels!
Then using hot glue fix the fronts or front and back depending on the look you’re going for to your piece of wood. Let them dry and viola you have your whimsical animal hooks.
