


Shelf Makeover and How to Apply New Oil Wax
What’s the deal with these two?
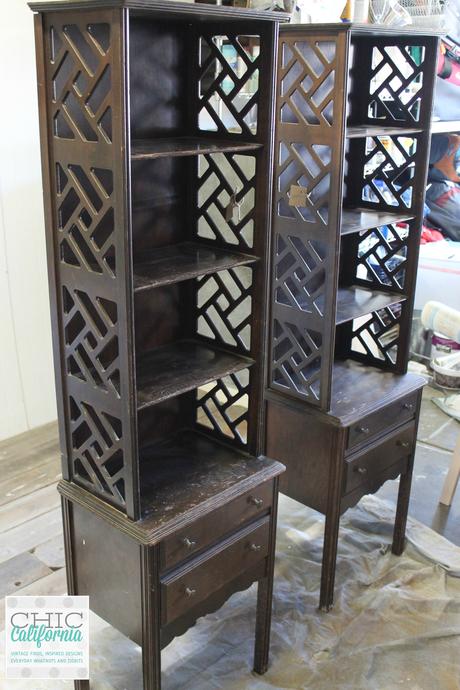
I mean, I feel like these two might be the school yard bully twins. They are in need of an attitude adjustment for sure. Something softer, kinder and a little more friendly would suit them just fine.
I started the makeover with 2 coats of Sweet Pickins Milk Paint in Galvanized. The first coat I used some extra bond to help a bit with adhesion. But I used about half of the recommended amount. That way I could have the best of both worlds, adhesion and chippy.
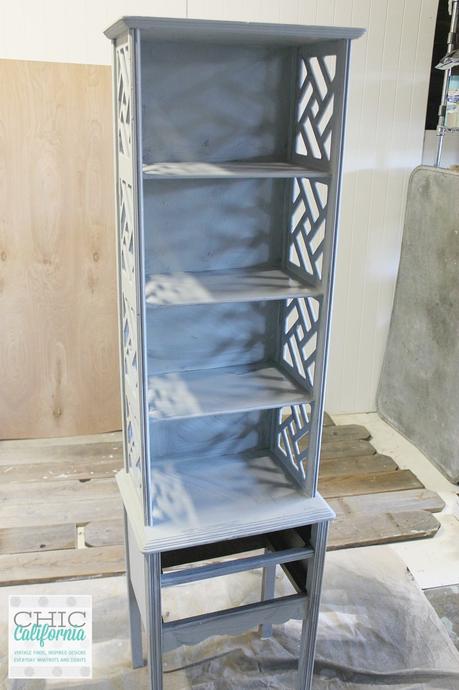
I distressed these with 180 grit sandpaper and then made them buttery smooth with 220 grit sandpaper. Now here’s the new fun part. I sealed these with the new Sweet Pickins Oil Wax product. It’s an awesome finish and I have a feeling you are going to be seeing me use this a lot.
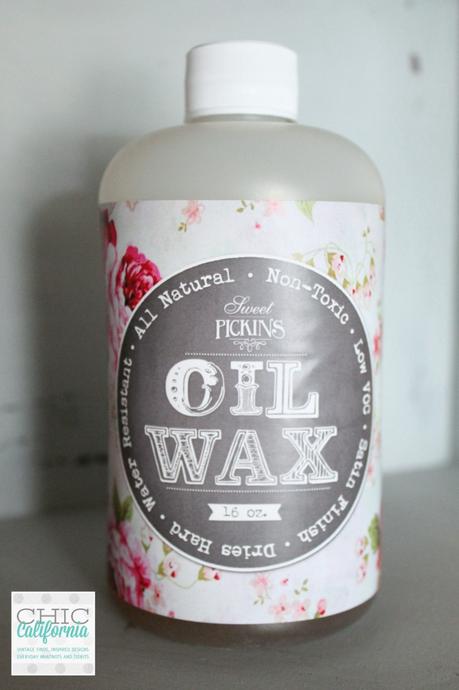
It is a mix of wax and natural resins that you paint on with a brush and then wipe off. It dries to a hard, water repellant finish.
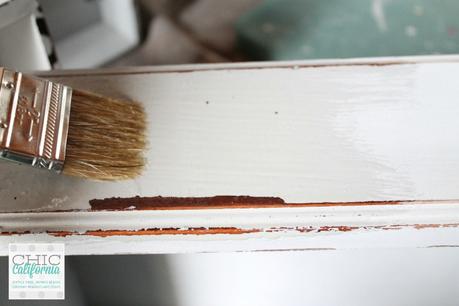
I just used a chip brush to apply the oil wax.
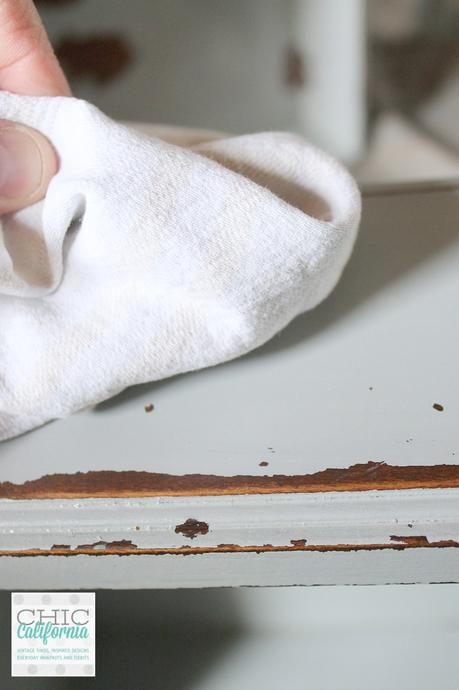
Then after about 20 minutes I wiped away the excess with a lint free towel. I really love the way this wax deepens the color of the milk paint. Once you wipe off the oil wax, you do need to let it dry. It was dry to the touch after about 24 hours, but I can see that it probably needs about 30 days to fully cure. But if you want a really durable finish, maybe even something you might use outdoors, this is the finish to use for sure.
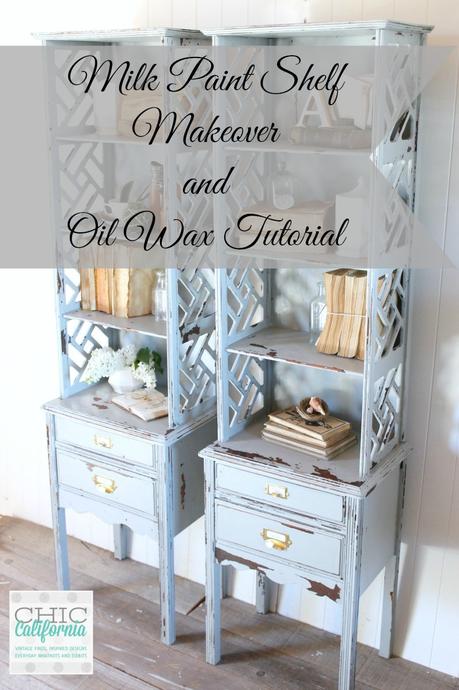
Get a load of these twins now!

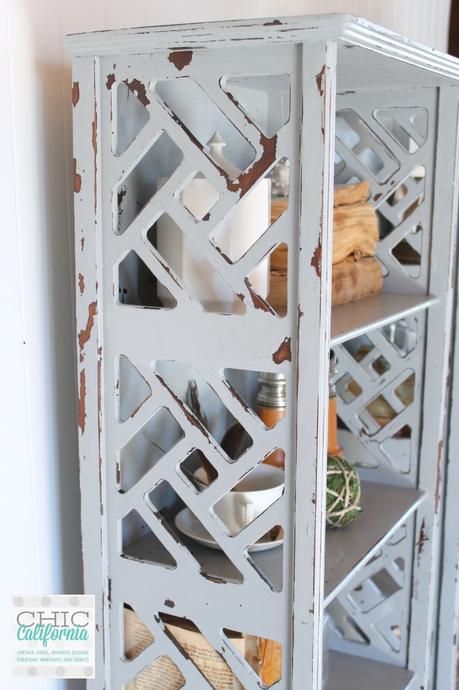
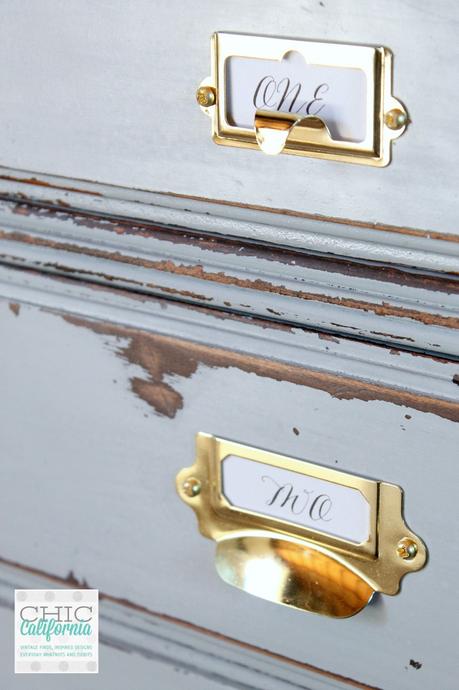
Loving this dynamic duo now! Don’t forget to Pin!


