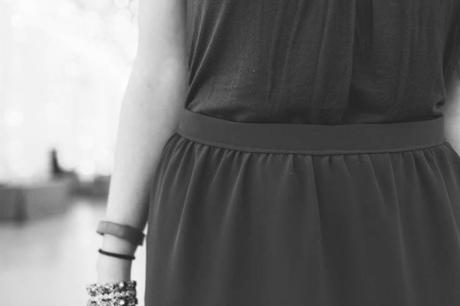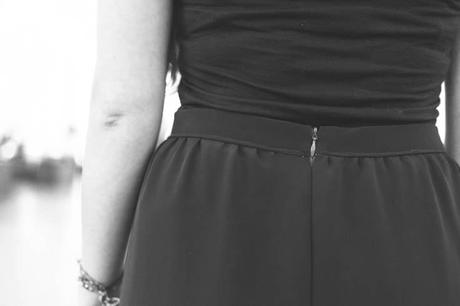
And the handmade saga continues. Today is part dos of Sara and Ashley’s first me-made skirt (click here for part one).
In a recent interview (stay tuned!), the subject, who is the owner of a local sewing shop and teaches on the regular, and I talked about the best part of teaching. We both agreed that the moment a student’s face lights up after finishing a project is hands down the best part. Sara and Ashley weren’t/aren’t my regular students. Because I am around them all the time and they have become my friends, I have a closer connection to the girls than other people I teach. So when I saw Sara in her skirt the night of our company’s holiday party, I was so proud of her. I felt like a mother seeing her daughter on stage performing. “Did you see what Sara made…? did you see what Sara made…?”- I wanted to brag about her to everyone.
The project was at its most basic, and while some might argue that I should have used a pattern or taught how to make a skirt a more formal way, my only intention was to get their feet wet. I admit, I walked them through many of the steps, but that is because every seasoned seamstress knows that usually, first projects aren’t wearable. I can definitely attest to that statement! So, if I took over most of the sewing, but let them do the easier steps, I predicted that they would be able to wear their skirts without shame or fashion bloopers. My predictions were right, both ladies loved making their skirts, and we already have plans to sew Katy & Laney’s Geometric Top come spring. At that time, I’ll teach them the “proper way” by walking them through how to read a pattern, how to find your size, getting the most out of your yardage, etc. I might even get into grading!
So, how did the second lesson unfold? And what did the girls learn? I’ll let Sara take over and tell you:
“We returned to Maddie’s studio for night two. Due to the time crunch, Maddie had interfaced the waistband and along the center back opening (for the zipper), added a grosgrain ribbon facing to the waistband (for durability), pinned the waistband to the skirt and serged the edges. When we arrived, we jumped right in. She explained the correct methods on how to do these steps if we were replicating at home. After, she demonstrated how to attach the waistband and then how to insert the zipper and sew the center back seam. To do this, she used a few different presser feet. Ashley and I then tried on our skirts so we could hem it to the correct length. After, she set us up with our homework – hemming! I went home and completed each step VERY carefully.
When I finished, I brought my skirt to Maddie to inspect and show me how to do the next step – securing the waistband down. She described how to do this with a machine and by hand. The last step was to finish off the zipper and it would be done. I went home and spent some time on my machine so I could finish my skirt in time for the holiday party. It came out great. Much better that I expected!”


So, what about Ashley’s skirt? Well, she was the slow one of the bunch (we still love you Ashley!) and got caught up in life and didn’t finish in time. Every seamstress knows that UFO’s happen, it’s nothing to be ashamed of, so you’ll just have to stayed tuned to see if she finishes her foreign object. Ashley, get on that!
My semi handmade holiday will continue next week with the present I sewed for my family. Get your knife and fork ready because it’s going to be juicy!
