TheSortingHouse - Sorting the amazing from the awful…
Easy Nail Art Tutorial
Leopard Print Nail Art
It’s no secret that I absolutely love leopard print, and nail art is no exception. I tend to call any form of animal print which looks vaguely like leopard, leopard print. I know some people like to make the distinction between cheetahs, jaguars and leopards, but for the sake of the design on nails – let us just call it leopard print.
My love for leopard print nail art manifests itself every Monday for the Lundi Leopard feature on TheSortingHouse. You can see previous leopard print nail designs on TheSortingHouse or subscribe by email to never miss a post again.
Leopard print nail art is probably one of the easiest things to do, and I genuinely believe that anyone can do it. Not only is leopard print nail art striking, it can fix a badly painted base coat, revamp chipped nails or be used as a cute accent. Leopard print nail art is something which can be switched up and changed to your mood, and there are so many possibilities with color combinations!
So without further ado, let’s get stuck in.
How to do Leopard Print Nail Art
Depending on how you’d like your leopard print to turn out, you can either use two colours (a base and a drawing colour) or three colours (a base, a patch and a drawing colour),
For this tutorial I have used three neutral colours for a more traditional leopard print.
Leopard print nail art is so versatile and you could really use as many or as little colours as you’d like. Once you’re used to the technique for leopard print nail art, finding new color combinations which work for you is all part of the fun.
You’ll also need some form of drawing tool, you can literally use anything with a point to it but some more conventional tools are; a toothpick, a needle, the end of a kirby grip, a dotting tool or a paint brush.
Do you use a tool I haven’t mentioned for your nail art? Let me know in the comments below.
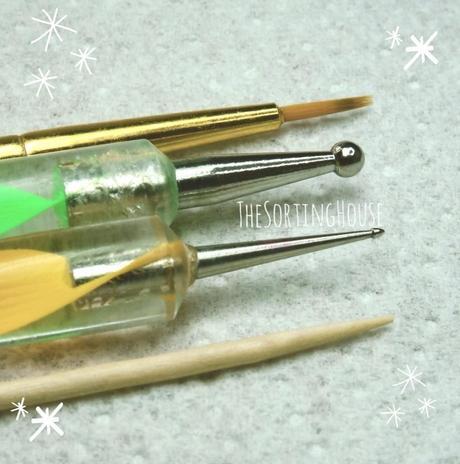
Personally I don’t normally use the same tool every time I do a leopard print nail design, often grabbing whatever is closest. Lazy much. Naturally, different tools means different results.
For this leopard print nail art tutorial however, I used a large and a small, pointed dotting tool.
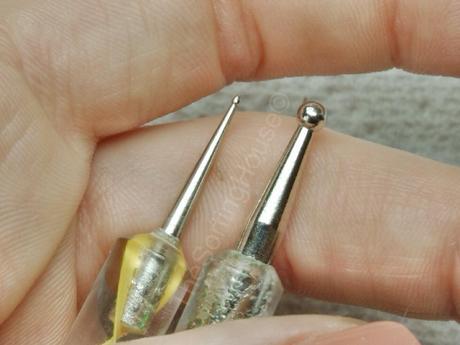
You’ll find that in using just one size of tool, which is quite small, that you’ll need to build up the patches and darker curves more. Using the nail-polish-bottle-brush for the patches may be easier in this case.
However if you use just one tool, which is quite large, you won’t get as much precision when drawing the darker dots and curves.
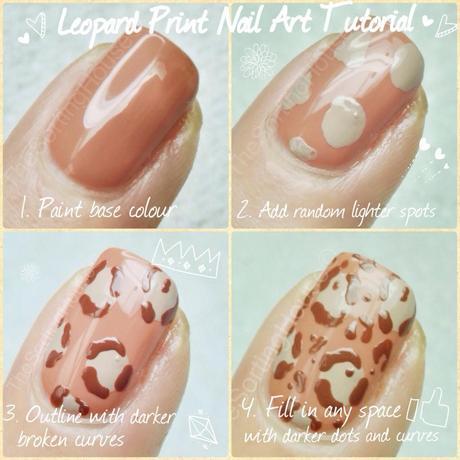
Step 1. After your base coat has dried, paint your base color to opacity and wait until it is completely dry, otherwise you’ll get smudges, and rucked up polish later.
Step 2. With your lighter colour, paint rough and random splodges to form the patches. Again wait until it is completely dry. If you are only using two colours – skip this step.
Step 3. If you can, use a thinner, more precise tool to outline the patches with a darker color. Don’t worry about actually being precise with your lines however, no leopard is identical in the wild, so go wild with your lines.
Step 4. This step is really up to you, you can add as little or as many lines as you’d like to fill in the open spaces. I like to add some dots too and you guessed it – wait until it’s dry.
Tip 1: Painting a top coat before it’s dry can sometimes cause the nail polish underneath to bleed. This doesn’t always happen with every top coat, and with every nail polish. Although polish bleeding can sometimes look good and add to the natural effect of the leopard nail design, avoid it if you want bold, clean lines.
Tip 2: It’s good to paint patches and lines coming off and on to the nail, rather than the leopard print being perfectly framed in the nail – this helps to give the pattern a sense of natural flow.
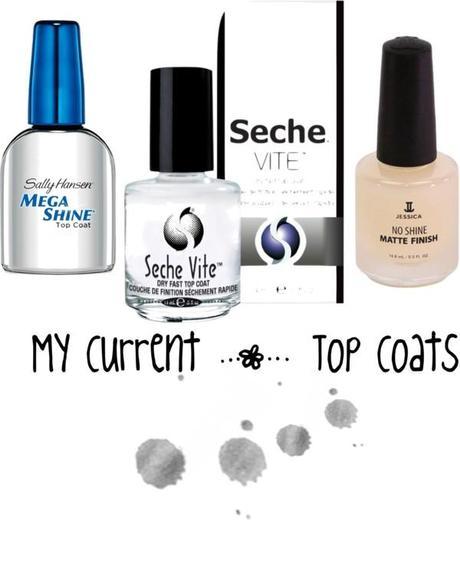
Don’t forget to finish with your favorite top coat to protect your design!
Shop the Look
Please note that the nail polishes used to create this nail art design may contain harmful toxins. Remember if you want to avoid toxins, always check the ingredients of each individual product.
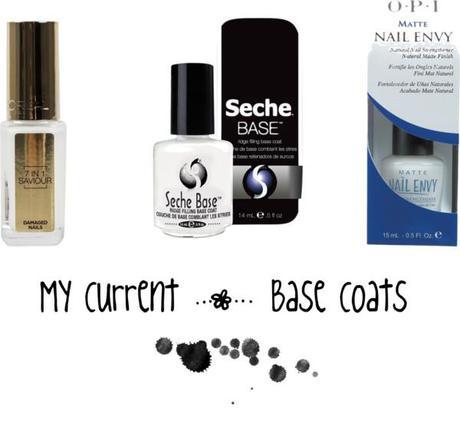
You can read about My Current Base Coats and My Current Top Coats for inspiration and find out where to get them by clicking each image below.
Dotting Tools can be bought for £1.30 on Amazon.
Collection Antique Rose is £3.19 from Superdrug, and you’ll get 3 reward points. (Used for base colour)
Orly Country Club Khaki is £6.95 from Amazon. (Used for light patches)
Essie Very Structured is £7.49 from Lookfantastic. (Used for darker curves)
Over to You!
Did you like this leopard print nail art tutorial? Is there any other nail art design, or anything else that you would like to see a tutorial for?
Let me know in the comments below, or you can find me on ➳ Twitter ➳ Facebook ➳ Pinterest ➳Instagram ➳ Google + ➳ #tutorials
What’s Next?
If you want future posts by TheSortingHouse rounded up daily and sent to your inbox, all you have to do is enter your email address below and click the verify link in the email, it’s as easy as that!
Enter your email address:Home
*This page may contain affiliate links, view the Terms and Conditions to find out more.

