Continuing on from the previous post where we looked at my recently-acquired map holder; this week, I’ve gone and bought my self a cleaning kit for my hydration bladder.
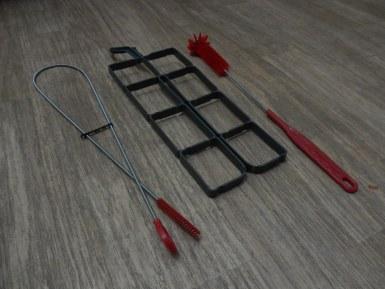
To be more precise, I purchased the Osprey Hydraulics Reservoir Cleaning Kit
On its own, with an average price of £18, this is quite an expensive purchase… That’s only £8 less than the cost of my 2.0lt hydration bladder. Cheaper options are available from other brands (including Karrimor
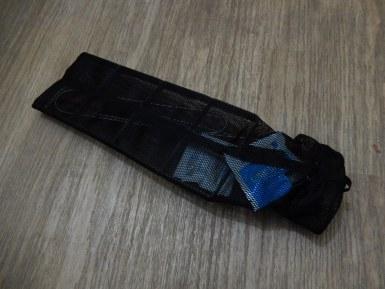
As anyone who’s owned a hydration bladder (or reservoir) for any length of time could testify; these items do need regular cleaning to prevent the build up of mold and grime. Some may tell you that the trick is to drain the unit and then to bung it in a freezer overnight… While this may halt the formation of mold under sub-zero temperatures, I don’t see what could prevent them from rising as soon as the pack is returned to a warm-air environment.
I bought my bladder back in May and shortly before heading for a weekend in May. Even then, my friend suggesting that the feed tube from my pack was looking a little green… I chose to be more optimistic; blaming an optical illusion from the surrounding landscape. More recently though, formation of an unfortunate color has become undeniable.
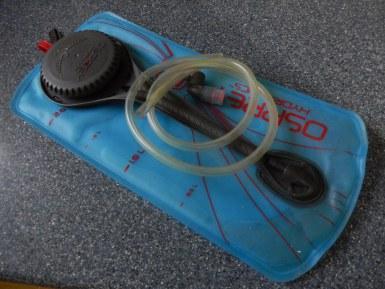
Until now, I’ve been cleaning out using two cycles of hot water from the tap. The first contains soap washing up liquid. Then I’ll add a mix of baking soda (1 tsp) and lemon juice (maybe 2 tbsp). This has often helped to keep it mostly clean inside but a cleaning kit is pretty much essential in my eyes, if only for the flexible spring brush.
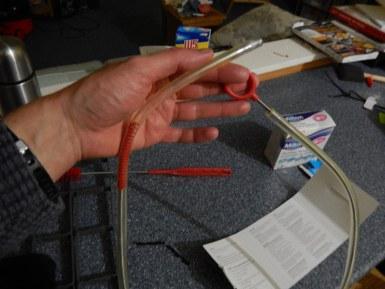
With this kit, the brush is only about 125mm/5in short of the total length of the tube. I find it works best if used in a scrubbing action (push in, pull out; repeat) after rinsing. I also work it in from each end, to ensure total coverage of the tube’s interior.
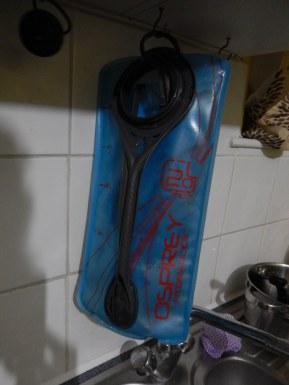
A set of brief instructions are supplied on the inner face of the packing card. First, you should fill the reservoir halfway with warm water from the tap (not boiling water from a kettle, which could possibly cause damage or distortion). Add one of the cleaning tablets and fasten the cap, allowing it to then stand for five-minutes while the tablet dissolves.
Then, give it a good shake to contents, squeeze the bite valve to fill the tub with the water and allow that to sit now for fifteen minutes. After which, you should drain the pack, rinse it with clean water and set it aside to dry. It’s after this that I then apply the assorted brushes.
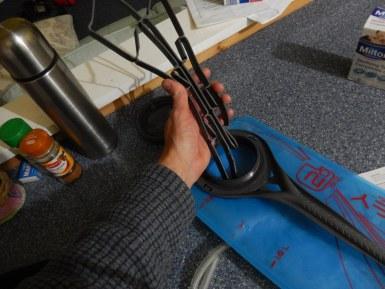
These cleaning kits come with a ‘spreader‘ that compresses to squeeze through the opening in your pack, only to spring out again and to allow the inner space to ventilate. If the front and back sides are touching (particularly in the bottoms corners, where water droplets may remain) there’s a risk that mold could develop.
In practice, this contraption is (as many customer reviews will tell you) quite awkward to install and even more troublesome to extract afterwards. I understand its purpose. I’d just like to point out that it doesn’t totally dry the pack – for which, some people resort to using a hairdryer (with caution).
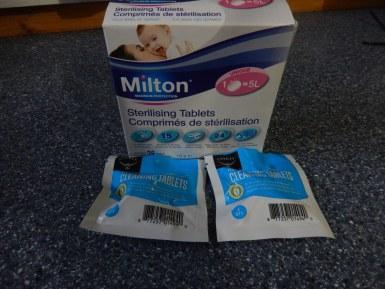
This kit comes with a couple of cleaning tablets, which other variations may not. Of course, these will very soon become depleted if you’re a frequent user of your hydration bladder . But instead of purchasing the ‘ideal’ replacements from Osprey, I’ve chosen to do as many other reviewers appear to recommend and have purchased a cost-effective pack of sterilising tablets.
With twenty-eight in a single box… That could last me a good six-months at a cost of less than £3!
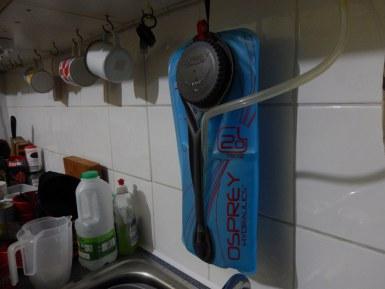
So, after filling, shaking, soaking, rinsing and brushing; it’s fair to say that my tube is now looking very much like its original condition:
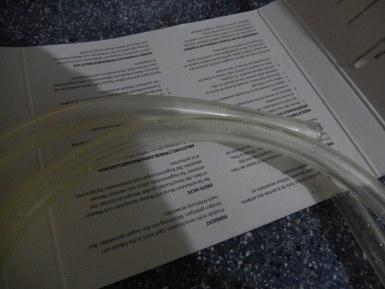
Of course, with the Osprey system, spare and replacement parts are available for each component. But as an almost weekly user of my hydration bladder, I’ve estimated that it’s far more economical for me to buy this £18 kit than it would be to replace the hose, several times and year.
…Or, you might know where to find one of those long, flexible brushes and be able to combine that with your own home-remedy cleaning concoction!
Thanks for reading and I hope you’d found this helpful.
