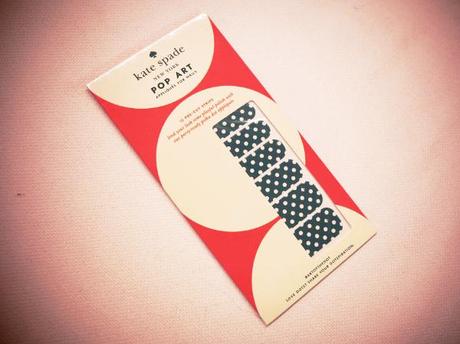
INGREDIENTS: Epoxy resin, Acrylates Copolymer, Tris-BHT Mesitylene, Xylene, Potassium Cumene, Sufonate, TO REMOVE: Simply apply nail polish remover.
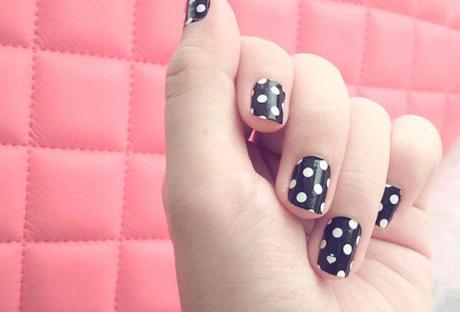
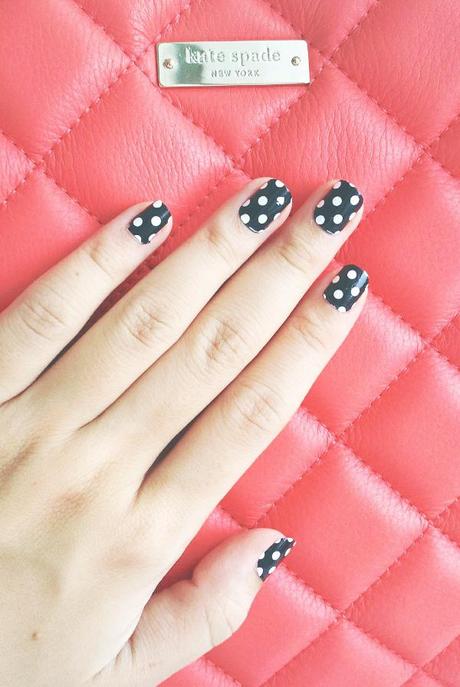
Basically, nail wraps are super thin nail stickers that are manufactured in a special way so they in a sense “laminate” the nail and the excess can be trimmed or cleanly filed off over the nail edge. Many brands already offer this breakthrough in nail embellishment including Sally Hansen which I am mentioning since you can’t purchase these Kate Spade ones which come as a freebie with a bag. Read more to get the full post and the complete directions I followed to apply the nail wraps. Sorry I didn’t show in photos how I did it step by step but the written directions are what I included.
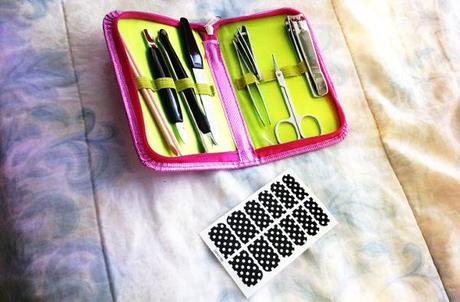
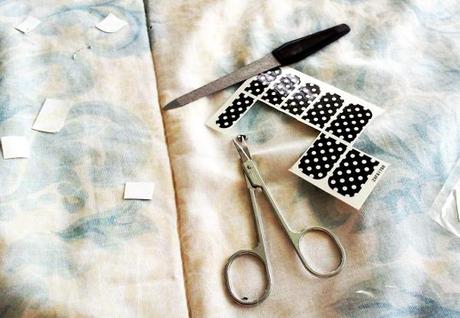
When you get them in a pack, remember the first thing to do is remove the protective acetate to reveal the nail stickers. You get 12 nail appliques, they included an extra pair for thumbs in case you make a mistake probably. I used my nail trimmer, file, and scissors from a Trim pink manicure kit my dad bought for me when he went out to do groceries.
1. Start with clean, bare nails, prepping them with rubbing alcohol and a light buffer.
2. Choose the best size for each nail. (If the strip is too wide, you can trim with scissors.)
3. Gently peel open the clear protective film and remove the nail strip like a sticker. (Make sure to replace the protective acetate to prevent nail strips from drying out.)
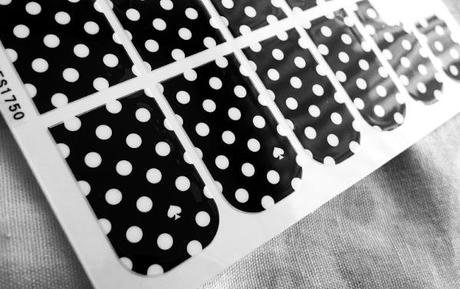
4. Hold the square end of the strip and apply it directly to the nail with the rounded end close to the cuticle.
5. Gently smooth the nail surface to remove wrinkles (all the way to the edge).
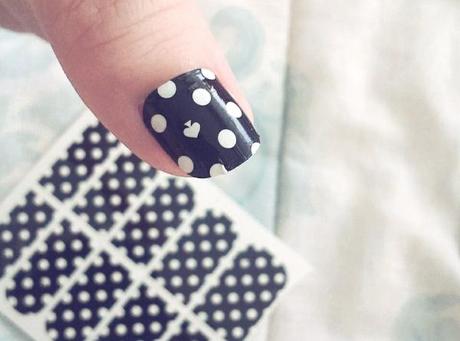
(Notice I didn’t smooth my first one perfectly, I have a little wrinkle near the dot on the edge of the nail.)
6. Trim excess with clippers, leaving the strip 1/8″ longer than the nail.
7. Tuck the edge under the nail and file to the perfect shape.
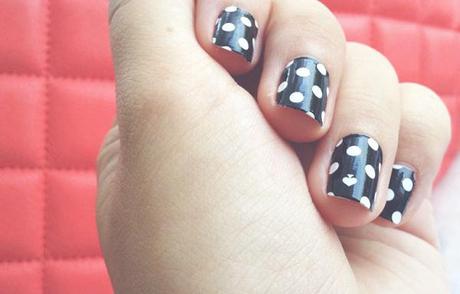
8. Voila! Show off your spots as you party hop the season away.
The mistakes I made were very minor, like not taking my time while smoothing out the first thumbnail so I got a bit of a crumple near the nail edge. Don’t be in a hurry, it’s all worth it because you don’t need to wait for this stuff to dry afterwards. The most fiddly part is tucking in the excess nail wrap beneath the nail then filing it carefully around and beneath the edge to finely shave off the excess, but what’s funny is I actually like that scraping and refining part. Also the filing around the cuticle is a bit tricky but it is doable just be careful. You can wash your hands with these on just don’t use any grainy hand scrubbers if you want this to last ( I just washed now to prove a point). So far after a few hours I’ve managed to only slightly wear off the tip on one nail only because I did a head scratch. If you properly file and seal the entire nail edge without excess hanging off the tip this won’t happen to you. Like I mentioned earlier if you’re interested to try DIY nail appliques/wraps you can pick up a few Sally Hansen ones at PCX, First Aid, or wherever Sally Hansen ranges are available locally. These came free with my new Kate Spade bag and unfortunately according to the saleslady aren’t for sale at local Kate Spade boutiques.

