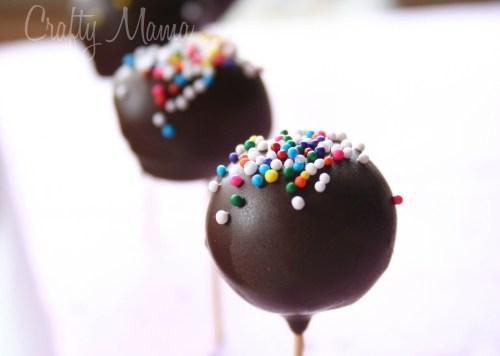
(Forgive me for this incredibly long post, but it’s got everything you need to know about making cake pops! The idea for the mini cake pops was taken from here.)
I’ve never known what the big deal is about cake pops. They seemed pretty unappetizing to me. Cake, with no frosting? That just doesn’t sound good! That was, until I actually made them.
There are 2 kinds of cake pops. There are the kind that you mix and roll, and the kind that you bake in a pan. The cake pop pan was invented in an attempt to make it easier for people to make cake pops. All you have to do is pour in the batter and bake it. Easy, right? Unfortunately, these don’t taste too good. There is a reason that cake has icing. Cake by itself isn’t all that great. Everyone likes the icing! And the white chocolate coating is not enough to make up for the lack of icing.
When the cake pop trend started, I didn’t hop on. It has been trending for a long time, and this is the first I’ve started making them. They looked tedious, like they wouldn’t even taste good, and I just wasn’t up for it. I was so wrong!
Cake pops are delicious. To make them, you actually mix the icing into the baked cake. You don’t use much icing, so it’s not overly sweet or dense. When you mix it together, it creates this delicious moist dough. It’s exactly like cookie dough. Okay, it doesn’t taste like cookie dough, but consistency is just like cookie dough. The taste is amazing. It goes from being a baked cake, to being like a cake batter fudge. I don’t even know how to explain it. Like cake batter in a more solid form. Soft, sweet, creamy.
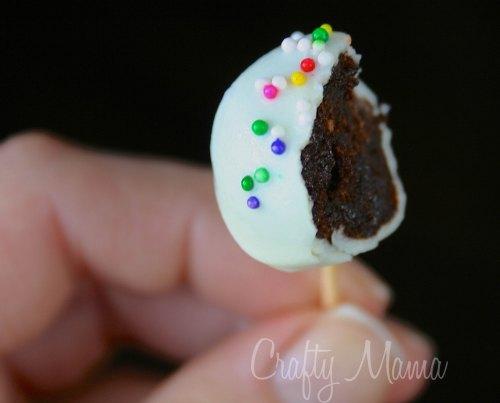
I started making cake pops at work. It was my first time, and it took a little trial and error to get it all figured out. So far I’ve made them a number of times, and a number of ways, and I’ve worked some of the kinks out. So now I’m here to share it all with you.
Prepare all of your ingredients. Make sure you have a large sheet pan lined with wax paper to store the cake pops on before dipping, and a large piece of foam to stick the cake pop sticks into once they’re dipped. Set out your cake, chocolate or coating, the proper bowls you’ll need, and sprinkles or decorations.
Making the cake pops:
You can make cake pops out of lots of things. You can use any flavor of cake. Chocolate, white, strawberry, lemon, funfetti. (For funfetti, use white cake, and add rainbow jimmies in the last part of mixing. If you use fiunfetti cake mix, it will turn into a brown blob when you mix it. Don’t use nonpareils, because the color bleeds and mixes with the dough). You can also used cooked brownies to make cake pops! Just make sure they’re a good moist brownie (not too much crust).
Start with your baked cake. You don’t need much. Whenever I bake a cake and need to cut any excess off, I put it in a ziplock and throw it in the freezer. I also do this with cakes that get botched (like if I forget to add an ingredient, and it’s not cake worthy, but will taste perfect find mushed up.) You can do the same with extra cupcakes, too. The reason it’s convenient to do it this way is because you don’t need much cake to make cake pops. If you bake an entire cake recipe, you’ll end up with a TON of cake pops (especially if you’re making them itty bitty!). It also makes it easier to make just a few cake pops if you’ve got a craving!
Throw your baked cake into a stand mixer and turn it on low. Mix it until it turns into crumbs.
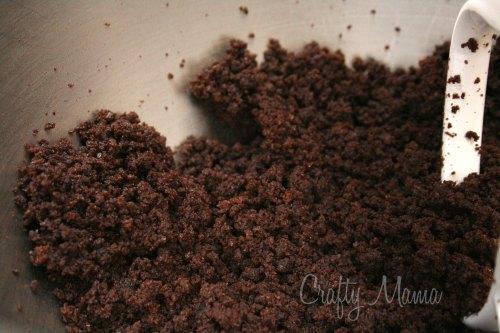
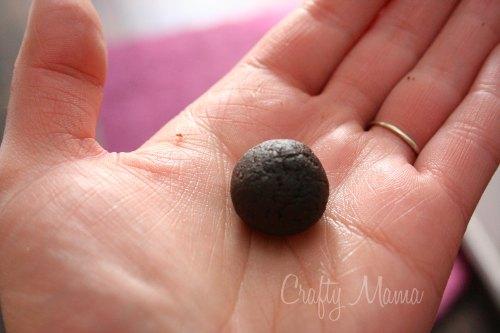
Add about a tablespoon of icing. I used this buttercream recipe, but you can also use canned if you aren’t up for making it (though it’s incredibly easy and only takes a minute!). Once you’ve added your icing, mix the cake and icing until it forms a dough. If it doesn’t form a dough within about 2 minutes of mixing, add another tablespoon or two of icing. Your dough should look like this when it’s the right consistency.
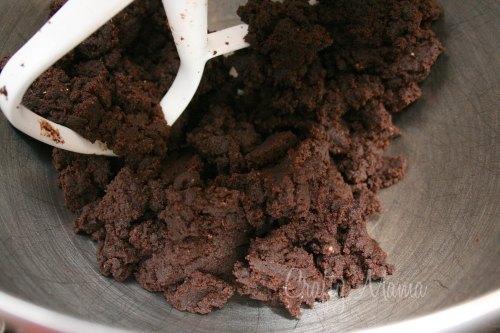
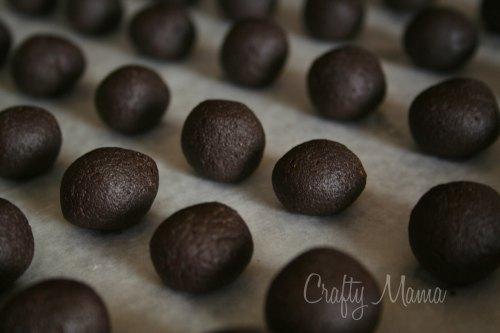
Roll your dough into balls. It’s really up to you how large to make them. Plan it out according to your cake pop sticks! If you’re making them itty bitty, use tooth picks, and make the cake pops about 1-1.5 teaspoons. If you’re using cake pop sticks, make them about a 3-4 tablespoons.
Dipping:
Once you’ve got them all rolled out, prep your coating. You can use coating chocolate (the most preferred because it’s easy to work with and doesn’t bloom as easily), real chocolate, or white chocolate. My favorite to use is white chocolate because the taste of it goes the best with the cake. The real chocolate tastes pretty good with chocolate cake pops or brownie cake pops, but blooms much easier than white chocolate. (Blooming of chocolate is when it’s improperly heated, and the cocoa butter separates from the rest of the chocolate. You get a gross white film on the chocolate and it loses it’s good texture. It can be revived by re-melting it the proper way).
If you’re using white chocolate, you can thin it down by adding vegetable oil to it. White chocolate is NOT the same as dark chocolate, and adding cream to it makes it seize (guess how many times I did that before I learned a lesson!). To thin out your white chocolate, add about a teaspoon of vegetable oil at a time until it’s thinner. I found that a couple teaspoons worked well, and didn’t mess with the ability to harden. If you don’t thin out your white chocolate, it will create a thicker coating and be a little bit more difficult to work with. It will all depend on your brand of chocolate though.
Dip your toothpick or cake pop stick into the chocolate and stick it into the cake ball. You only want to stick it in about 3/4 of the way. If you stick it in all the way, it will split the cake pop right down the center, and it will be more likely to break in half or fall down the stick. If you don’t stick it in far enough, it will fall right off the stick during dipping. You want the chocolate to ooze out the bottom when you stick it in. The reason for this is to create a little shelf for the cake pop to sit on. Once you dip it, it will form a nice little coat around the cake and keep it in place.
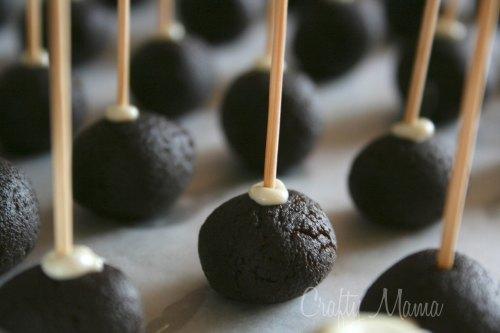
For larger cake pops, you can dip them as soon as the chocolate is dry. To dip, make sure you have plenty of chocolate, dip the cake pop about halfway in, and use a spoon to coat the rest of it. Pull it out and tap it on the side until the excess has dripped off. Be gentle, so you don’t break the cake pop. Stick the dipped cake pop upright into a large piece of foam to dry.
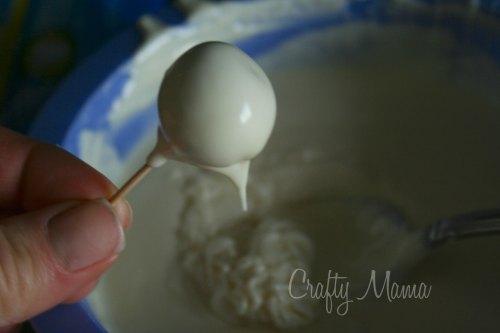
If your cake pops have problems staying on the stick during dipping, put it in the freezer to firm up and try dipping again.
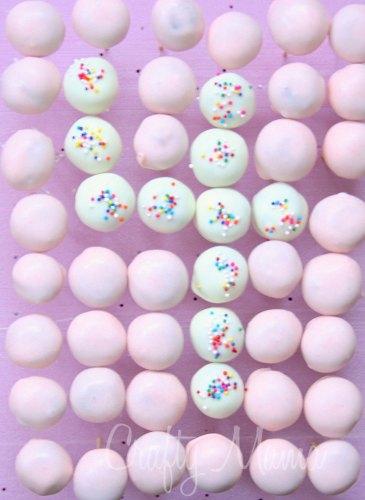
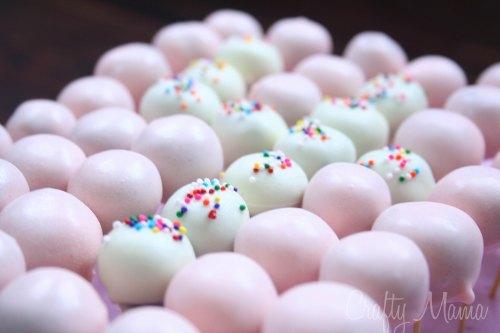
For mini cake pops, I found that the only way to make it work is to freeze them. If you’re making the mini cake pops for children, make sure you break off the sharp tip of the tooth pick so that they don’t hurt themselves while eating it. Dip the tooth pick in chocolate, and stick it 3/4 of the way into the mini cake pop. Once you’ve done this with all of them, put them in the freezer for about 30-60 minutes. This will make them firm enough for dipping. Having frozen cake pops also quickens the drying time. If you’re doing a large amount of cake pops at a time, you may need to stick them back in the freezer, because they will defrost while sitting out. Follow the dipping process referred to above.
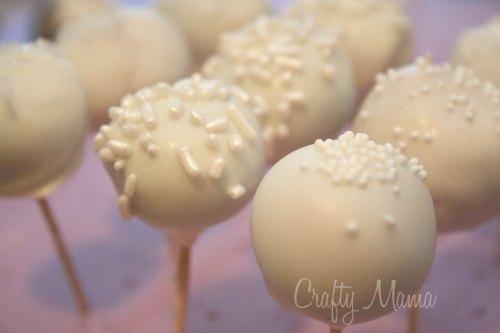
If you’re using sprinkles, make sure to sprinkle them before the chocolate dries on the cake pops. With frozen cake pops, the drying time is much shorter, so do it immediately.
Decorate as you please. You can do so many cute things with cake pops! Bakerella is my favorite place for cake pop ideas, she has done so many cute things!

If you have any questions at all, please leave them in the comments. I will answer what questions I can, and update my post accordingly.

