

How to Layer Milk Paint Using Clear Wax
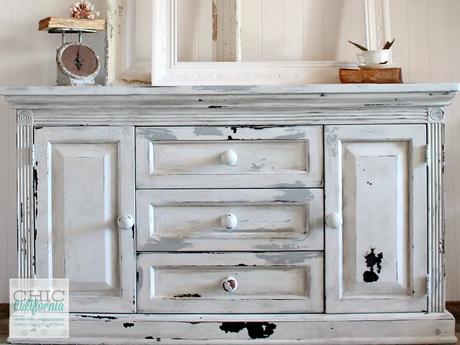
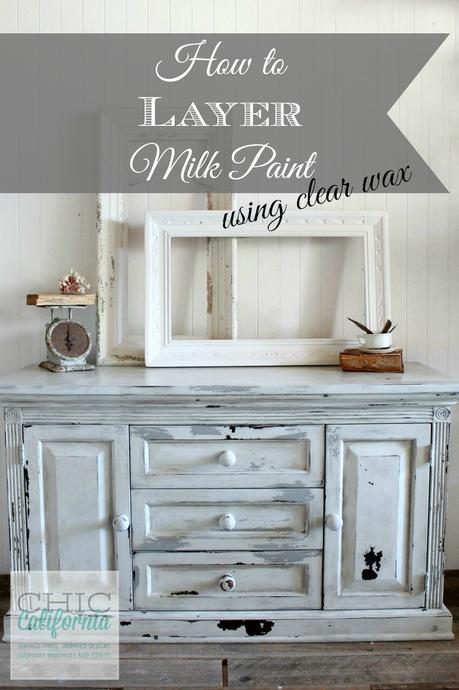
I’m slowly but surely getting some extra pieces of furniture painted before the baby arrives. But I have to admit, it’s slow going. Mostly because I run out of energy pretty quickly. But sometimes a piece of furniture just doesn’t want to cooperate or turn out the way you expected so it’s just best to walk away for a bit. Luckily, this furniture transformation has a happy ending. After a little trial and error this piece turned out perfectly. Even better than I planned. And I was able to use a finishing technique to layer milk paint using clear wax in between the layers.
Here is where I learned my lesson. Take a look at this before pic.
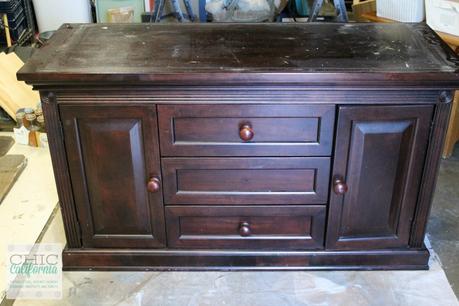
This started off as a convertible changing table. I simply unscrewed the changing table piece and decided it would be better these days as a dresser or even a media cabinet. But look how shiny it is. Typically you can do very little prep work when it comes to using Milk Paint. Even when you use Extra Bond. But in this case, I should have roughed up the surface a bit using some sandpaper just to give the Milk Paint a little extra grip. So when in doubt spend a bit of extra time doing some prep. It will save you time later. This piece ended up chipping too much, even with the Extra Bond and I ended up sanding the paint off the top and starting over. Once I sanded all was well!
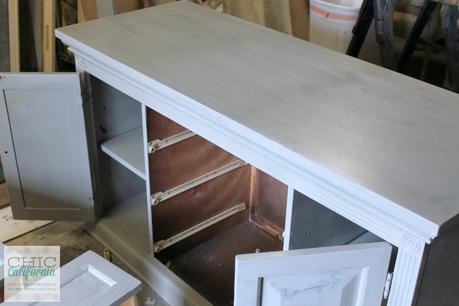
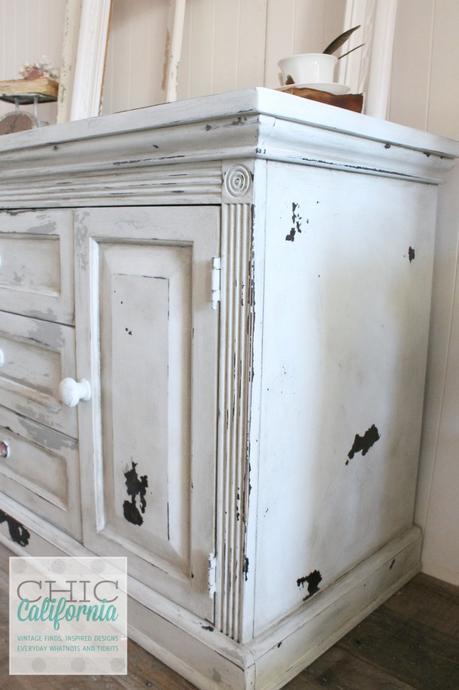
I painted this piece using Sweet Pickins Milk Paint in Galvanized with Extra Bond for the first layer of paint. That is the layer that I wanted to show through the top layer of paint. Before I painted the second coat of paint using Sweet Pickins Milk Paint in Window Pane, I added some clear wax in between the layers.
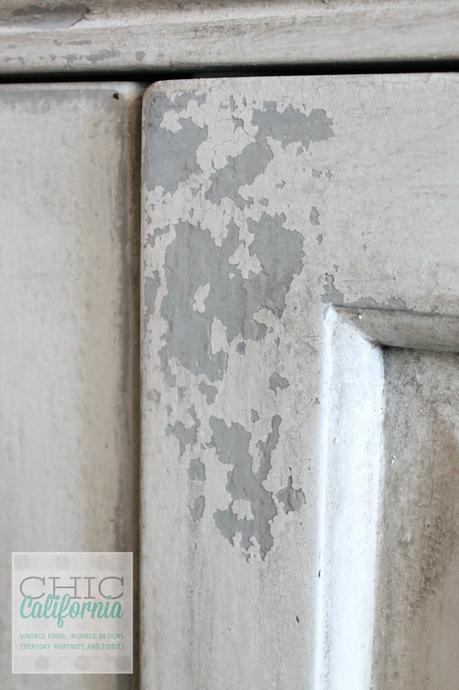
I just used my Sweet Pickins Clear Wax on a rag and strategically added a layer of wax where I wanted the top layer of Milk Paint to chip and show the base color. In some areas, like in the picture above, I did a very light layer.
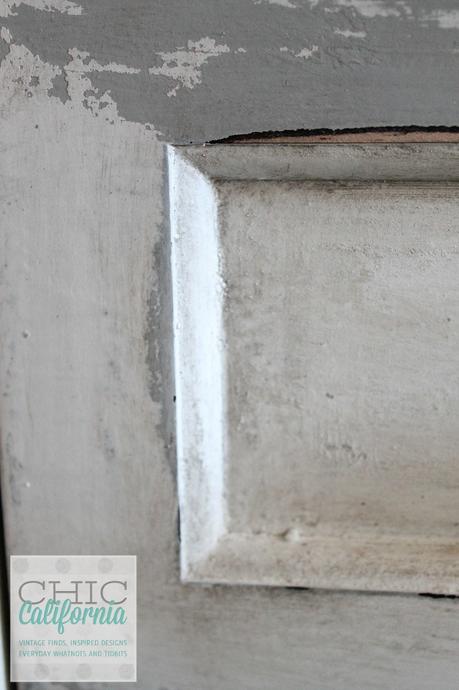
In others area I put a much thicker, larger layer of wax. The result is that some areas chip a little, some a lot. But it doesn’t pull up the base color. You can see more of this technique on the vintage style step stool that I painted here.
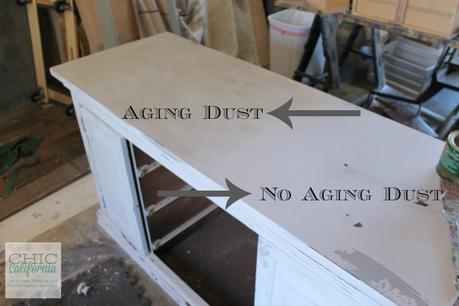
To finish this piece I used a thin layer of clear wax all over and followed up using Sweet Pickins Aging Dust. I love this stuff! It’s so much more subtle than antiquing wax and doesn’t make your piece look brown. Aged, yes. Brown, no. You can see how I use Aging Dust here.
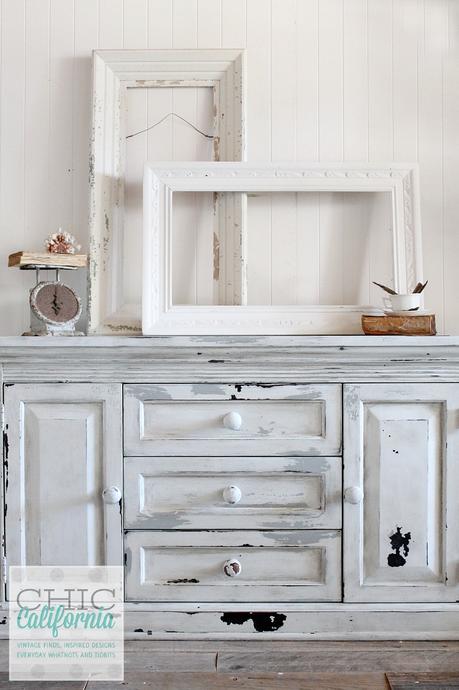
See the areas where it did chip down to the wood? When I went back to sand this piece I missed a few spots. But I actually didn’t mind some of the chipping down to the wood at the end.
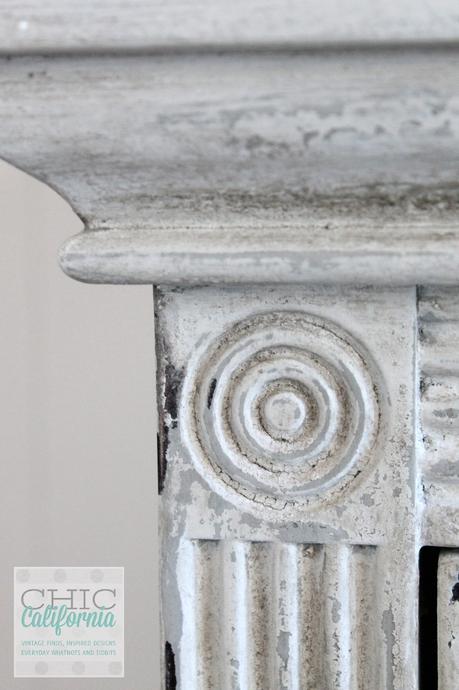
I just love how that aging dust gets into all the nooks and crannies.
