I have been asked to do this post so many times. This post will show you every step involved in building a large wood crate for shipping. Its picture heavy and long, so grab a cup of coffee and take notes.
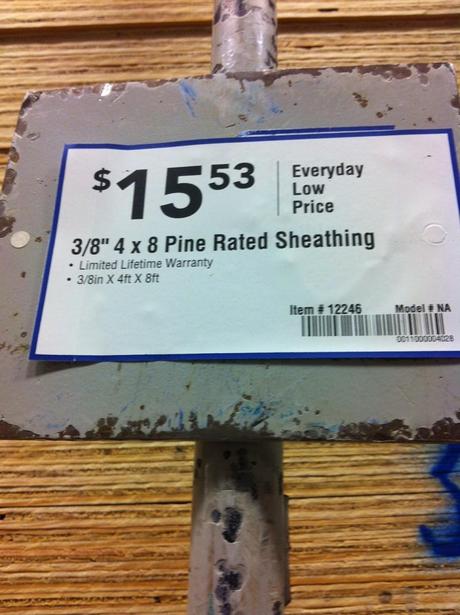
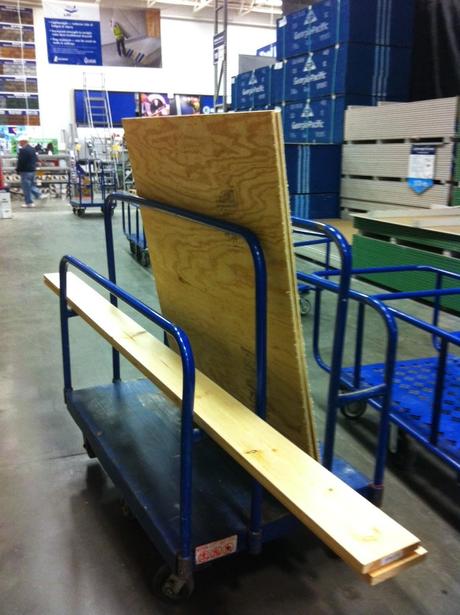
We buy the sheets of plywood at a big box store and have them cut it there. Be sure to know your measurements when you go. This crate is for a 36 x 36 canvas so the crate must be 40 x 40.
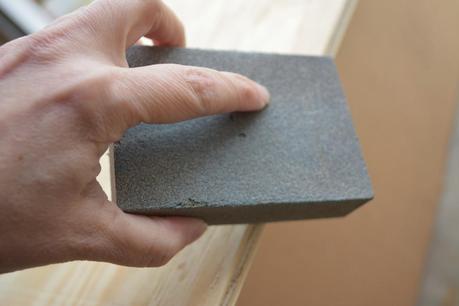
We also buy the side pieces (whiteboard) in the desired depth. This crate was for two canvases so its deeper than most. It is super important to sand all of the edges. Splinters suck and you don't want your clients (or yourself) with a big fat hunk of wood in their hands.
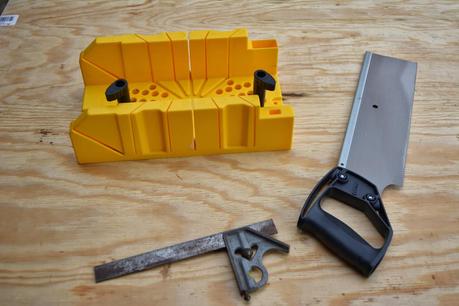
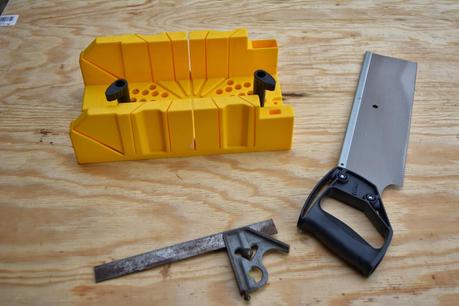
The tools aren't fancy, in fact, our saw horses are employed elsewhere so a large, sturdy box stands in.
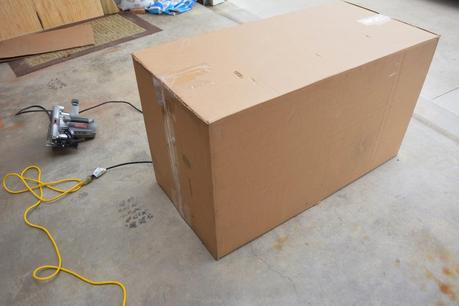
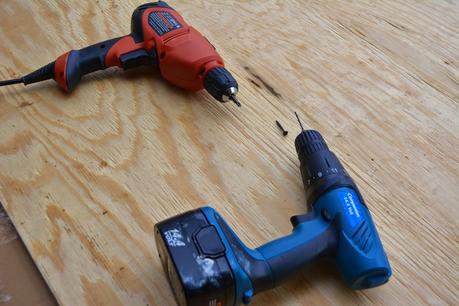
We use two drills. One to drill a pilot hole for wood screws and one to screw in the screws but its fine to use just one. Pistols grip clamps are a must too.
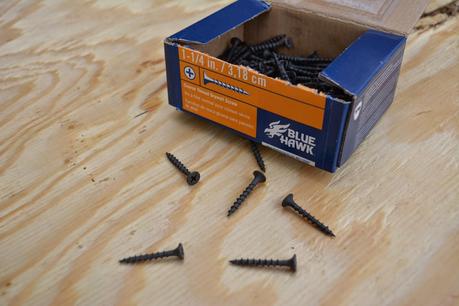
These are the simple screws to buy.
Lets get started.
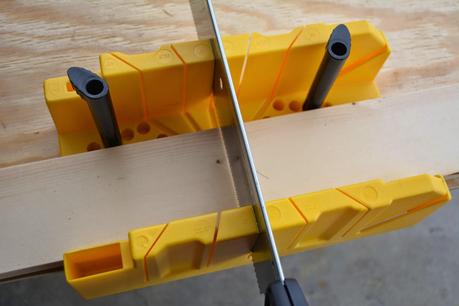
Use the miter box and saw to cut the side pieces. Important: Cut two pieces the full length of a side and two pieces smaller by the thickness of the board times 2. This will make the shorter pieces fit inside of the two longer ones. See photo below.
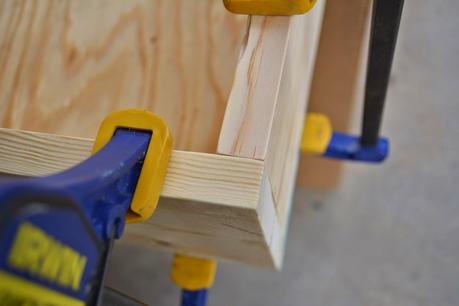 Remember to sand the edges.
Once the boards are cut place them flush with the edge of plywood and clamp them in place.
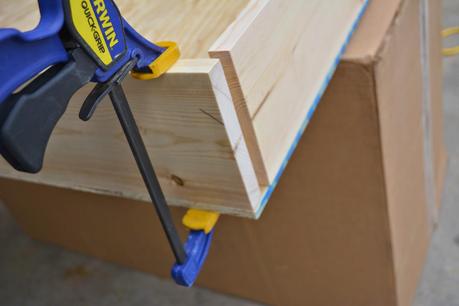
Next you will need to drill two pilot holes so that you don't split the sides when you screw them together.
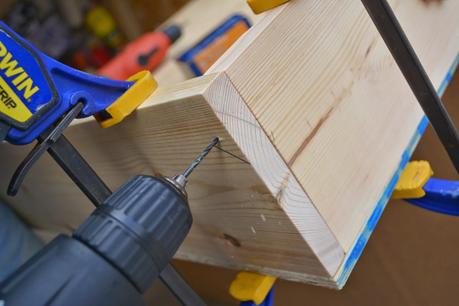
Be sure to place the hole farther down than the length of the screw because you will be using another vertically later.
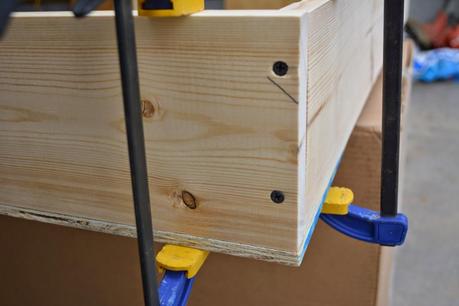
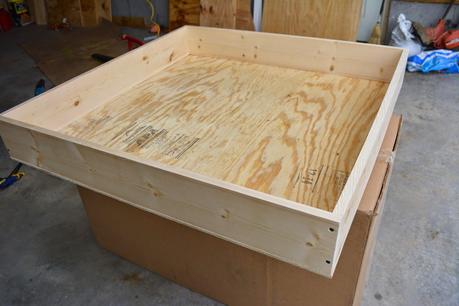
When you are finished it should look like this. Now you are ready to attach the bottom board to the sides.
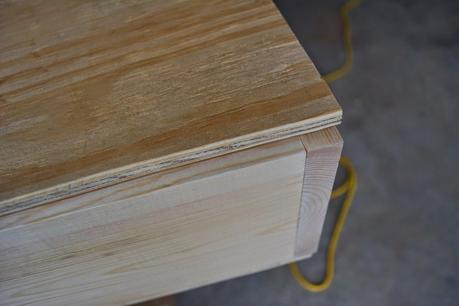
Make sure the sides line up!
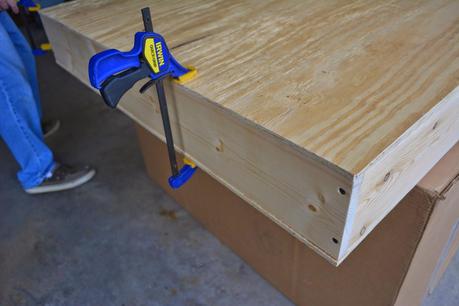
Remember, you are just using the other flat piece to steady the sides, nothing is attached yet. Clamp all of the pieces together and and drill pilot holes and screws about 12 inches apart.
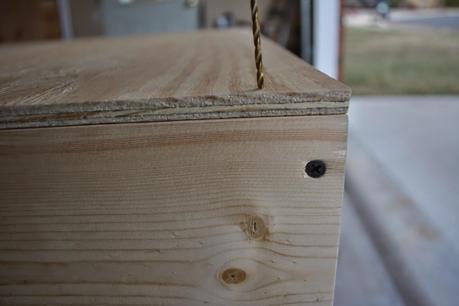
We like to steer slightly to the side of the other screws just in case. You should have one flat side attached to the four side pieces. Flip it over and remove the clamps that held the other flat piece in place.Now you can pack the art.
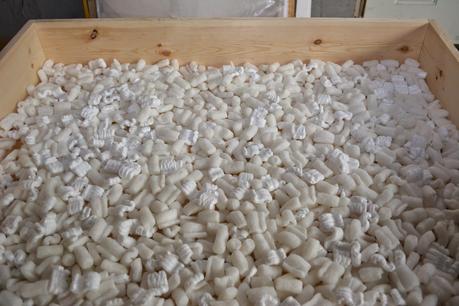 Start with a single layer of peanuts.
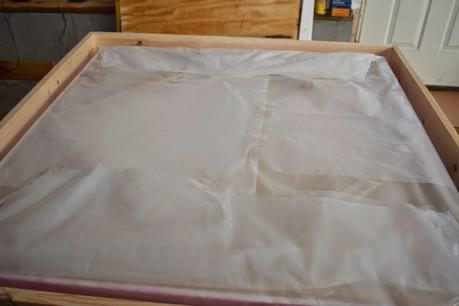
Add the wrapped artwork. You can see that there is little room around the edges. This allows a tight pack that keeps the work from moving around the the crate.
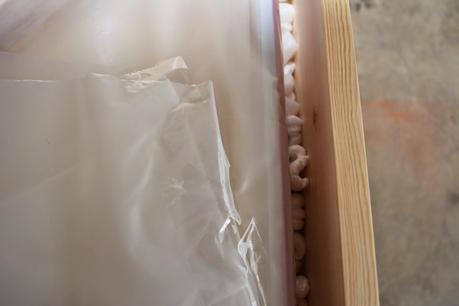
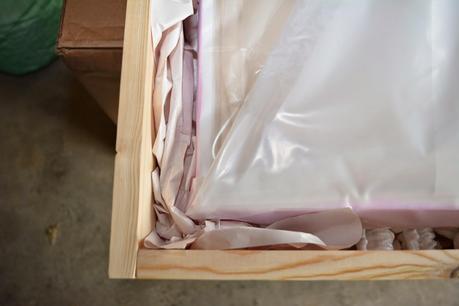
We pack the space very tightly with paper.
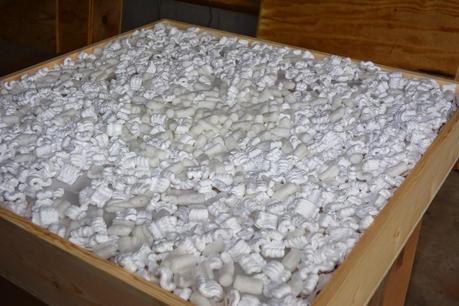
Then we add peanuts until the crate is very full. Important: The goal when packing anything for shipment is to keep it from rattling around during transit. Never skimp on packing material!
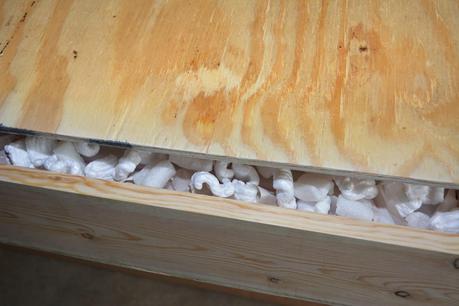
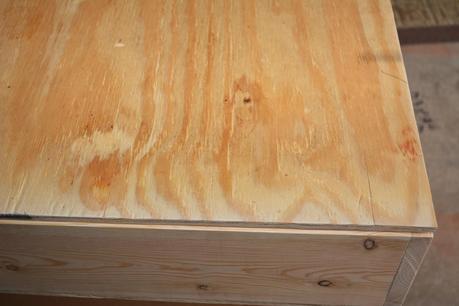
Now you are ready to close her up just like you did with the bottom piece.
I hope this has been helpful. Please ask any questions you have in the comments and I will reply by email (if possible) and update the post to clarify.
