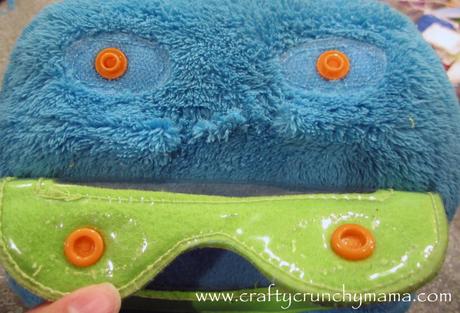
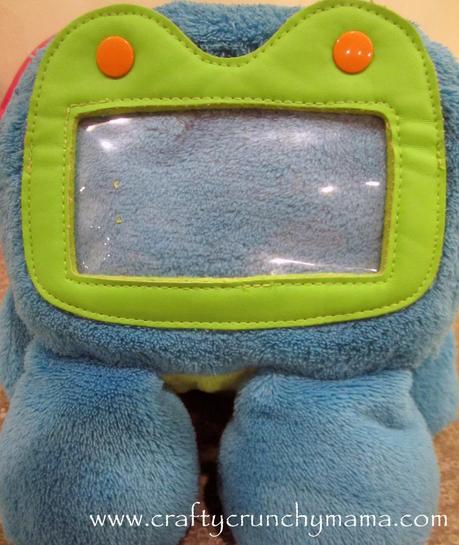
What you will need:
Seam Ripper
Snap Press or Snap Pliers
Snaps
Exacto knife or utility knife
Needle and thread
My Process:
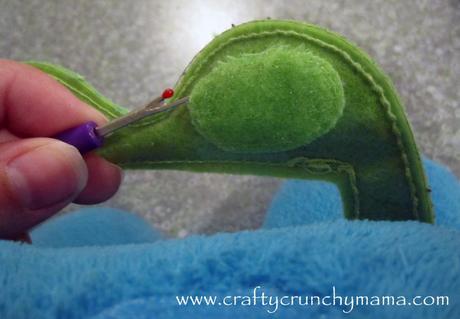
First remove the velcro tab from the green front flap of the Woogie. I didn't remove the velcro part on the blue "body" because it helped to stiffen the material - that way the fabric won't tear when you are snapping and unsnapping.
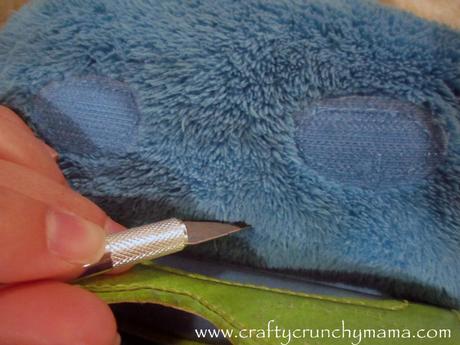
Next cut a hole in the center of the blue fabric - between the two remaining velcro pieces. This will allow you to get your snap pliers inside to attach the socket portion of the snap.
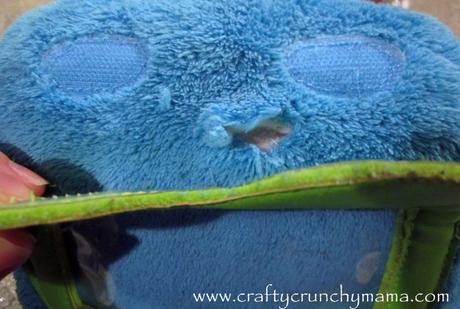
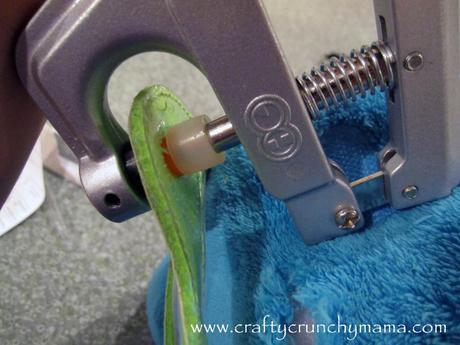
Attach the stud portion of the snap to the green front flap and the socket portion to the blue fabric of the Woogie. (I realized afterward that I did this backwards...oops!)
Once you are satisfied with your work (make sure they are secure, and that you can snap and unsnap them), stitch up the hole.
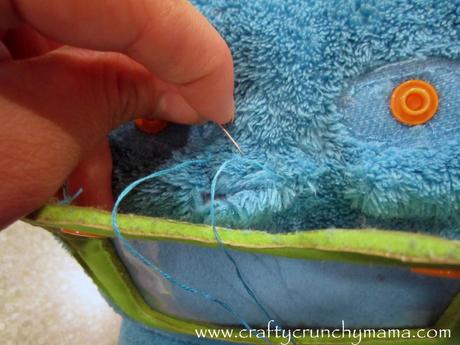
And there you have it - snaps on your Woogie 2!
