Today we have a guest post from Shahab Shokouhi, a glass design expert at Dulles Glass & Mirror. Enjoy:
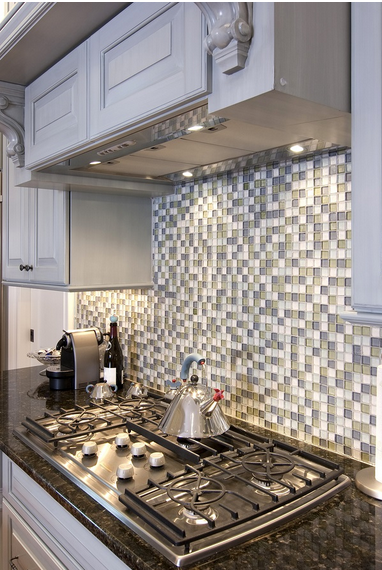
Few things can elevate the appearance of a room quite like a good piece of glass.
Whether it comes in the shape of a subway tile or single sheet, arranged in a brick pattern or an intricately-designed mosaic, the bottom line for kitchens and bathrooms is simple: it’s hard to go wrong with a glass backsplash. Indeed, perhaps the only thing more satisfying than having a glass backsplash is being able to say, “I did it myself!”
Fortunately, a DIY glass backsplash installation is not nearly as complicated or expensive as you might think. Here are some layout ideas, DIY installation tips, and notes on care and maintenance to get your creative mind steered in the right direction.
Single Piece of Colored Glass:
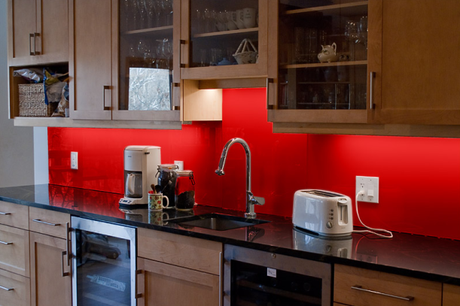
Photo via Dulles Glass & Mirror.
Not only does one piece of glass serving as your kitchen’s backsplash provide a seamless appearance and an easy to clean surface, but it also satisfies that oft-needed “pop of color” requirement in the kitchen.
Available in custom-cut sizes, this type of backsplash gives a single-shade complement or contrast to the other aspects of your kitchen (cabinets, countertops, appliances, decor, etc.).
Accent Band:
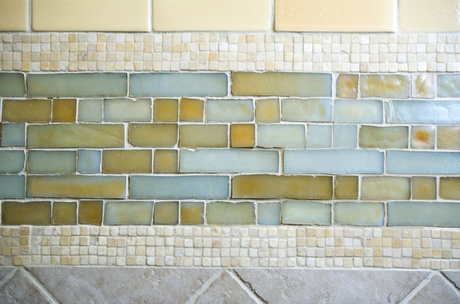
When intermingled with another type of tile, little glass blocks or stripes serve as an accent band around a particular area or even an entire room. It helps a backsplash stand out without sticking out.
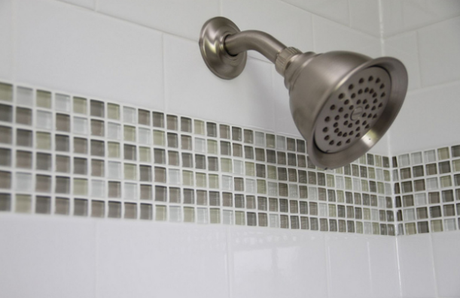
Photo via Flickr. (User: Clinton & Charles Robertson)
Ok, so this glass tile accent band in the shower doesn’t technically qualify as a “backsplash,” but it does serve to catch the water that splashes off of your back – not to mention it’s a great image of glass mosaic tiles coupled with white subway tiles arranged in a brick pattern – so it’s included!
Subway Tiles:
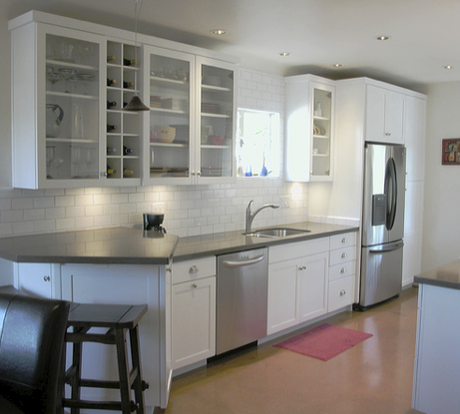
Photo via Flickr (User Nancy Hugo, CKD).
And speaking of subway tiles, here’s another great example of the classic white subway tile in the traditional brick layout.
Mosaic Tiles:
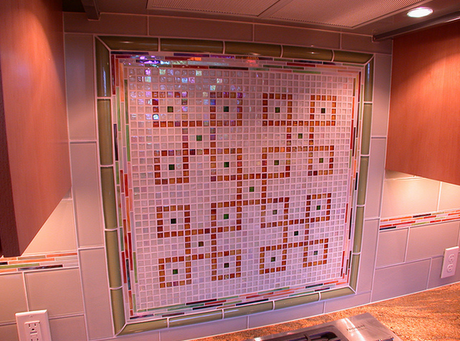
Photo via Flickr (User: uosɐɾ McArthur)
The beauty of tiles arranged in a mosaic is that the pattern can be as intricate or simple as you desire! There is really no “right” or “wrong” when it comes to a mosaic design, but rather what is, “right for you.”
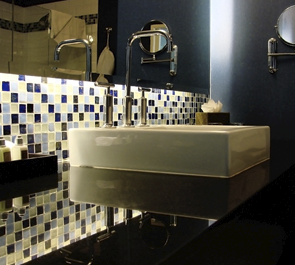
Photo via Dulles Glass & Mirror.
DIY Installation Done Right:
Photo via Dulles Glass & Mirror.
The size and layout of your kitchen, as well as the type of glass backsplash you choose, will largely determine your total cost for the project.
What stays relatively consistent, however, is the process for installing your tiles.
- Along the wall in your kitchen, measure the area you intend to cover from the top of the countertop to the bottom of the cabinet, doing your best to leave no spaces in between.
- Include 1/8″ grout lines in your measurements when dividing by the dimensions of your particular tiles to figure out how many rows you will need.
- Always lay out your tiles in a “dry run” beforehand to make sure you have measured correctly and that you are happy with the design.
- Mix the thin-set mortar according to the manufacturer’s directions, adding water a little at a time. You can always add more but you cannot remove if you add too much.
- Allow the mortar to sit for 10 minutes prior to use and then apply to the wall using a 3/16″ notched trowel in smooth, even strokes.
- Only cover about 2 square feet at a time – thin-set is workable for about 45 minutes, so avoids covering more wall than you can tile at once – and keep a sponge and water handy to clean as you go.
- Start applying tiles from the bottom and work your way up, inserting 1/8″ spacers as you go – you can remove these as the mortar sets.
- Maintain even lines with a level and check regularly.
- If you are cutting your glass tiles yourself, rather than purchasing pre-set “sheets” of mosaic tiles, it may run you around $50/day, but renting a wet saw will make the job of cutting tiles to order much easier.
- Once the tiles have set, grout with un-sanded grout (sanded grout will scratch glass), using a float and pressing grout into the spaces at a 45 degree angle.
- Wipe the tiles clean with a wet sponge once the grout has dried.
- Once clean, use a soft cloth to polish off the haze.
Careful Considerations:
In addition to your basic tile backsplash care and maintenance, there are special considerations for certain locations and tile types.
- If you are installing glass tiles behind a cooktop (as opposed to a single piece of glass or ceramic tiles, for example), pay careful attention to the spacing in between the individual tiles: greater separation may be required due to expansion and contraction caused by the heat source of the stove.
- Additionally, a special type of adhesive and sealant may also be required, depending on the type of backsplash you select. Be sure to ask the glass specialist when you purchase your tiles if any special materials are needed.
What newly-inspired glass backsplash designs do you have in mind?
Shahab Shokouhi is a glass design expert at Dulles Glass & Mirror, an innovative manufacturer of glass table tops, glass shelves, and all other glass and mirror products. Follow Dulles Glass and Mirror on Pinterest or on YouTube to see how they’re changing the way glass products are manufactured, customized and delivered.
