Natures Garden has created our Graffiti Soap Recipe that is fun for both the young and young at heart! This is the perfect melt and pour soap recipe to do with your kids. Our graffiti soap uses drizzles and splatters to create a paint inspired recipe sure to delight. This is a wonderful way for beginner soap makers to decorate their melt and pour soap as well!
Graffiti Soap Recipe Natures Garden Ingredients
Below, is a list of the ingredients you will find available at Natures Garden. Most of the ingredients for our melt and pour graffiti soap recipe can be found right on our website. You can simply click on the links below.
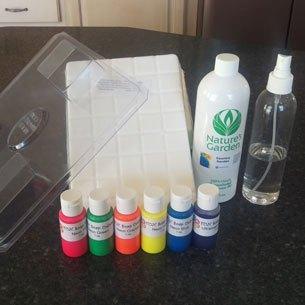
Fun Soap Colorant Ultramarine Violet
Shea Butter Melt and Pour Soap Base
Country Garden Fragrance Oil
FUN Soap Colorant Neon Yellow
FUN Soap Colorant Neon Green
Basic Rectangle Soap Mold
8 oz. Clear PET Bullet Bottle
FUN Soap Colorant Neon Orange
FUN Soap Colorant Neon Blue
White Fine Mist Sprayer 24/410
Natures Garden Apron
FUN Soap Colorant Neon Pink
Graffiti Soap Recipe Other Ingredients Needed
Scale
Microwave
Mixing Bowls
Mixing Spoons
Rubbing Alcohol
Freezer Paper
Preparing the White Soap Base of the Graffiti Soap Recipe
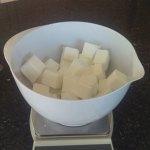
First, we will be creating the white base portion of your soap. Using your scale, weigh out 865 grams of Natures Garden’s Shea Butter Melt and Pour Base. Melt your shea butter soap base in the microwave in 30 second intervals. Heat only until your base is in a fluid state. Be careful not to overheat your base.
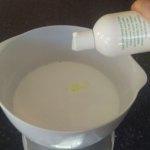
Once you have melted the shea butter base, add 43 grams of Country Garden Fragrance Oil. Then, stir well to blend the fragrance oil with the soap base.
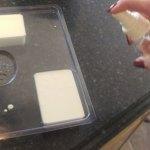
Then, pour it into two of the basic rectangle soap mold. Once you have poured the soap, spray any air bubbles that appear with rubbing alcohol.
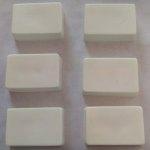
Finally, allow the melt and pour soap to set up before you remove it from the mold. Once you have removed the bars from the mold, place them on a piece of freezer paper.
Preparing the Colored Soap Bases for our Graffiti Soap Recipe
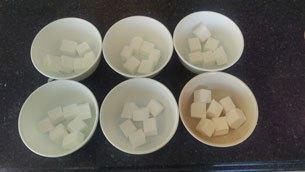
Pink Soap FUN Soap Colorant Neon Pink- 6 drops
Blue Soap FUN Soap Colorant Neon Blue- 8 drops
Green Soap FUN Soap Colorant Neon Green- 3 drops
Yellow Soap FUN Soap Colorant Neon Yellow- 5 drops
Orange Soap FUN Soap Colorant Neon Orange- 10 drops
Purple Soap FUN Soap Colorant Ultramarine Violet- 9 drops
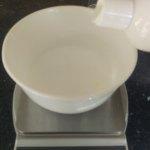
Now, you will need six small microwave safe bowls. Add 95 grams of the shea butter melt and pour soap to each bowl. Then, melt the soap base, again, in 30 second intervals. Once melted, add 4 grams of Country Garden Fragrance Oil.
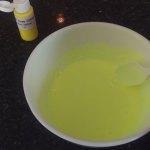
For the next portion of the soap, you will want prepare each color one at a time. We began with the yellow soap. However, you may begin with whatever color you would like. Use the guide above to color your melt and pour soap.
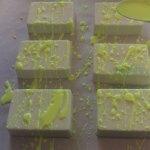
Once melted, you will first want to spray your white bases with rubbing alcohol. This will allow the drizzled soap to adhere to the white soap. Then, use as spoon to drizzle or splatter your first color. Make sure you drizzle the soap on each bar.
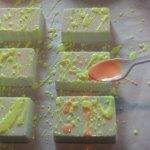
Now, move to the next color. You will want to spray the bars of soap again with rubbing alcohol to ensure adhesion. Drizzle the next color.
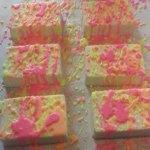
Follow the last couple steps, until you have used each color. You do not need to use all of each color at once. We saved some of each color so we could do multiple layers.
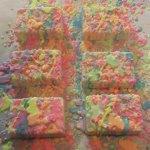
Continue drizzling and splattering your soap until you are satisfied with your results. Once you are finished, remove the soap from the freezer paper.
Finally, when you are finished, show us your results. Post your picture on our Facebook page. We would love to see what you have made! Alternatively, you can post your pics on our Instagram page by tagging us @ngscents!


