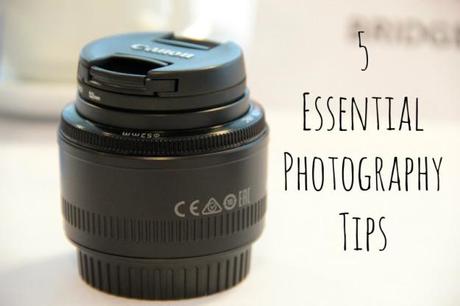
I’ve had a DSLR camera for over six years now (previously an Olympus E510, I switched to a Canon 60D last summer). Though I’ve made some effort to get to grips with the more technical side of things, I’ve tended to just go for it and see what works best when I’m actually taking photos.
Right from the start, I have avoided sticking my camera on auto but wouldn’t say I’ve always known precisely what I need to adjust to get the results I want. There have also been (disappointing) times when a photo is nowhere near as good as I’d expected it to be once it’s up on the computer screen. In a bid to improve and get more out of my camera, last month I attended a digital photography workshop.
Generously hosted by the Copthorne Hotel in Sheffield and Pandora of Going Digital, the session was aimed at getting us ‘off auto’ but was equally suited to myself as a not-beginner-but-could-do-better. The workshop covered all of the basics such as depth of field, exposure, ISO, and so on, but the value for me really lay in discovering how these functions interact with each other. We were also shown the shortcut buttons for our specific camera brands – I’d really recommend taking a moment to learn these as it makes altering the settings on the go a much more manageable task!
Operating in aperture-priority mode is ideal as it gives you a lot of freedom and control over most of the camera’s settings. Most importantly, you can be more responsive to fast changing situations and different conditions than in manual mode. I wanted to share here the five most important elements in setting up your camera but also some tips on how these impact upon each other…

- Aperture – this refers to how much light is allowed to enter the lens and is used to control the depth of field (i.e. how much of the image is in focus).
Top tip: A small f-number (e.g. f/1.8) will let in a lot of light and create a shallow depth of field for a blurred background, whilst a large f-number (e.g. f/22) will result in more of the image being in focus for a large depth of field.
- Shutter Speed – as you would expect, this is how long the shutter stays open for when a photo is being taken. A faster shutter speed gives a sharper image whilst a slower speed can be used to create movement.
Top tip: In aperture-priority mode, the shutter speed changes automatically according to the other setting you use. For example, creating a large depth of field will slow down the shutter speed. You can compensate for this by using a high ISO setting.
- ISO – the ISO affects the sensitivity to light. In darker conditions, a higher ISO will give you a quicker shutter speed to still achieve sharper images.
Top tip: A high ISO will however result in a grainier image so it is advisable to use a tripod in low light so you can balance the slower shutter speed with a lower ISO to keep the photo clearer and sharper.
- White Balance – this setting compensates for different light conditions to give the most accurate colours in an image.
Top tip: If you are shooting indoors the ‘tungsten’ setting will add a blue tint to counteract the orange cast a light bulb gives.
- Exposure – exposure determines how light or dark an image will be. Sometimes even with of the above factors set correctly, an image will be too bright or too dark to our eyes; moving the exposure up or down will manually correct it.
Top tip: Upping the exposure will slow down the shutter speed therefore a higher ISO may be needed to still get a sharp image.
I hope to share some more photography tips in the future as I endeavour to improve myself but in the meantime you can find some fantastic landscape photography tips from Pandora here. Thanks to both Pandora and Millennium Hotels for a fantastic day!
Do you ever venture off auto? What are your essential photography tips?
