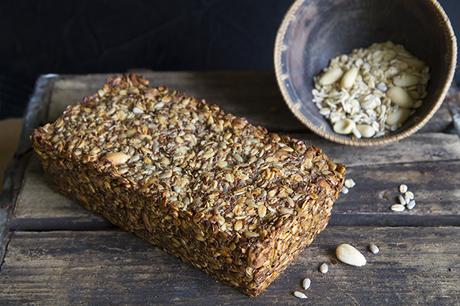
I know you are most probably saying "A gluten free and Vegan loaf of bread, that actually tastes delicious?" It does sound too good to be true, but believe me there is one out there and its the genius of the very talented Sarah Britton, the Holistic Nutritionist, from My New Roots , who describes it as "The life changing loaf of bread".
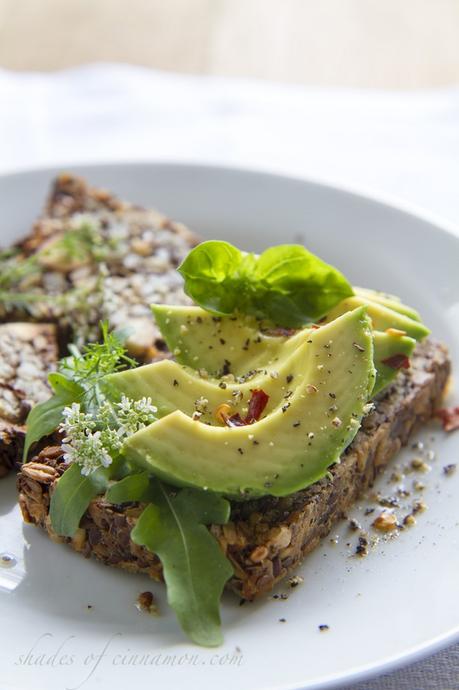
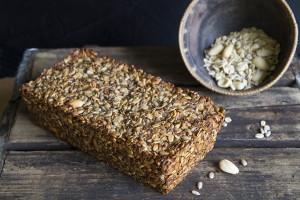
You may wonder how this loaf binds together without flour. The secret is in the super absorbent psyllium husks, natures most absorbent fibres. It binds together all the delicious nuts, seeds and whole grains, making this loaf incredibly high in protein and fibre. The bread does not rise as it has no rising agents, so the size that you see when you put it all together is the size it will be when baked. I suggest you use a small loaf pan in order to make the loaf higher.
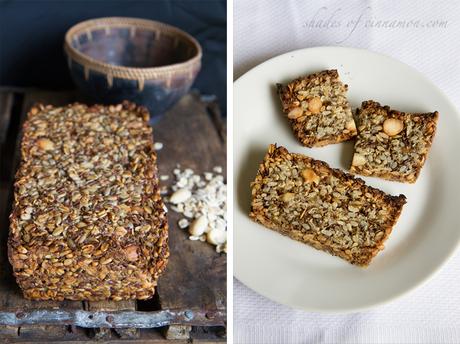
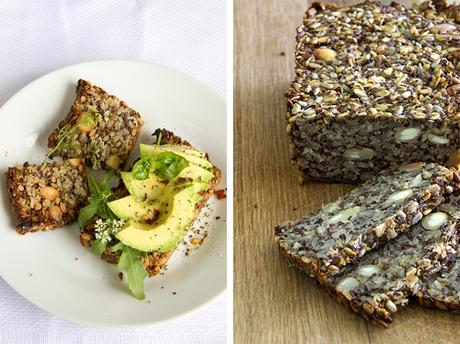
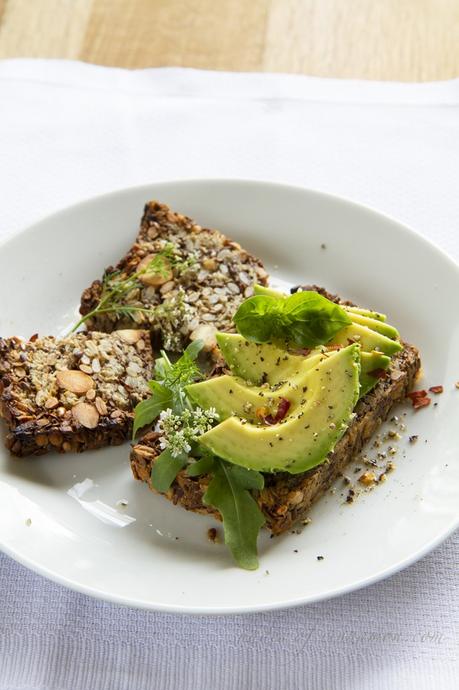
As far as I am concerned the best way to eat this bread is toasted. Apart from the amazing nutty smell it imparts while toasting, I love the crunch, its something I can't resist. One or two tiny slices of this bread will keep you full for hours. I like to slice the whole loaf once it has cooled and I wrap and freeze individual slices, which are so quick and easy to just pop into the toaster.
- 1 cup / 135g sunflower seeds
- ½ cup / 90g flax seeds
- ½ cup / 65g hazelnuts or almonds
- 1 ½ cups / 145g rolled oats
- 2 Tbsp. chia seeds
- 4 Tbsp. psyllium seed husks
- 1 tsp. fine grain sea salt
- 1 Tbsp. maple syrup (for sugar-free diets, use a pinch of stevia)
- 3 Tbsp. melted coconut oil
- 1 ½ cups / 350ml water
- Combine all dry ingredients, stirring well. Whisk maple syrup, oil and water together. Add this to the dry ingredients and mix very well until everything is completely soaked and dough becomes very thick (if the dough is too thick to stir, add one or two teaspoons of water until the dough is manageable). Press into a small loaf tin ( this does not rise so it will come out the size it is in the tin) and smooth the top of the loaf. Allow to sit on the countertop for at least 2 hours, (I left it overnight)
- Preheat oven to 350°F / 175°C.
- Place loaf pan in the oven and bake for 20 minutes. Remove bread from loaf pan, place it upside down directly on the rack and bake for another 30-40 minutes. Bread is done when it sounds hollow when tapped. Let cool completely before slicing .
- Store bread in a tightly sealed container for up to five days.
- It is great for freezing. Make sure you slice it first and wrap slices individually
