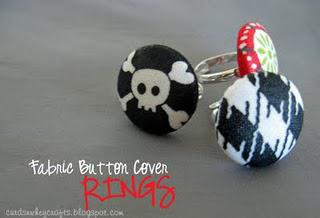
 I came up with this idea for my daughters birthday party. She is going to have a pirate party so I thought it would be so fun to do these rings as part of there goody bag.
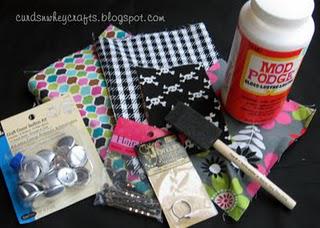
Items Needed For Project:
Fabric with a small design
7/8 inch craft cover button kit
Ring with pad
Industrial strength adhesive like E-6000
Mod Podge (optional)
 First you are going to lay your fabric out and take the clear template and trace the outside of it onto your fabric. The inside circle is what will show on the ring.
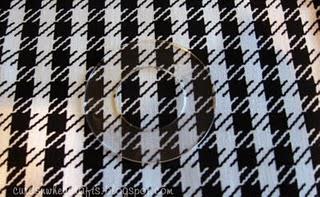 Now cut it out and stick the fabric over the mold with wrong side up. Now push your button shell into the mold.
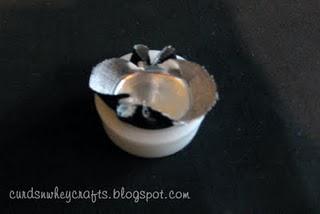 Next fold all of your left over fabric down and put a back over it. Take the pusher tool and push the back down until it snaps into place.
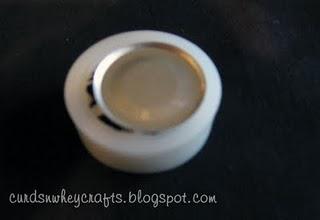
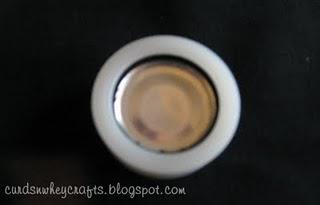 Now remove the button cover from the mold. This is where you need to decide if you want Mod Podge on it. I used Mod Podge on mine because I wanted it a little shiny. After the Mod Podge is dry take your E-6000 and drop a little on the pad of the ring. Stick the button cover on and let dry for at least 12 hours.
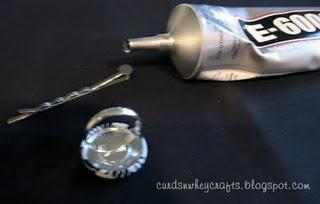 I also decided to make a few hair pins that match. They turned out super cute.
 Now go make some for you and your little girlie.

