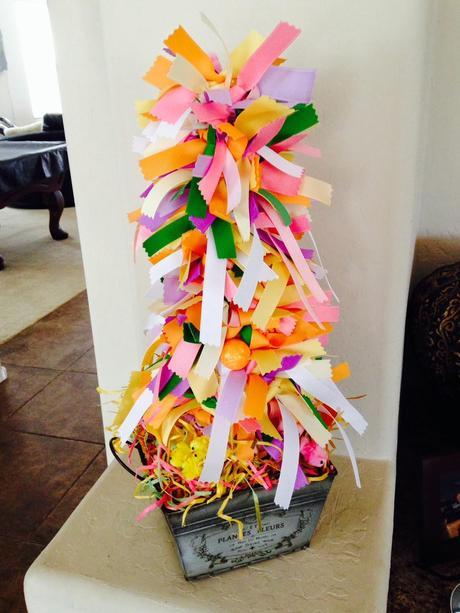
If you follow me on Instagram you've already seen my fabulous Easter and Spring Ribbon Tree here. I've made 2 other trees as well, Valentine's Day and St. Patrick's Day. Now, I first posted about a "ribbon tree" back here. OH, and since I've written this post I made "another" Easter tree, one more to go, for a total of 3!
Today's post I'm finally going to share with you "how-to" make it! Yippee! You must be absolutely delighted and beside yourself. I know, I am! Trying to make you laugh this am! Here goes...
What you'll need...
- 60 yards of Solid Grosgrain Ribbon in 5/8" and 7/8" width
- 6"w x 6"h x 6"d container (Michaels)
- foam block to fit container (purchase foamafter container (base) to determine correct size)
- 12" h foam cone (Amazon or Factory Direct Craft)
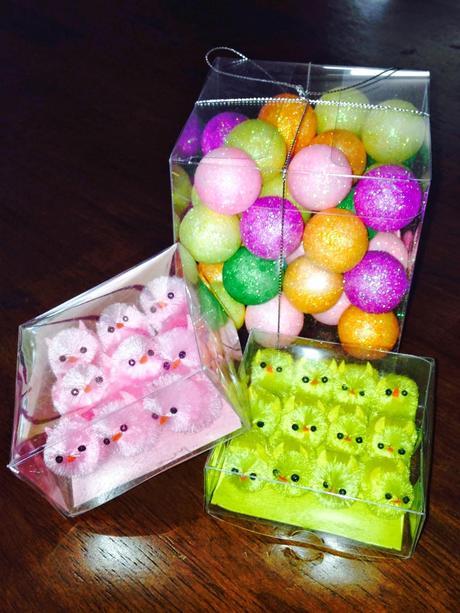
- 4-6 1" w foam balls in spring colors with glitter (check Michaels)
- 1 bag of paper shred, pastel colored (check Michaels, Easter section)
- 3 chicks (small, yellow) (check Michaels)
- 1 chicks (medium, pink) (check Michaels)
- 750+/- flat head pins (Amazon or Manhattan Wardrobe Supply) OR
- 750+/- IBC glass head 1-3/8" silk pins super fine 0.5mm shaft with white head - 250/box (Amazon or Manhattan Wardrobe Supply)
- glue gun
- glue sticks
- pinking shears (must-have, the ends of the ribbon won't fray)
- newspaper (for glue gun and paper shred work area)
Solid Grosgrain Ribbon...
My ribbon vendor of choice is the awesome and fabulous Ribbon Retreat! I have found that it is more cost-effective to order online. The color choices are infinite and they'll help you match up if need be as well. The staff is truly wonderful to work with. Note: I am not being compensated in any way to state this in my post.
You can choose to 2 colors or use multiple colors as I did.
If you choose the 2 color option, here's your list...
- 22 yards of Solid Grosgrain in 5/8" width
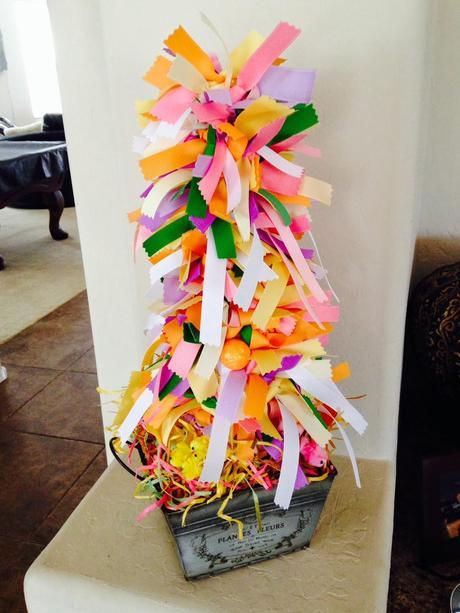
- cut into (10) 11" lengths NOTE: you don't have to do this, you can cut them all the same length if you choose...see my picture of finished tree (the white ribbons are 11").
- cut into (97) 6-1/2" lengths)
- 38 yards of Solid Grosgrain 7/8" width (cut into 6-1/2" lengths)
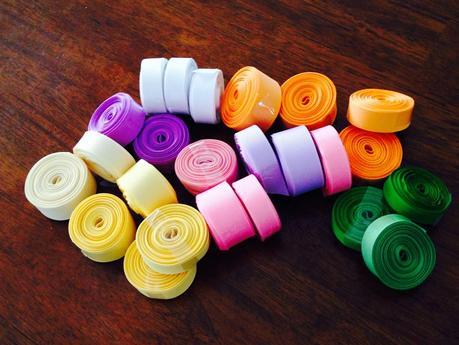
I wanted a "spring" color scheme and purchased the following solid grosgrain ribbon (see above):
- 5/8" width white
- 5/8" width crème
- 7/8" width crème
- 3/8" width light pink
- 5/8" width pink passion
- 7/8" width pink passion
- 5/8" width lavender
- 7/8" width lavender
- 5/8" width dark orchid
- 5/8" width banana cream
- 7/8" width banana cream
- 5/8" width pure green
- 3/8" width apple green (bright color, that pops!)
- 5/8" width apple green
- 5/8" width creamsicle
- 7/8" width creamsicle
It's important to note that you'll need to pick colors and the amounts to mix-n-match to equal 60 yards. Depending on how tight you place the ribbon knots you may or may not have any ribbon left over.
Instructions...
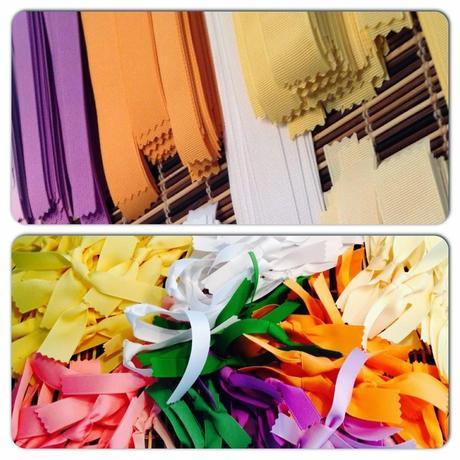
- Cut the ribbon with pinking shears to the desired lengths as mentioned above. The purpose of using the pinking shears is so the ends don't fray. Trust me, you don't want the ribbon to fray - I didn't use the pinking shears on the first 2 trees, lesson learned. You can buy pinking shears here, I prefer Fiskars brand.
- Take a break!
- Cut the foam cube to fit the 6"x6" container. I purchased a bigger block and cut it into 3 equal pieces. I glued one cube on top of each other to meet the top of the container.
- Glue foam cone to cube.
- Glue 4-6 foam balls in various places on cone. I felt it easier to glue them on first and then pin the ribbon knots in place.
- Place paper shed in base of container and at edge of foam cone. This will help you place the ribbon accordingly on the bottom.
- Take a break!
- Tie the ribbon into ribbon knots. Tie a knot in the middle of a ribbon length.
- Pin the knots to the foam. Alternate colors accordingly. You can use silver pins or white ones. I prefer the white ones but, used both for this project.
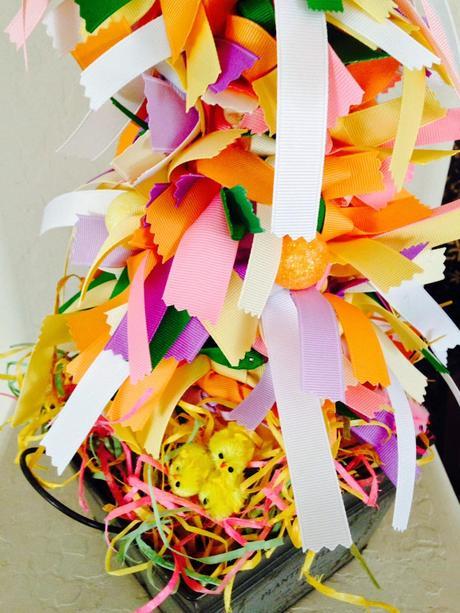
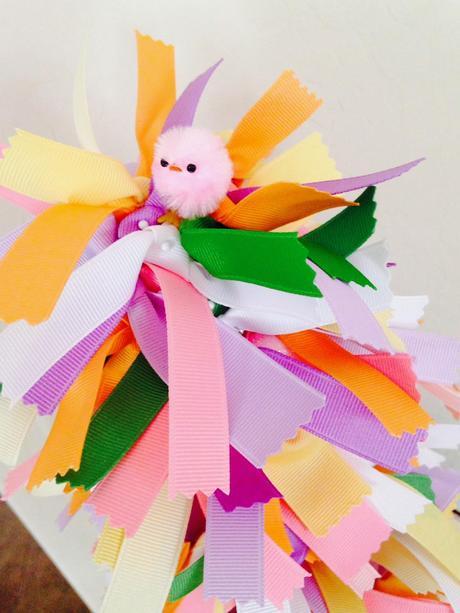
- After all ribbon knots have been put on the tree, add the chicks. Make sure the glue gun is "hot" and that you have a full glue stick in place. You need to be quick when placing the chicks in place. I stuck them in spaces throughout the tree, so that they are peeking out beneath the ribbons and at the base.
Estimated time to complete...
It will take roughly 4 to 6 hours to complete the entire ribbon tree. In all honesty, I would complete this project over multiple days, like I did. Day 1) cut ribbon. Day 2) glue everything together (except chicks) and place paper shred in container. Day 3) make ribbon knots. Day 4) pin all ribbon knots on tree and glue chicks on tree. Note: my estimated time of completion does not include ordering the ribbon at Ribbon Retreat or my trip to Michaels.
Happy DIY project time!! Please let me know if you have any questions.
Also, I've listed the trees over at BlondiesShop for sale if you don't have time to make one. I can make custom ones too!
Happy Thursday! Make it an absolutely fabulous day!
