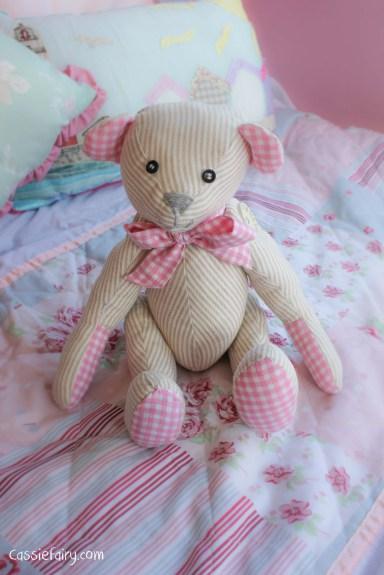
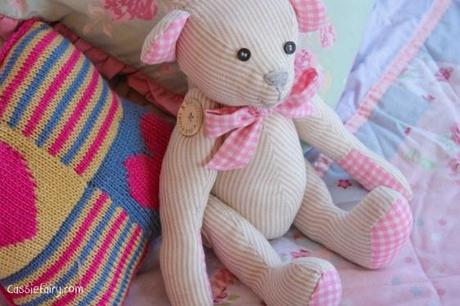
I think that I’ve undeniably smashed through the sewing block I wrote about earlier this month with all this project. For someone who wasn’t really in the mood to sew at all, I’ve certainly put my all into making this teddy bear for my niece’s christening gift! I did the whole project on one morning, rather than over the course of a few weeks (on and off) when I made a blue teddy bear for my nephew’s christening. and my sewing session was really enjoyable. I didn’t turn on my computer at all that morning, because I knew I’d get lured in by emails and Facebook if I even opened up my laptop, so it was a lovely break from technology too.
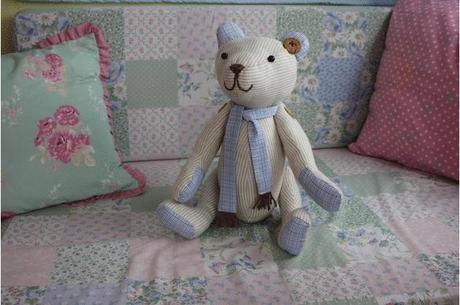
My first ever attempt at sewing a teddy bear for my nephew
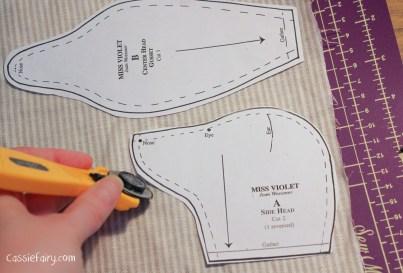
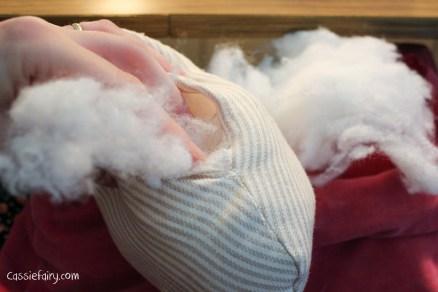
I gathered everything together before I started, which saved time because I usually have to go hunting for something – buttons, thread, stuffing etc – half way through the project and it puts me off my stride. This time, I kept everything together and set to work cutting out the pattern pieces. This was SO much easier now that I have a rotary cutter and cutting mat (from Wholeport) because I could just trace around the pattern shapes so easily and the fabric just came away from the edges, even when I was cutting through two layers at once! I remember the pattern cutting task being quite laborious last time, so I was pretty smug with myself as I sliced through the fabric and stacked up my pieces in no time.
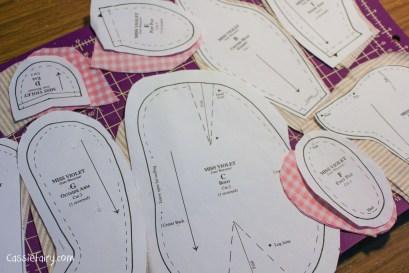
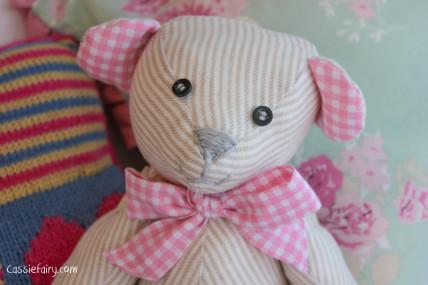
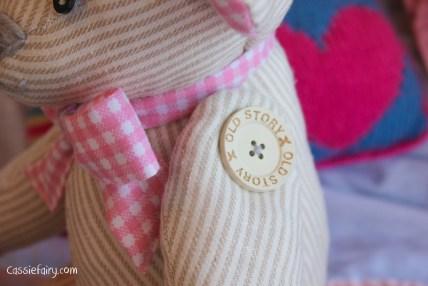
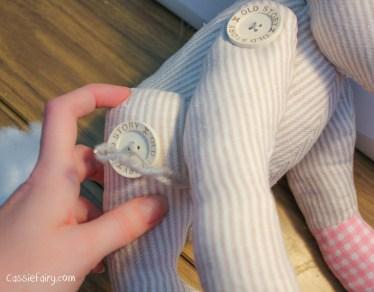
Having already constructed one teddy bear in the past, I didn’t bother with the instructions as I began sewing, which proved to be a big mistake: I ended up sewing two left arms, oops! After a bit of unpicking and resewing I was back on track and kept an eye on the instructions from then on. Even though I was using the same fabric for the body of the bear, I’d decided to make it different by using pink gingham for the feet, paws and ears, chosing grey wool for her nose and mouth, and I used white wooden ‘Old Story’ buttons from Wholeport to join the legs and arms to the body. To make the arms and legs moveable I attached them using wool that went all the way through the body of the bear and out the other side, so the wool went through the layers like this: Left button – left arm – body – right arm – right button and back again. This means that the limbs are attached to the body but can be twisted up or down so that the bear can sit, stand, wave etc.
As she’s a girl bear, I decided that a pretty gingham bow would be more suitable than the scarf that the first bear wore. I also machine-embroidered a gingham patch saying ‘handmade with love’ to attach over the join on her back, which I hand-stitched onto the bear with a running stitch around the edges. I hope my niece likes the bear as she grows up (she’s too little to play with it at the moment because of the eyes and buttons) and even if it’s just an ornamental bear, I’m pleased that I was able to make it for her myself and I really enjoyed the process.
