Hello! I have not been updating here as of late but that is because aside from my day job in the humanitarian protection field, I have been quite busy with DIYKL (Do-It-Yourself Kuala Lumpur)! DIYKL has allowed me to be able to broaden my passion for DIY fashion by designing and curating special DIY fashion kits, and guess what? They ship worldwide! Yay!
Even though I have been DIY-ing a lot, I have not been able to post my DIY tutorials because sometimes I do not have the time to take tutorial photographs but today I did! DIY-ing a leather catchall has been on my DIY To-Do List for a while now and I finally had the time today to make a few. This particular one was made for my aunt who is an amazing cook and baker. I am always blessed by her open arms, warm hospitality and delicious food that I personalised this leather catchall for her to decorate her home.
Read on below to make your own DIY Personalised Leather Catchall:
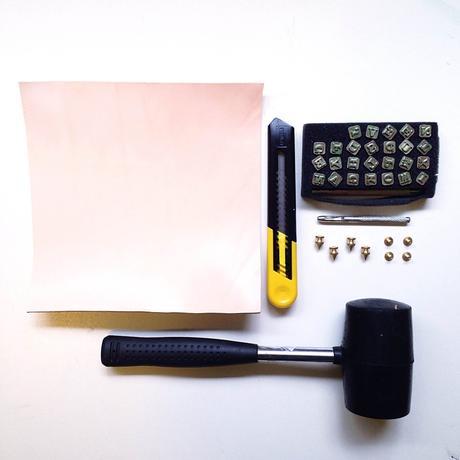
What you need:
- Leather (I used 2mm thick raw cow leather sourced from Thailand. Email [email protected] if you would like to purchase some leather)
- Sharp knifeblade (I use Stanley knives)
- Screw-on studs
- Hole-punch tool
- Letter embossing kit
- Rubber mallet
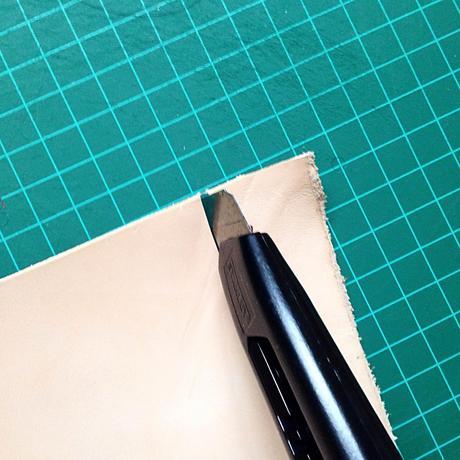
Cut the leather. Mine measured 20cm x 20cm to make a box shape. You can try other shapes as well such as a rectangular or triangular shape.
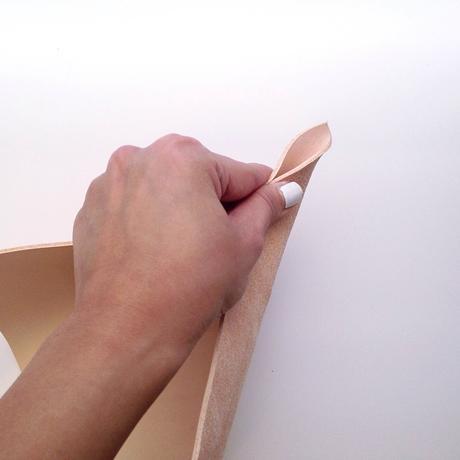
Pinch the side of the leather catchall.
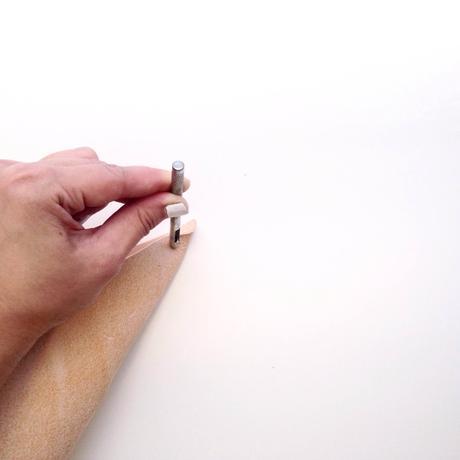
Take the hole-puncher tool and determine where you would like to punch a hole. The more inwards you go, the deeper the depth of the leather catchall.
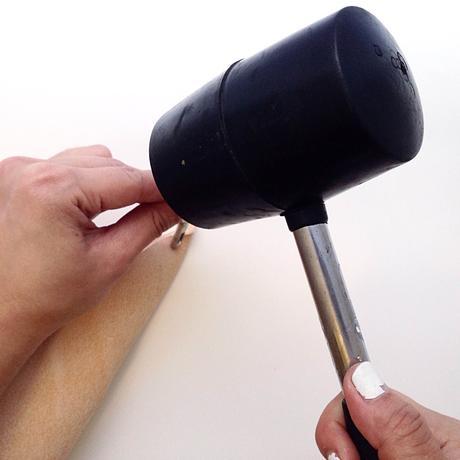
Take the rubber mallet and knock the top of the hole-puncher tool a few times until it has pierced through the leather.
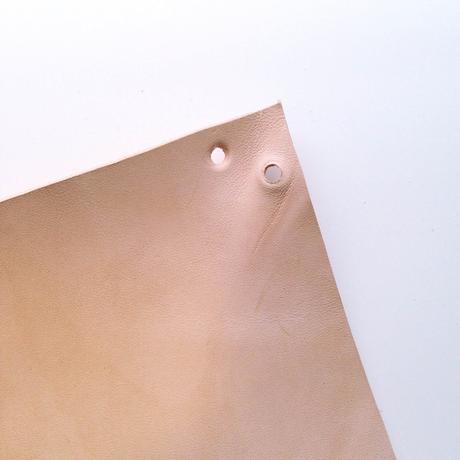
The holes will look like in the picture above! Repeat Step #4 for the remaining 3 parts.
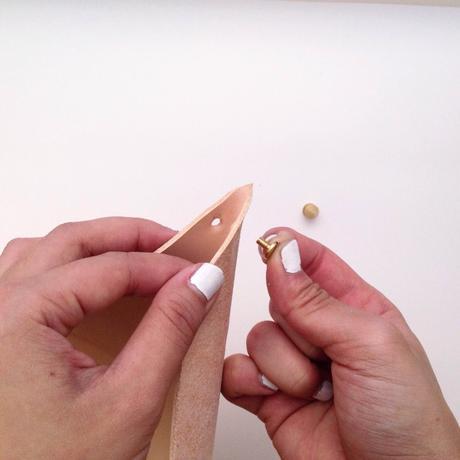
Take the screw end, and pierce it through the hole.
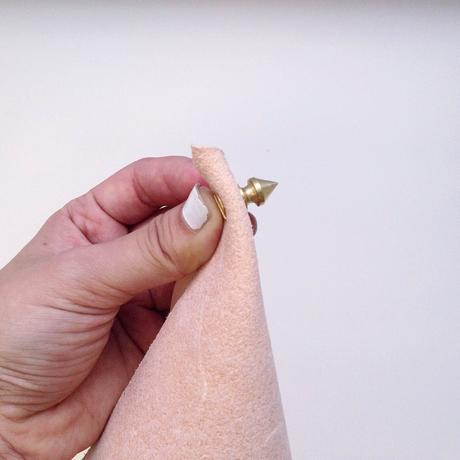
Take the other part of the stud, and screw it on. Do this for the remaining 3 sides.
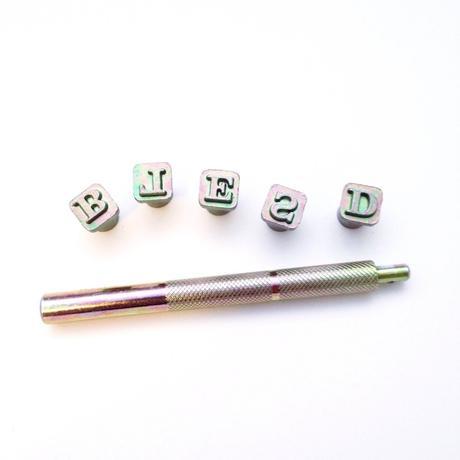
Prepare your letters to be embossed onto the leather! I wanted to spell "BLESSED" as I am blessed by my amazing aunt.
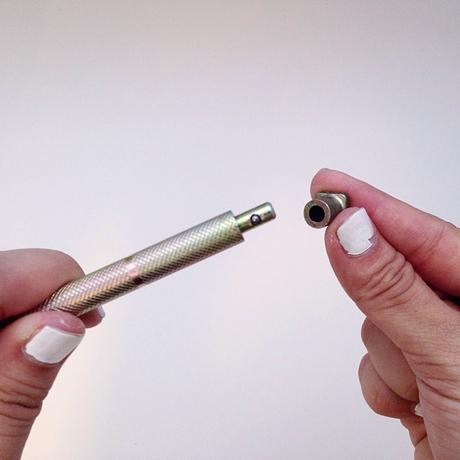
If you have an embossing tool like mine, all you need is to click in the particular letters onto the tool.
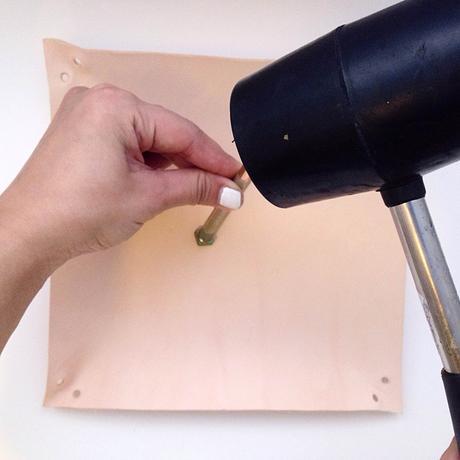
Before you start embossing, you can remove the studs if you wish to emboss the leather. Otherwise if you feel more confident, you can always just emboss it directly onto your leather catchall.
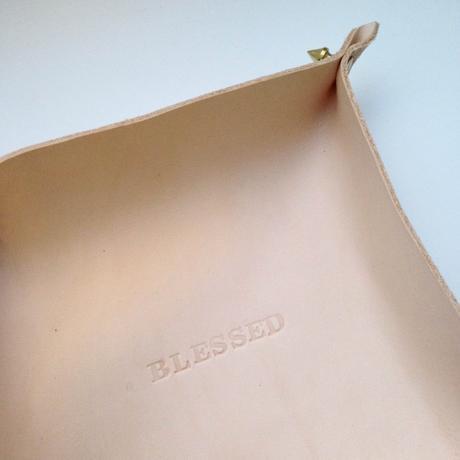
Voila! The embossing is complete.
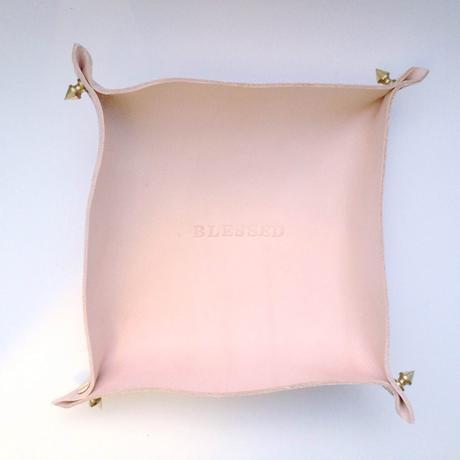
Your DIY Personalised Leather Catchall is finished - this would make a great present.
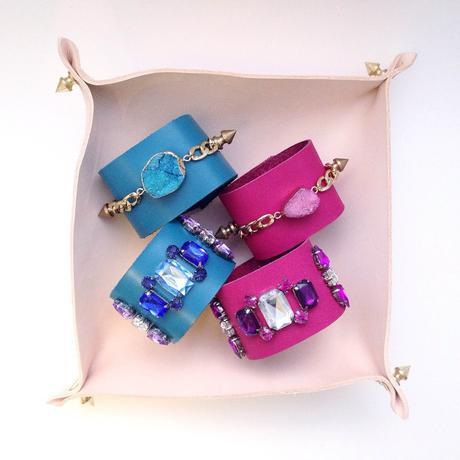
You can use your DIY Personalised Leather Catchall to keep your small trinkets, keys, receipts, etc. I hope you found this DIY simple and easy to make! x


