If there’s anything from my list of DIY accessories that one of male best friends wouldn’t mind wearing, it would be a survival paracord bracelet. In addition to the the fact that it not only looks ‘manly’, it also serves another function during emergencies. From making an emergency dog collar to making a makeshift rifle sling while on active soldier duty, no wonder these paracord bracelets are so popular among the men!
There are many different cord patterns, but the most basic type of pattern is actually the macramé pattern which is in fact used a lot when making friendship bracelets. I did a different take with this DIY Paracord Bracelet, using gold hardware – fortunately my male best friend didn’t have a say in it!
Read on:
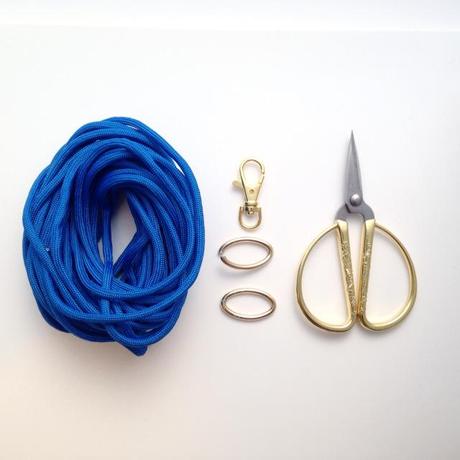
What you need:
- 550 Nylon Paracord
- Lighter (to burn the ends)
- Large jumprings
- Large clasp
- Scissors
- Ruler
Step #1:
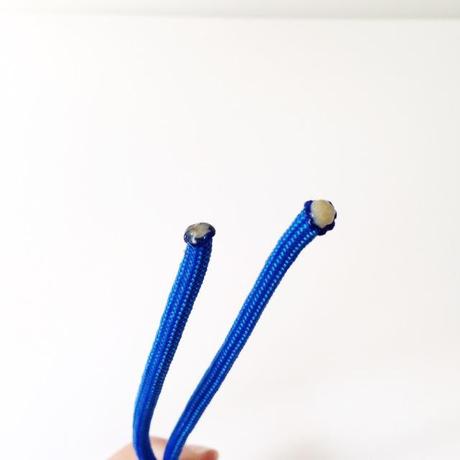
The length of the cord is based on the full diameter of the person’s wrist including the hardware. Here, I cut 10 feet of paracord just to be sure. Better to have more than less! Burn the ends so that you secure the ends because if not, the white fibres will start peeking out and nobody wants that!
Step #2:
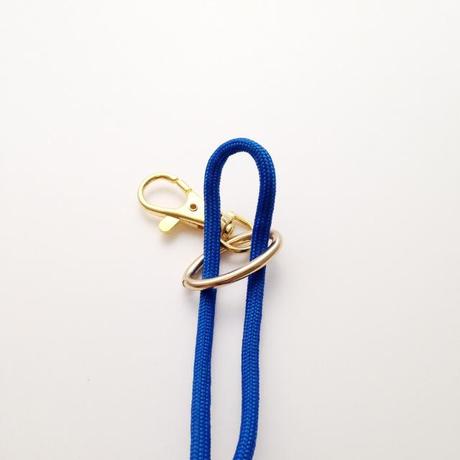
Attach the clasp to the jumpring. With the paracord bent in half, make a loop with your paracord.
Step #3:
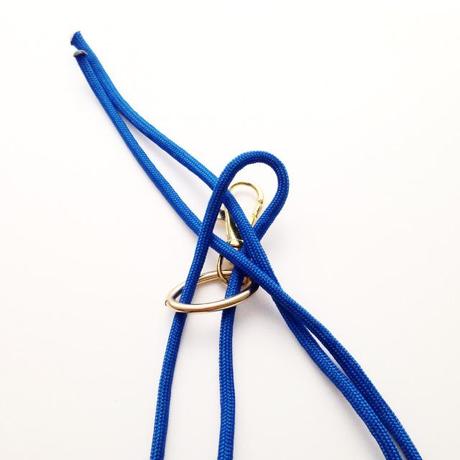
Thread the free ends through the loop as shown above.
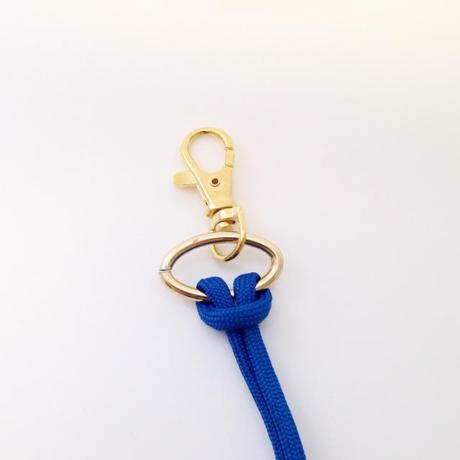
Now the loop should like the above!
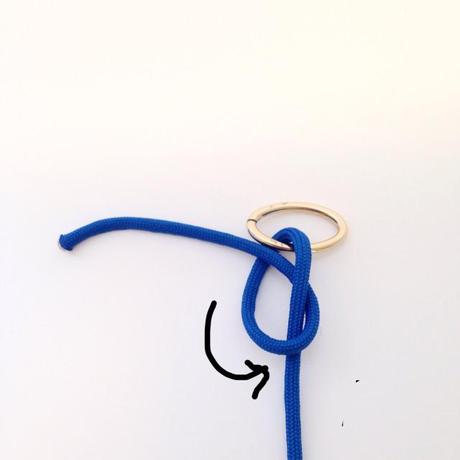
Step #4:
The free ends will go through the other jumpring. Make the loop as in the picture!
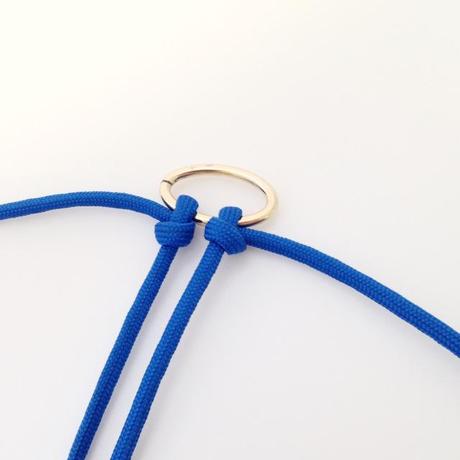
Step #5:
As for the right side, follow step #4 but in the opposite direction.
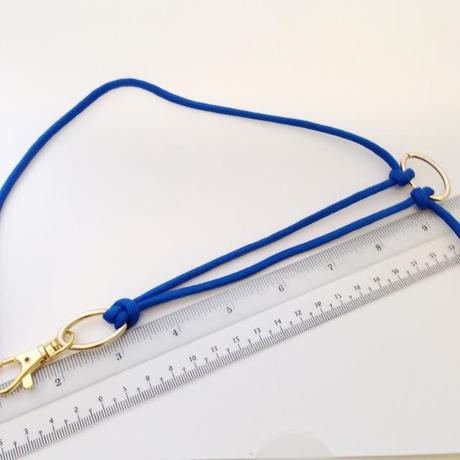
Step #6:
This is the part where you will need to measure the full length so that you can get a perfect fit. The whole length (including the hardware) should match the wrist size.
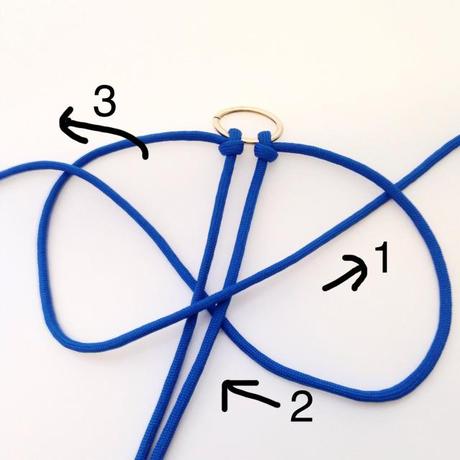
Step #7:
Start with your macramé pattern! (1) is over, under; (2) is over, under; and (3) is over.
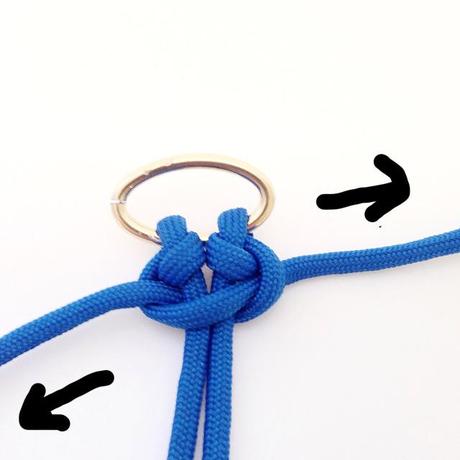
Step #8:
Pull slowly in opposite sides! That’s your first knot. Now, continue step #7 using the opposite way, which is the right paracord (as you had used the left paracord earlier above).
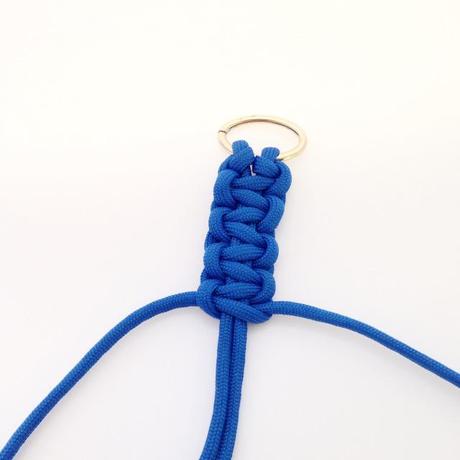
Step #9:
You’re nearly there…!
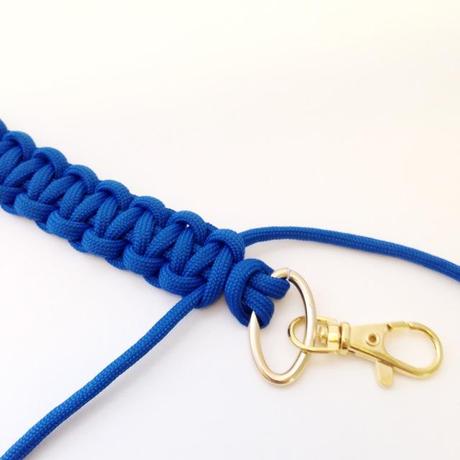
Step #10:
You’re almost done! Make a knot at the end, cut the remaining paracord and then light the ends. Do make sure it’s lit up close to the main body so that it melts into the main body.
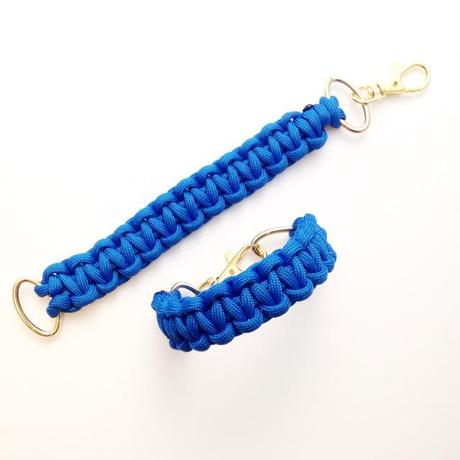
Voila! Easy peasy paracord bracelets!
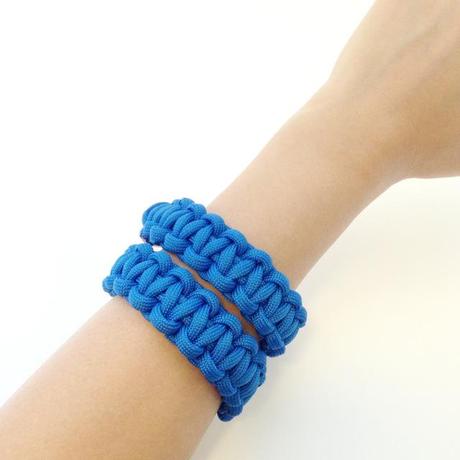
Have fun making these DIY paracord bracelets!
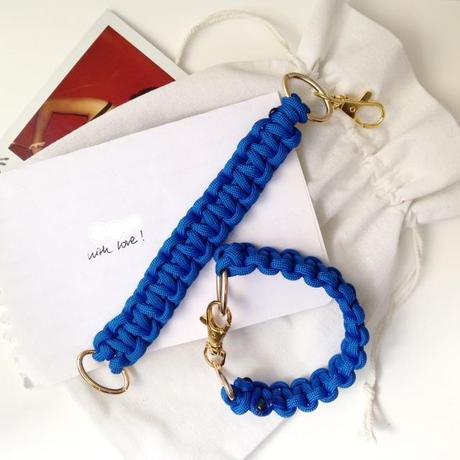
Paracord bracelets make great presents for your male friends. My best friend loves them, yay! :)
P.S: All photos were taken on my iPhone 5 with the help of my pop up photo studio, the Lightcase.

