If you haven't heard, Marsala is Pantone's colour of the year 2015:
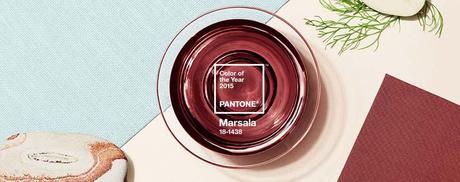 Marsala - Pantone Color of the Year 2015
 Growing up here in Malaysia, where Marsala is used more as a food spice rather than a fashion statement, it didn't appeal to me much in the beginning. However, Pantone's description of the colour has made me rethink the colour itself!
Much like the fortified wine that gives Marsala its name, this tasteful hue embodies the satisfying richness of a fulfilling meal while its grounding red-brown roots emanate a sophisticated, natural earthiness. Add elegance to any room by incorporating this rich and welcoming hue in accent pieces, accessories and paint. Marsala's plush characteristics are enhanced when the color is applied to textured surfaces, making it an ideal choice for rugs and upholstered living room furniture.
As I am currently trying out Ciate's paint pots from its ' Mini Mani Manor' Christmas collection set, I thought of using one of the hues ( Ciate Silhouette) that is almost Marsala-like and then giving my nails a slightly more luxe look with half-pearls (Girl with a Pearl, available only in the ' Mini Mani Manor ' set).
Read on:
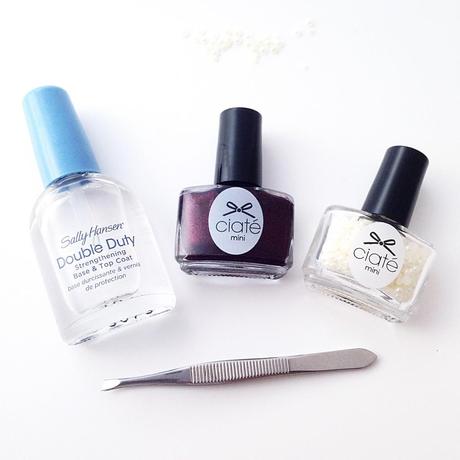
What you need:
Here are some nail polish hues closest to Marsala (hover over the images to know more):

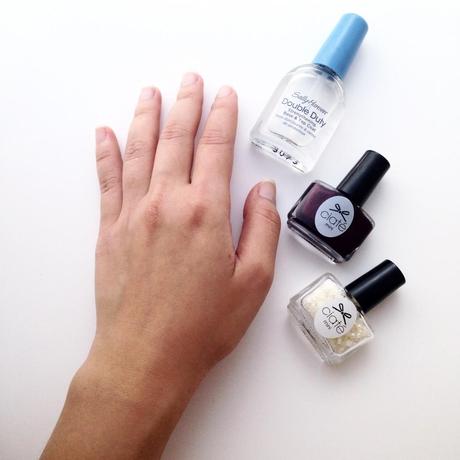
Make sure your nails are wiped clean, and let it soak for a minute or two in warm water (with added lemon). I don't have the best looking hands but it'll have to do for this tutorial!
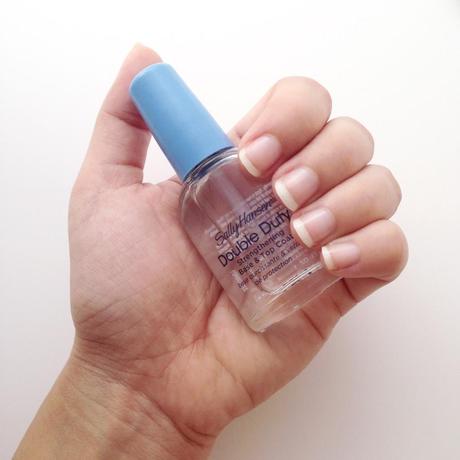
Apply one coat of the base coat. Let it dry for a minute or two.
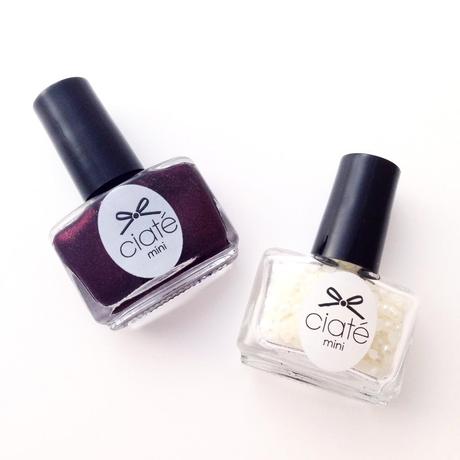
Now it's time to get it on with the paint pots!
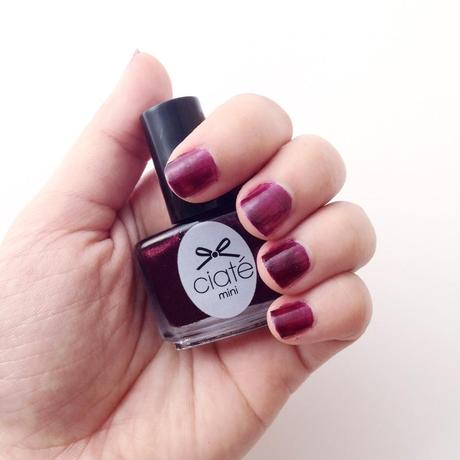
Apply one coat of the nail polish. Let it dry for a few minutes. Then add a second coat of polish. This acts as an adhesive for your pearl onto your nails.
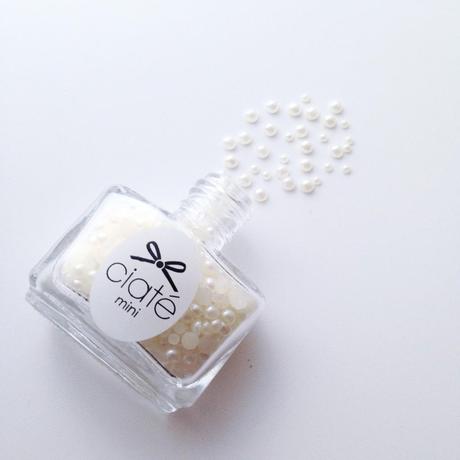
Time for the pearls! As you can see, there are varying sizes. The smaller pearls should go on the smaller nails as this reduces the chances of the pearls slipping off, as nails are curved inwards and not flat/straight (as the pearls' flat ends are).
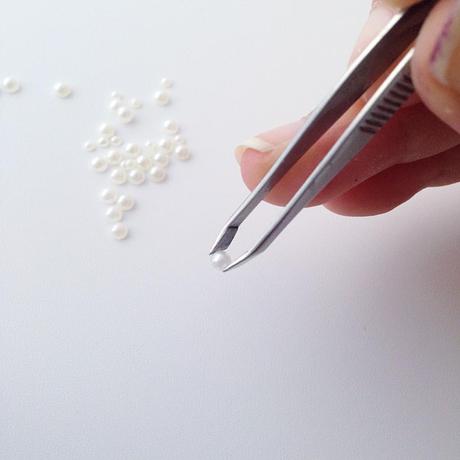
With steady hands, use a tweezer to pick up the pearl from its rounded edge. It's fairly easy to do this because of the help of a tool. If you're feeling lucky, try your fingers. Don't say I didn't warn you!
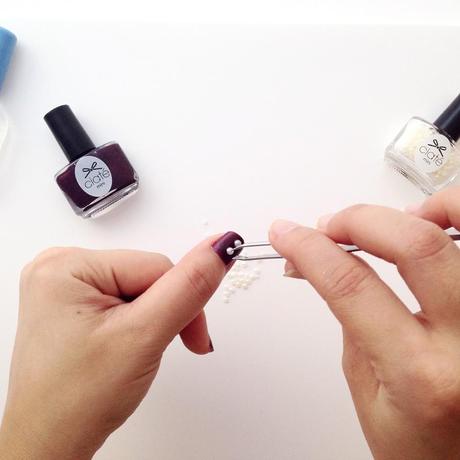
Lightly plop the pearl's flat side onto your nail (which has the second polish coating). Let it dry. Continue with the rest of your nails and do the same with the other hand. Patience is a virtue but I was surprised at how easy it was to apply the pearls onto the nails.
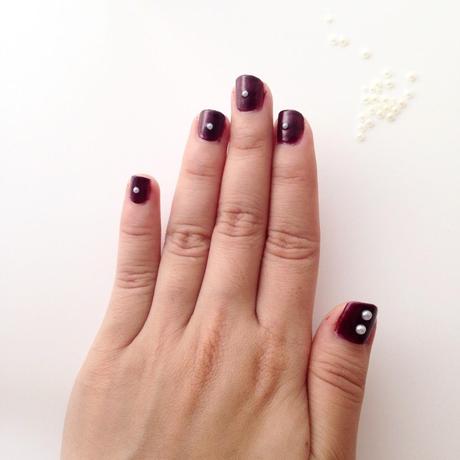
Dip a cotton bud into nail polish and wipe off those stained edges, and you're ready to go. I didn't apply a top coat (yet) as I want to see how well the pearls stay on!
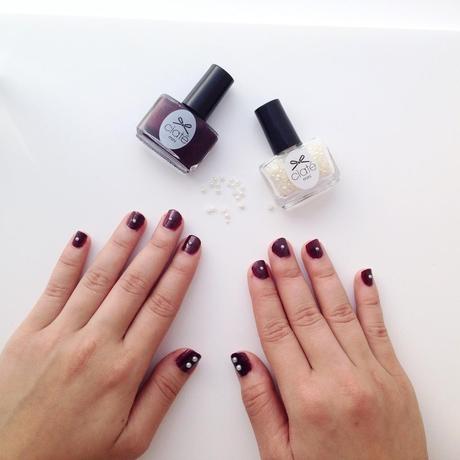
Voila! You now have luxe Marsala pearl nails!

