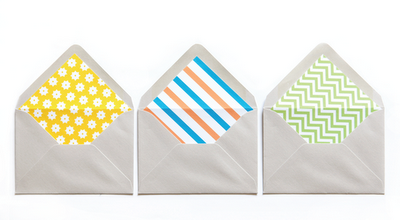
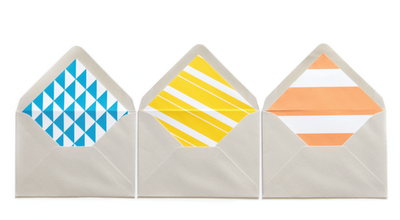
Check out these envelope liners from Amanda Jane Jones.


It's a great and easy detail you can add to any of your envelopes.
Here's a quick how-to on making envelope liners:
- Trace your open envelope onto a heavy-ish paper, like card stock. This will create the pattern you will use.
- Cut 3/4 off the bottom of the pattern you just created. This will create a pattern that will fit easily inside your envelope. Make sure it fits inside the envelope, if not just do a little trimming around the edges of your pattern.
- Next, pick any paper that floats your boat-- it can be flowers, modern shapes, or pictures of cats. This will be your envelope liner.
- Using the pattern you created trace the outline on the paper you picked.
- Cut out the shape.
- Slide liner into envelope and crease at the fold line.
- Using glue spread on the fold, press and wah-lah you're done.
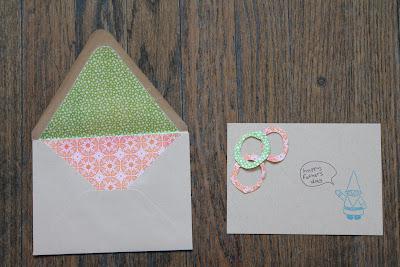
Blogger Colleen made her first envelope liners using the steps above for her Father's day card. She got creative and cut out two liners on two different sheets of paper mixing the top and bottom. See how it turned out, and yes that little gnome is saying happy Father's Day.


