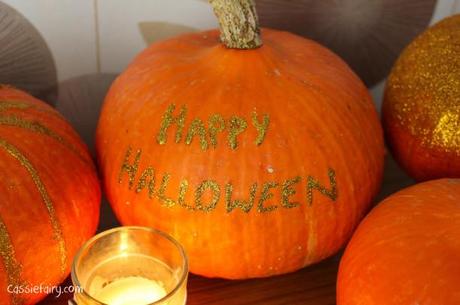
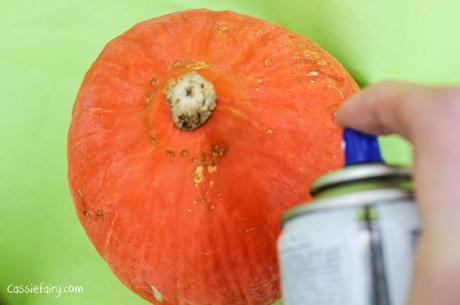
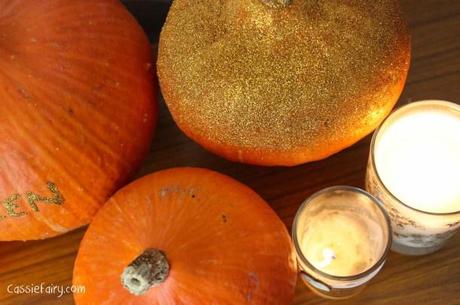
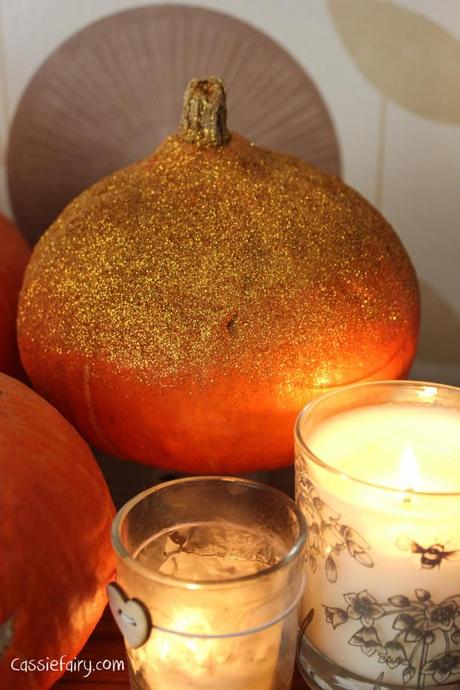
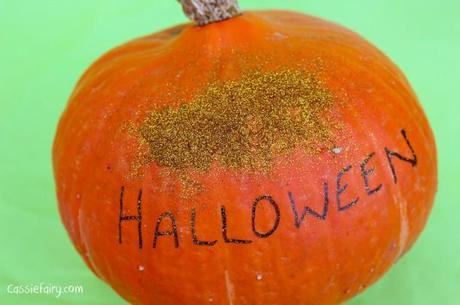
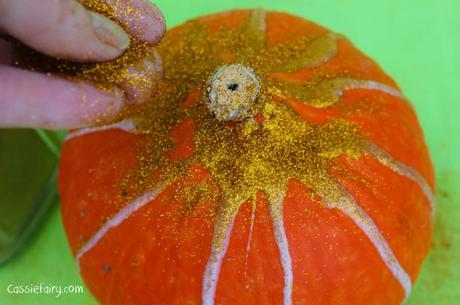
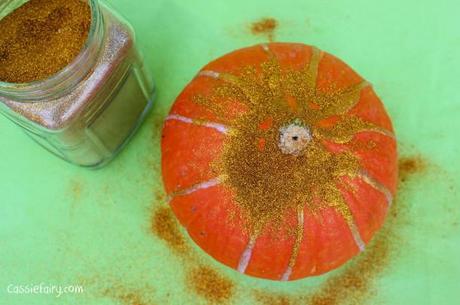
Yes, I grew these pumpkins in my garden. Can you believe it? I’m still surprised myself! I want to use them to decorate my home for Halloween but I’m really rather poor at pumpkin carving so I thought about other ways that I could inject a little ‘Halloweeniness’ and I came up with this glitter pumpkin DIY.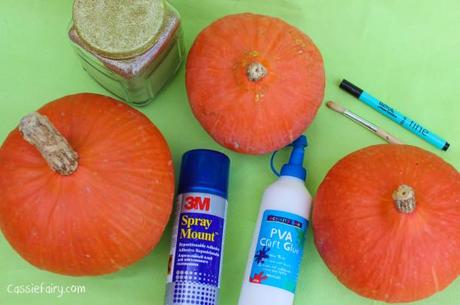 I tried out a few methods of applying the glitter so that you don’t necessarily need to have to the same ‘ingredients’ as me to get a similar effect. I started with what I found to be the easiest method, which was using used a spray adhesive to spray the top of one of my pumpkins so that the glitter would stick, then I simply sprinkled on some very fine gold glitter (which I picked up from Hobbycraft) all over the top.
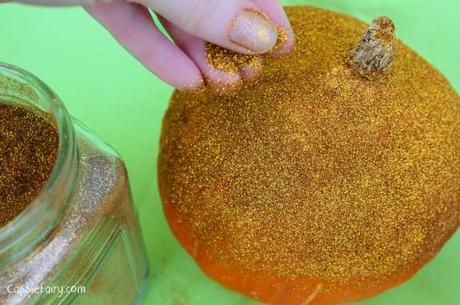
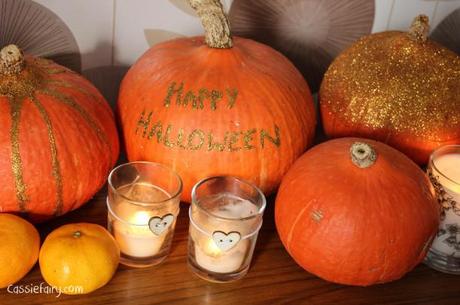
This gave a lovely even coverage and it looks like quite a glitzy glamorous pumpkin. I think this effect would be best for dinner party table decorations as it’s quite classy and simple, and you could also spray the adhesive all over the pumpkins for a complete coverage which would twinkle in the candlelight.
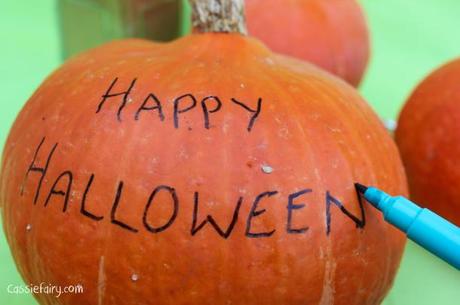
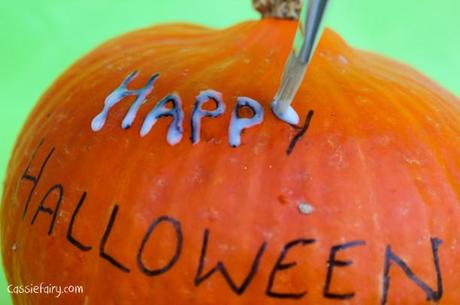
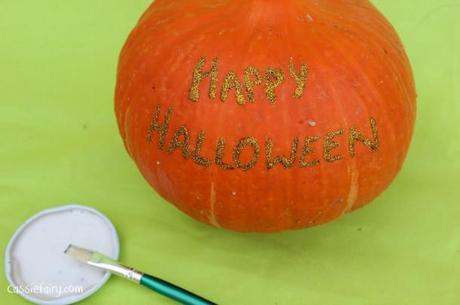
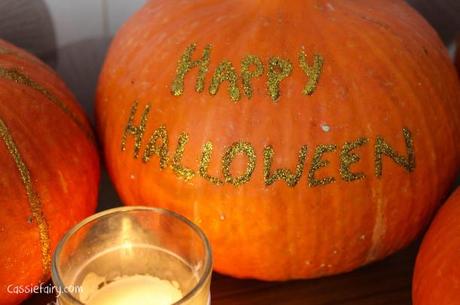
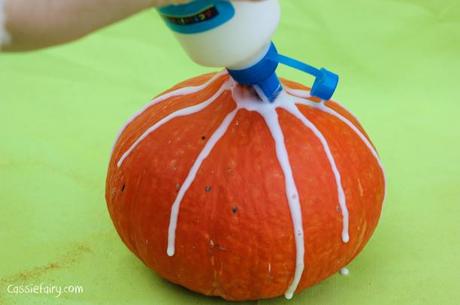
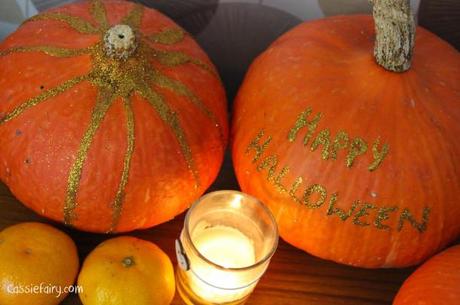
For a more traditional Halloween party pumpkin I’ve used PVA glue to paint the words ‘Happy Halloween’ on to the largest pumpkin. I first used a market pen to write the lettering and then I used a small paint brush to apply the PVA glue over the lettering. I then sprinkled all over the letters before the magic moment of blowing all the excess glitter off the pumpkin to reveal the greeting.
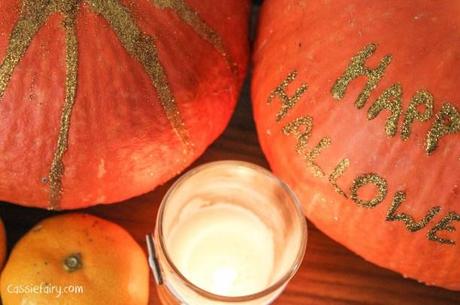
What do you think of my DIY decorations? Will you have at go at making them for yourself? Any suggestions of how I could have made this a less-messy task?! Please leave me a comment below and I’d love to see your photos if you try it out for yourself!
