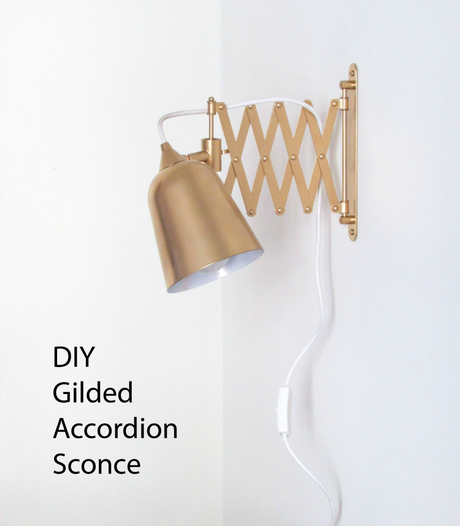
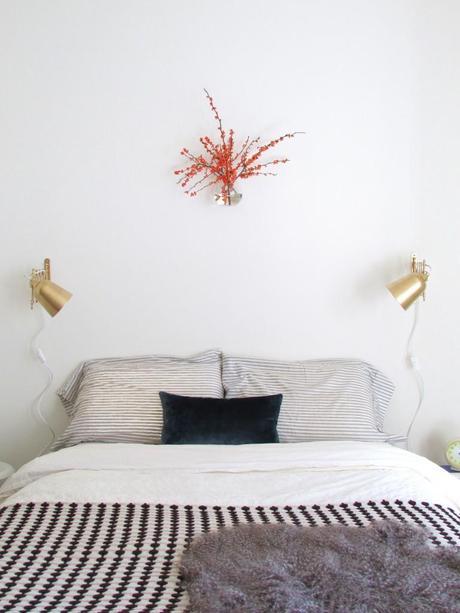
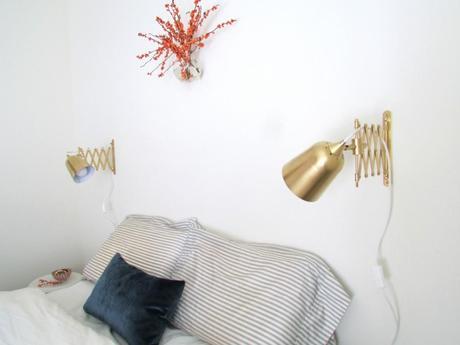
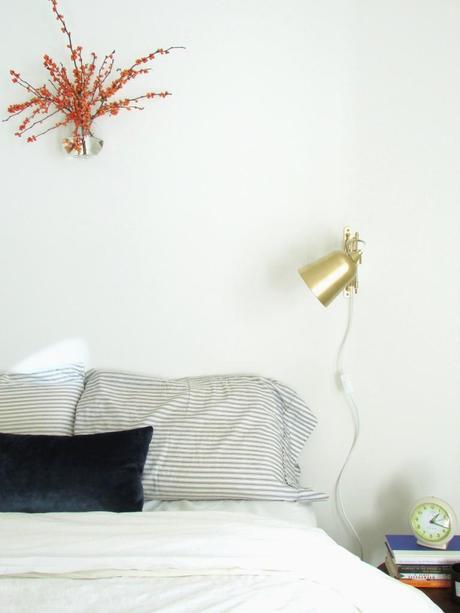
Something I really wanted in our new place was a pair of sconces flanking our bed. Not only do I love their minimalist look, but they also don’t take up space on the nightstand. And when living in a small space every. inch. counts. There are several stunning options out there…and not a one of them fit our budget, so I took to Pinterest to figure out if there was a way I could make the sconces I was envisioning, but for less cash money.
Finding inspiration in DIY sconces from Vintage Revival and Poppytalk, I used the accordion arm from Ikea’s Frack Mirror in combination with the lamp head from Target’s Wood Pole Scholar Desk Lamp (Just wait ’till you see what I have in mind for the base from this lamp–stay tuned!) And then I painted everything gold. Because, well, I heart gold. The best part? Each sconce came together for right around $20 bucks!
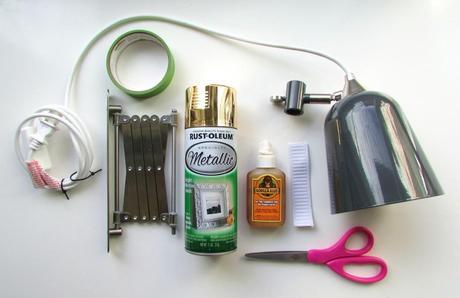
Materials List:
- Ikea Frack Accordion Mirror – Use the accordion arm only.
- Target Stick Table Lamp – Loosen the screw on the lamp head to slide it off the wood pole base.
- Metallic gold spray paint
- Painter’s tape
- Plastic bag
- Drop cloth
- 5″ of elastic (1″ to 1-1/2″ thick)
- Gorilla Glue (Gorilla Glue expands as it dries, and this will work in our favor!)
- Screws and anchors to mount to wall
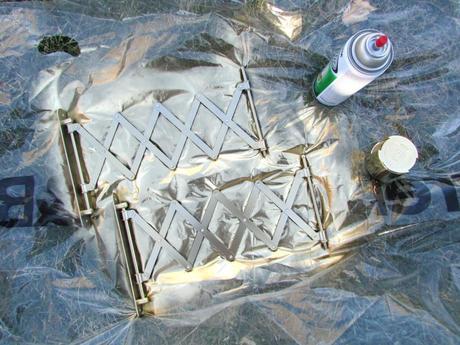
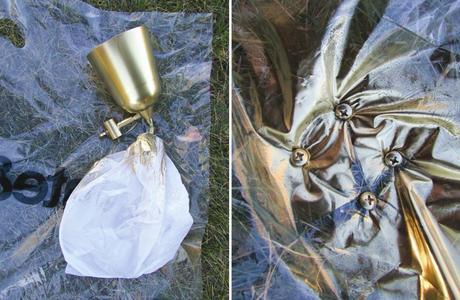
Step 1. Lay down your drop cloth in a well ventilated area. (I went to a nearby park.) Spray paint your accordion arms, lamp heads, and the tops of the screw head. To protect the cord on the lamp head from spray paint, it’s a good idea to tape a plastic bag around the base of the cord. Also, since I worked in the grass, I just poked the screws through the plastic drop cloth into the ground so the tops of the screws faced upward and could be easily spray painted. Let everything dry thoroughly.
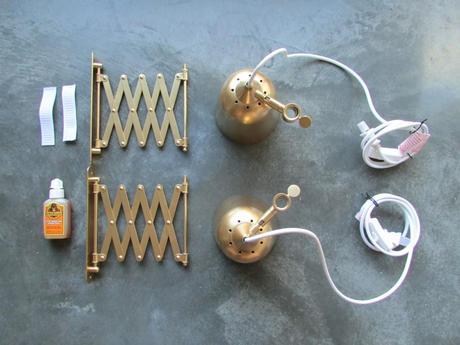
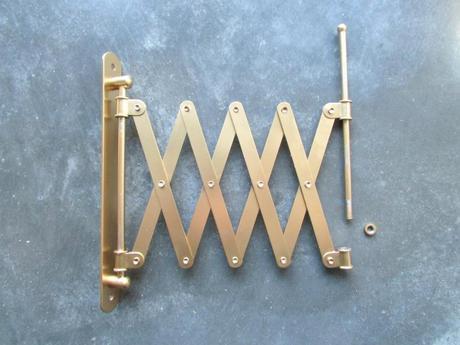
Step 2. Remove the nut on the accordion arm’s vertical rod.
Step 3. The clamp opening on the lamp head is larger than the accordion arm rod, so you’ll need to wrap something around the accordion arm to hold the lamp head in place. I simply wrapped a 5″ piece of elastic tightly around the accordion arm rod, and secured with a dot of Gorilla Glue. To be honest, there’s probably some sort of rubber washer out there that you’re supposed to use, but my jimmy-rigged elastic seems to work just fine!
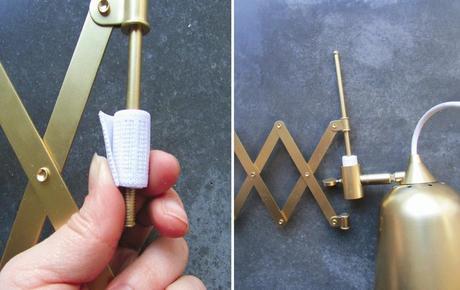
Step 4. Make sure the lamp head’s bolt is completely loosened and slide the lamp head onto the rod/elastic and tighten the lamp head’s bolt. (You won’t need to let the Gorilla Glue dry on the elastic before you slide the lamp head on, as the lamp head will keep it in place while it dries.)
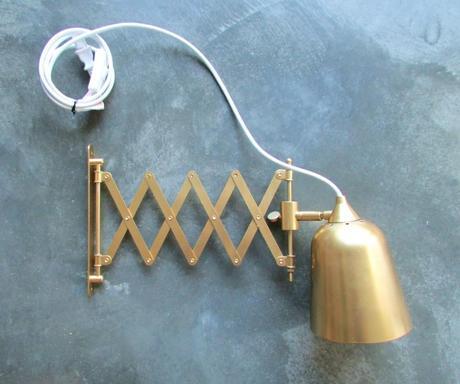
Step 5. Slide the accordion arm’s rod back through the bottom of the arm support and screw the nut back on. Add a light bulb, mount to your wall, and let there be light!
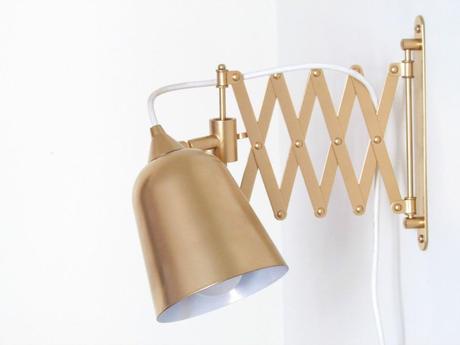
P.S. Like the wall mounted vase above our bed? Get the tutorial here!

