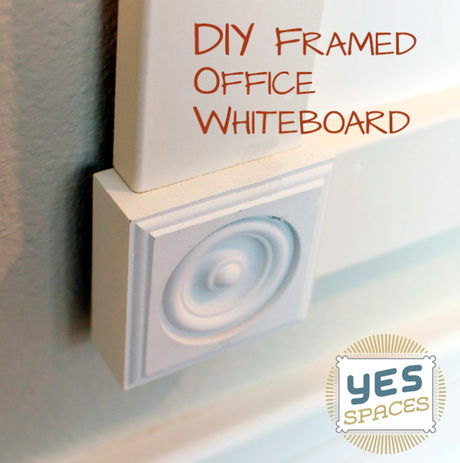
I may be a grown up, but I still love writing on the walls!
I am a visual person and in my office space I want to be able to see the list of upcoming DIY projects, or when and where I need to complete a guest post. Seeing these things motivates me and sometimes triggers new ideas. And when I don't see them...well...sometimes, out of sight out of mind.
Being a visual person, however, just having notes up on the wall is not going to work for me, my whiteboard needs to look good and compliment the nice wainscoting that is already installed in my office.
You could use this technique anywhere. I have installed a full 4′ x 8′ board in an office building or cut up smaller ones for a kid's room or family message center. And with this DIY it looks so much better than the ones you can purchase at a fraction of the price.
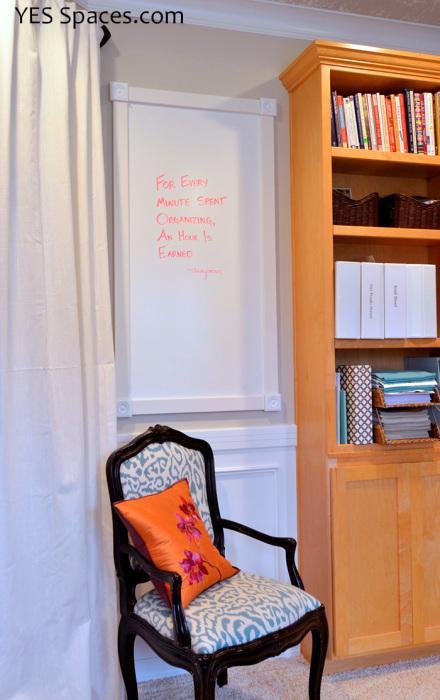
I wanted the simplest frame design possible to finish out the edges of my whiteboard.
Using decorative block corners is a great way to avoid any fancy saw cuts or matching any ornate angled corners.
Additionally, the use of pre-primed MDF eliminates the need for painting unless you are very particular about your whites.
Watch the video first, these instructions are meant to help you remember the order or answer any additional questions.
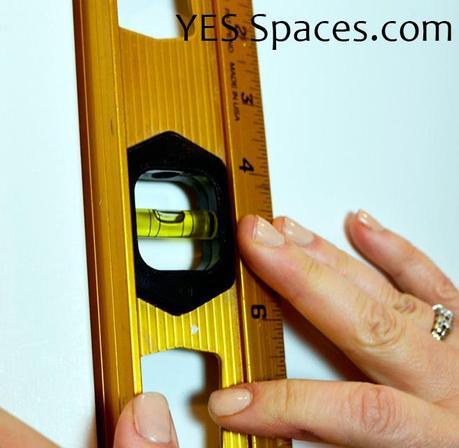
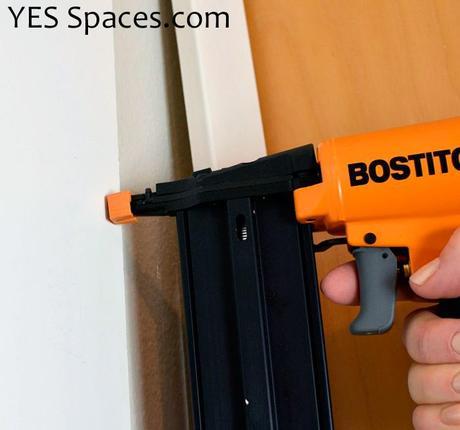
- First, measure where you want the side of your white board to be and either place a pencil line there using a level or hold the board in place and put one nail in the corner and then level the side before sinking the second nail. (I do this in the video because I have a nail gun, if you are nailing by hand use the pencil line)
- Then, nail all the way around the board staying with in 1/2″ of the edge so these nails are covered by your molding. I place my nails about 10″ apart
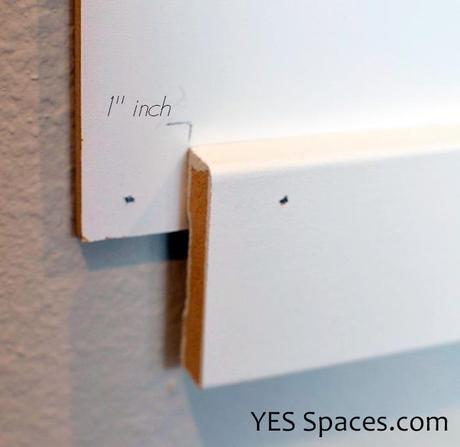
- Next, measure for the placement of your corner blocks. I measure in 1″ from each corner.
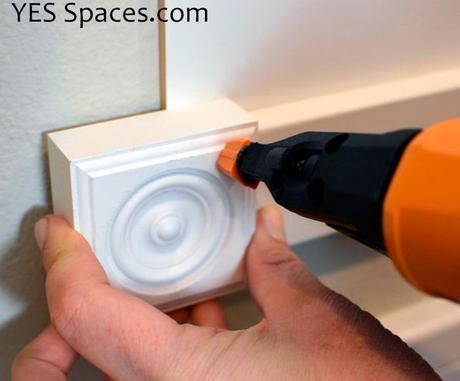
- Start on one corner and nail that block in place, using your level to make sure it is square with your board. Once, you are sure it is square place the second nail
- Cut 2 pieces of your casing to 2″ less than the entire width of your board and 2 pieces 2″ less than the height
- Butt one of the pieces up against your corner block and nail it in place (checking with the level)
- Then, add the next corner piece
- Repeat this process until you have framed in the entire board
- Sink any nails that are protruding with a nail set
- Touch up your nail heads with white paint
Watch the video if you are confused about any part of this process, or comment and I will respond!
The OutcomeI LOVE my white boards! I actually installed a pair, one on either side of my office doors and I can add to my lists or refer to them with ease but they are not visible to anyone looking into the office. But hey, these boards are so cute I'd be fine if they were!
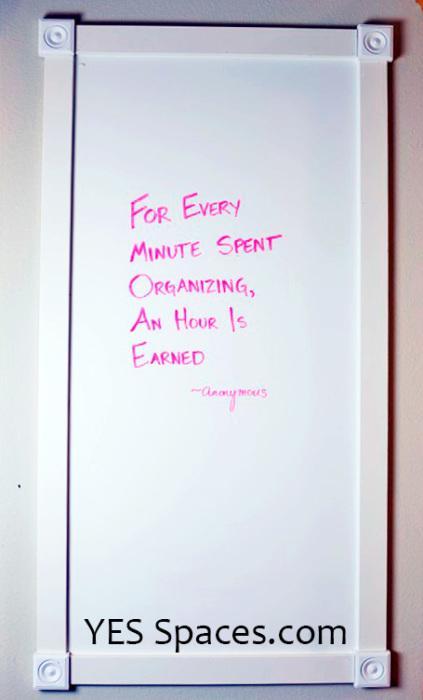
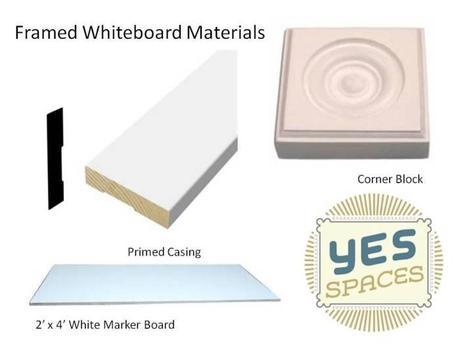
$9.97 - 1 - 2′ x 4′ White Markerboard
$7.96 - 4 - 2-1/2″ Primed Corner Blocks ($1.99 each)
$14.38 - 2 - 8′ lengths of 2-1/4″ flat, primed casing ($7.19 each)
$0.00 - I had the tools, nails and touch up paint (any white acrylic will do)
TOTAL: $32.31Watch for our whole office makeover, with some more great organizing tips, plus our "Pottery Barn" file cabinet makeover coming soon!

