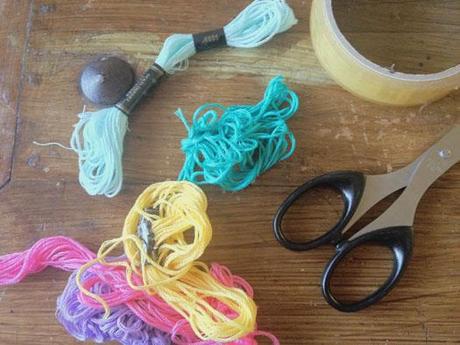
All you will need to create these beautiful bracelets is a selection of embroidery threads, scissors, sellotape and a flat surface to work from.
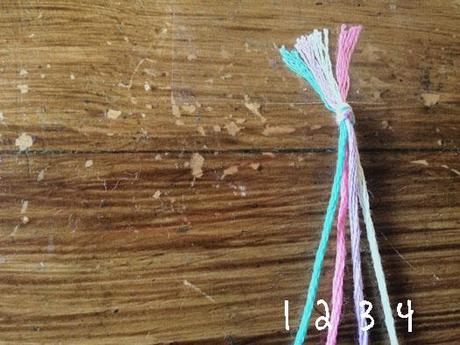
For this tutorial you can use any amount of threads, the more you use the thicker your bracelet will be and the longer the thread you will need. I have decided to use four each approx 60cm in length. Once you've cut your threads, tie them together with a simple knot and secure them to a flat surface.
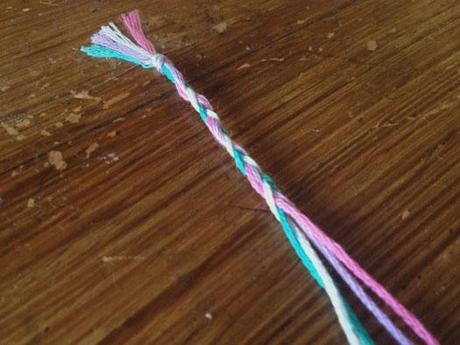
Section the threads into 3 and plait down an inch. This will be what you use to tie your bracelet once it's finished.
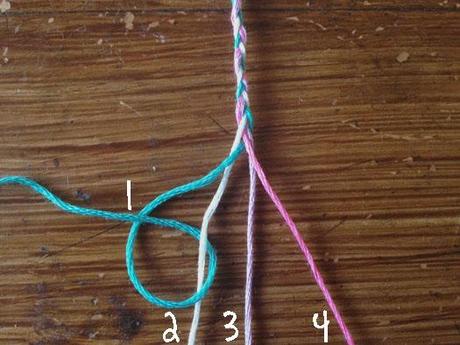
Once plaited, separate all strands. Begin by placing strand 1 over and under strand 2 to form a loop. Repeat this two times. This is called a double right hand knot.
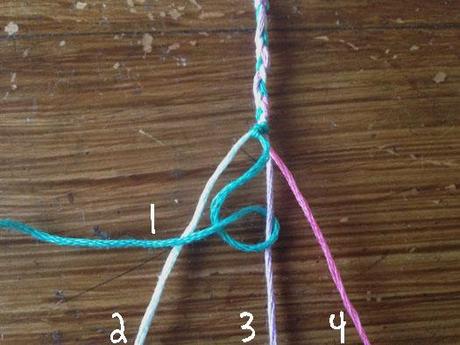
Next, using strand 1 repeat the double right hand knot on strand 3.
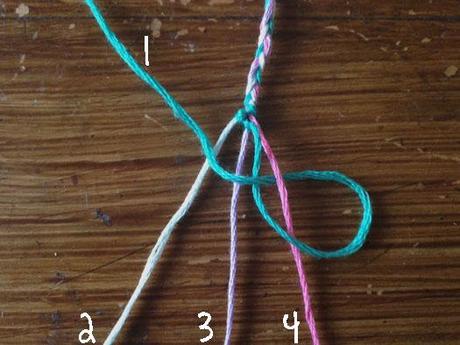
And finally, on strand 4.
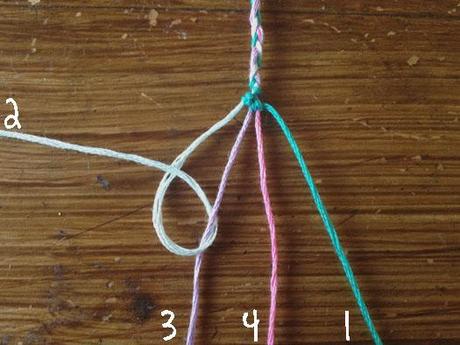
Now you have completed one row. Start the process again using strand 2 as your dominant strand. Double right hand knot your way through strands 3,4, and 1.
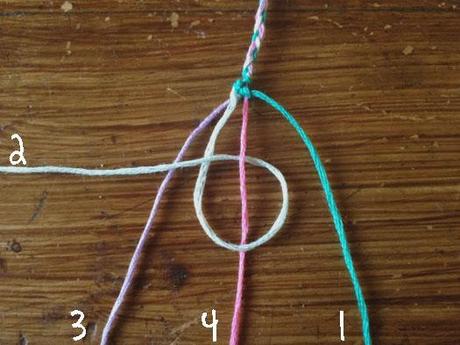
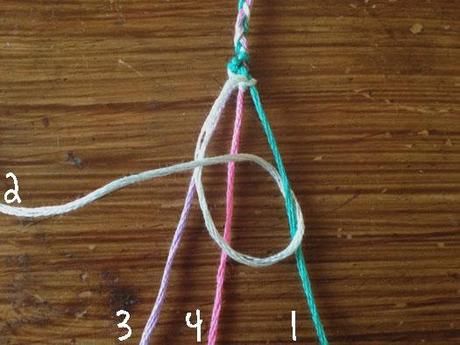
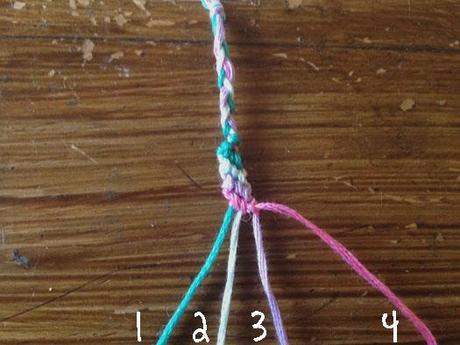
As you continue to complete the rows you should see a stripe pattern start to form. Be careful not to pull your knots too tight as this will cause the bracelet to curl.
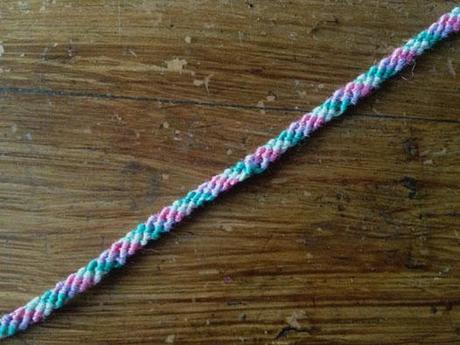
Once you have enough rows to cover the desired length of your bracelet, separate the strands back into 3 sections and form back into a plait. Secure at the bottom with a knot. Your bracelet should now be finished and ready to wear!


