
Tis the season to get festive with your nails! If there is any time of year that it is okay to have a little fun with you nail design, the holiday season is it. While some nails looks are super tricky to pull off, this candy cane inspired look can be achieved in a few simple steps.
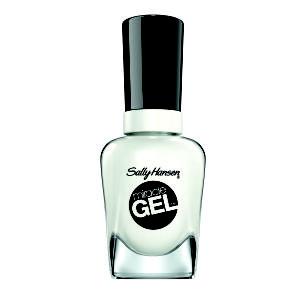
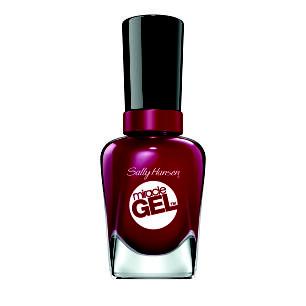
This look features Sally Hansen Miracle Gel in Get Mod and Dig Fig.
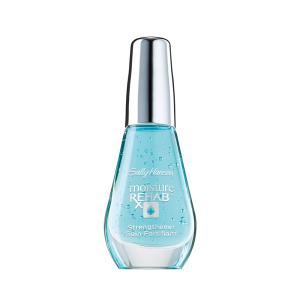
Nail Prep: Paint a coat of the NEW! Sally Hansen Nail Rehab-The care you give your nails before applying nail polish is the real key to a healthy long lasting manicure. Using Nail Rehab a day before creating the look will ensure that ridges and imperfections are concealed while strengthening weak nails. It creates a defensive shield to protect against bending, breaking, and tearing making the nail look last throughout the busy holiday season. clean bare nails a day before creating the nail look.
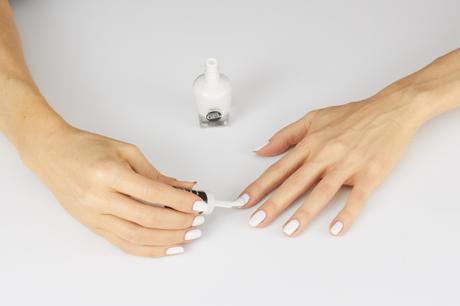
Step 1: Remove Sally Hansen Nail Rehab before beginning the nail look. Paint two coats of Sally Hansen Miracle Gel in Get Mod.
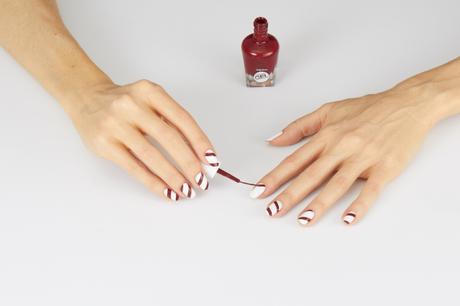
Step 2: Using a striping brush, apply diagonal lines using Sally Hansen Miracle Gel in Dig Fig leaving an ample amount of space between stripes. You can place stripes in opposite direction on different fingers to add some variety to the design.
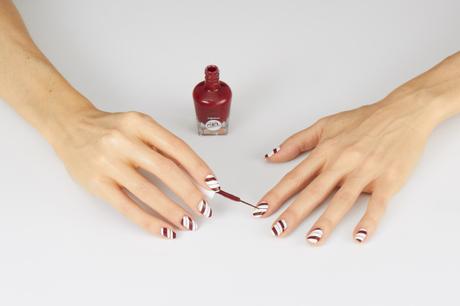
Step 3: Then paint skinny stripes in between these wider diagonal stripes and have them follow along the same angle.
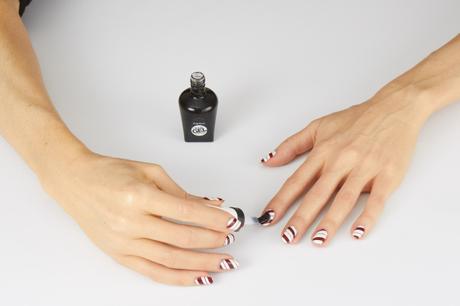
Step 4: Apply a coat of Sally Hansen Miracle Gel top coat
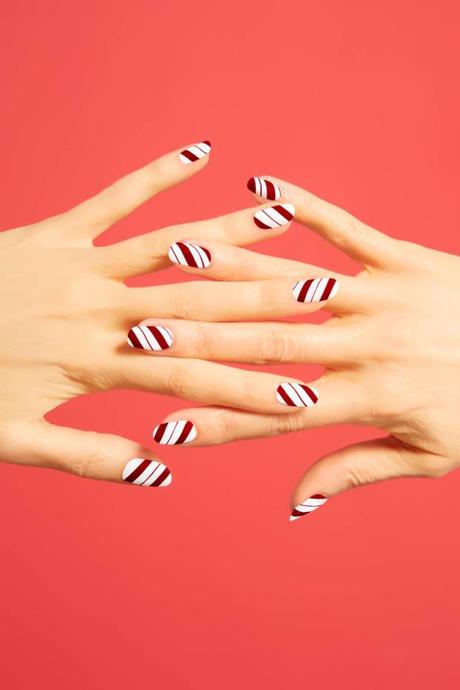
Voilà 💅
This post was brought to you by Sally Hansen

