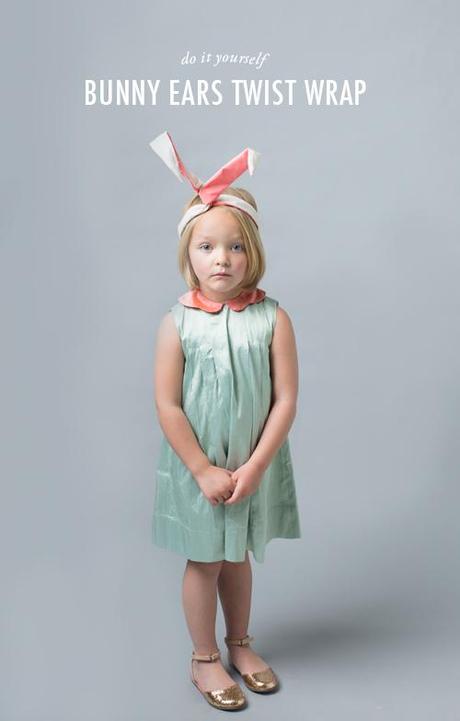
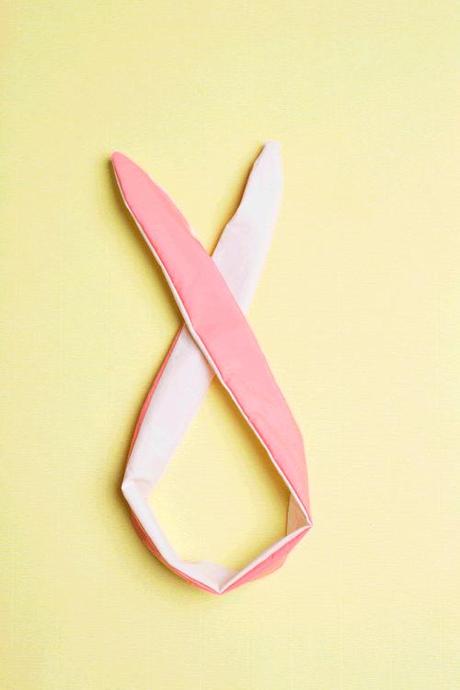
 When I visited Aix-en-Provence with my mother a couple of years ago we came upon this adorable kiosk selling twist ties. The idea was simple yet so ingenious. With a simple wire in fabric, you can sculpt a headpiece into doing anything you want. I created a project last year with a similar idea made from a scarf and this year. This time around I was inspired by a twist scarf that was gifted to me by the kind ladies at Shop Ban.do. Their two toned scarf was yellow/cream scarf got me thinking of how I could turn them into bunny ears for Easter. And the best part about it is that it can be used all year long! Scha-wing. Plus, this project gave me the opportunity to work with Barbara Beach, a clothing designer in South Carolina whose work I've admired for years.
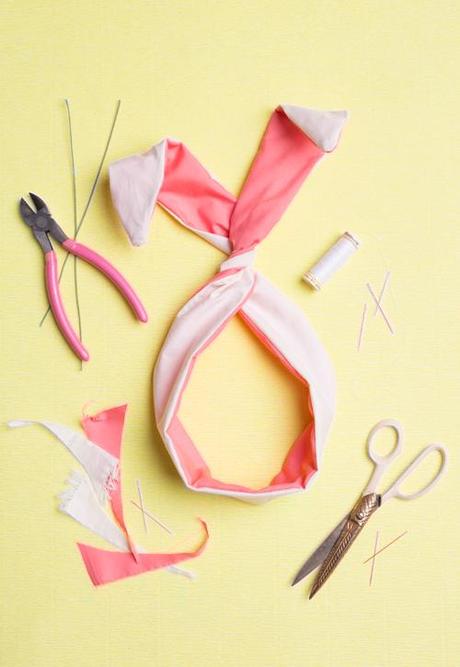
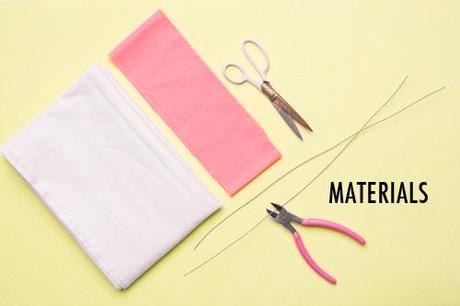 Materials: white fabric (I used muslin), pink fabric, wire, wire cutters, scissors, sewing machine
Step 1: Cut out two strips of fabric, one out of each color, 2" width as long as the fabric goes. Mine was 48" long.Step 2: To form the bunny ears, cut the edges into a point. I started about 6" below and cut to the middle of the edge.Step 3: Sew the tow pieces of fabric together leaving a 2" gap at one end.Step 4: Turn it inside out and press.Step 5: Insert a wire that expands the length of the band. Curl the wire in at each end so that it's not pointy.Step 6: Close the gap by either hand sewing it or with a machine.
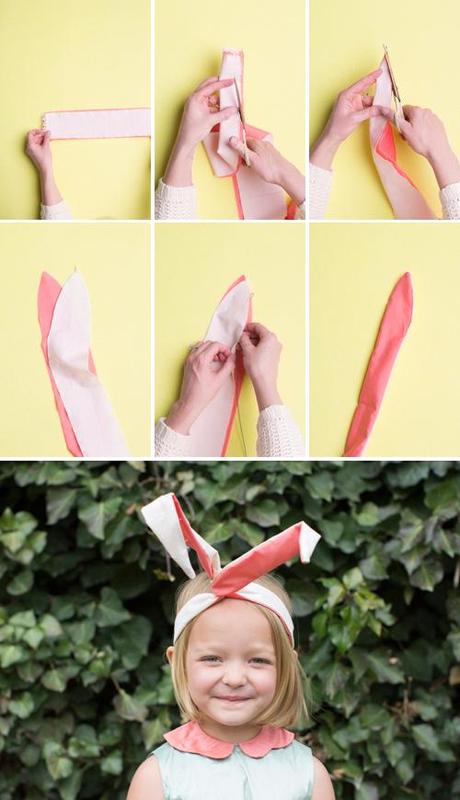
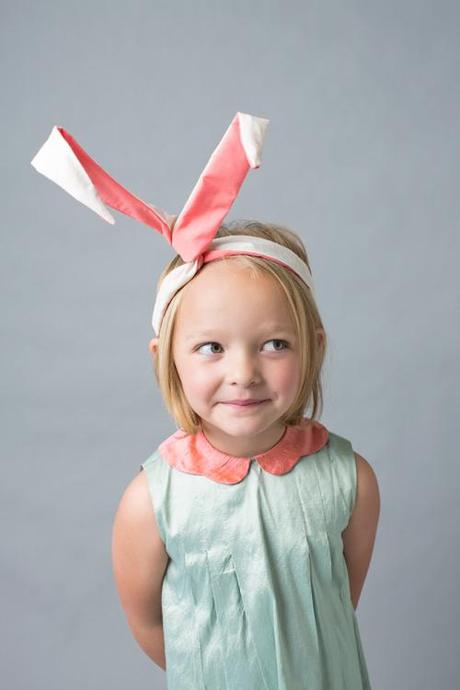 photography by Trisha Zemp dress from Charleston, SC children's clothing designer Barbara Beach (isn't it beautiful!)
