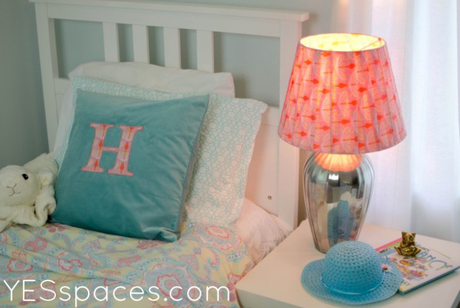
People have been carving initials into trees for centuries. We want others know we were there or to claim someplace as our own.
For your child this is an important part of establishing some territory in your home, especially if they share a room. But since we don’t want our kid’s carving their name in the furniture (though one of my boy’s actually did this and then later tried to deny he carved his own name!) letters or names on pillows can be a great solution.
Plus, really, aren’t they adorable? And they are so easy to make.
OK, you need a sewing machine but if you have one it’s a cinch. If not there are dozens of darling options on Etsy.
The Design
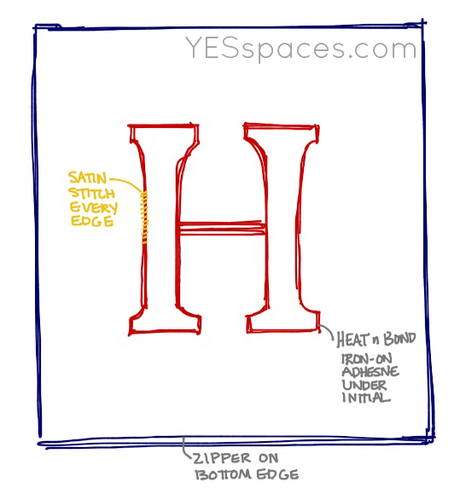
There is no need to sew your own pillow, I started with a darling $7.00 velvet teal pillow cover from IKEA and just dressed it up.
Basically, you just need to applique the initial onto the pillow using some two sided iron on adhesive and stitching the edges.
If you want to personalize a pillow and don’t sew you could use fabric paint around the edges but the stitching looks very custom and high end.
The Materials
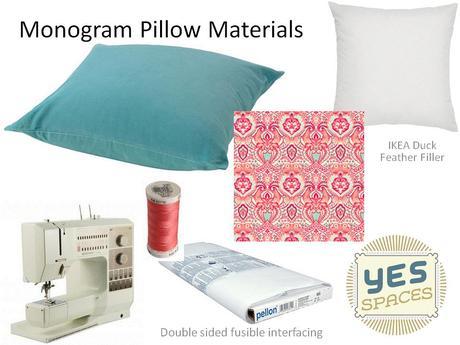
- 1 plain pillow cover in the color of your choice – this will NOT work on a pre-filled pillow
- 1 pillow insert
- 1/4 yard of a fabric of your choice – a crisp cotton or fabric with some body works best
- 1/4 yard of double sided iron on interfacing like Heat-n-Bond
- Thread that matches the initial fabric
- Sewing machine
The Process
Watch the video first, these instructions are meant to help you remember the order or answer any additional question
- First, use your computer to choose the font style of the initial you want to use, enlarge the font and print it out to use as a pattern. Mine is Georgia, size 600.

- Following the directions on the fusible interfacing iron one side to the backside of the decorative fabric
- Using the letter pattern cut out the fabric and interfacing together
- Then peel off the other paper from the interfacing and iron the letter into the center of the pillow
- Using a sewing machine satin stitch around the entire letter. I set my stitches to a 3 width and 1/2 length
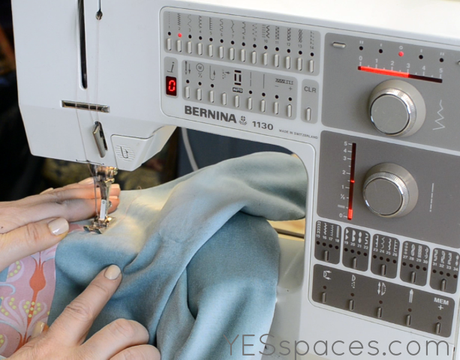
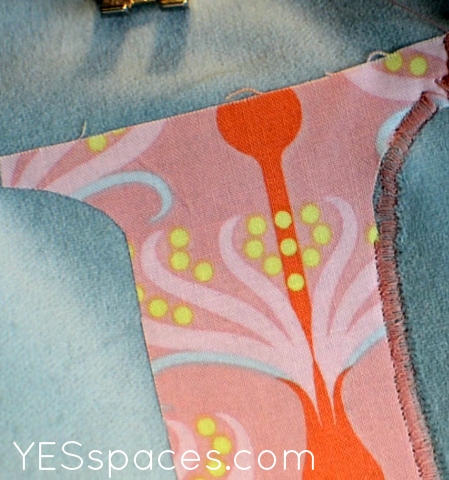
- Trim off your treads
- Stuff your pillow with the inserts and enjoy!
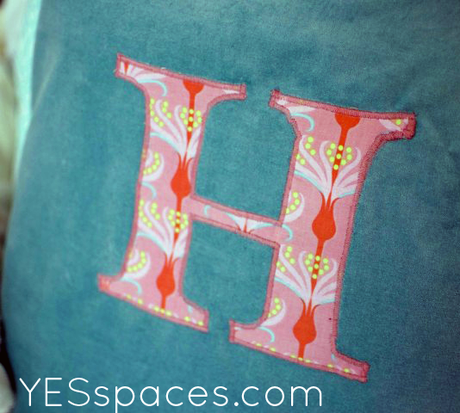
Watch the video if you are confused about any part of this process, or comment and I will respond!
The Outcome
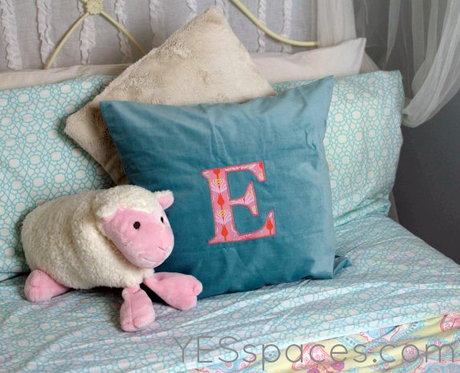
Hannah and Ella love the pillows on their beds in their shared bedroom. Their mom was smart enough to mix and match some Pottery Barn bedding give one daughter the pink bed she wanted and the other the blue that she requested. The bedding coordinates but is not identical and the pillows are one element that helps pull them together.
The Budget
$7.00 – IKEA pillow cover (teal velvet)
$5.00 –IKEA duck feather insert (20 x 20)
$1.99 – Fusible interfacing
$3.99 – Cotton quilting fabric
$3.98 – Thread
$0.00 – I have the scissors and the sewing machine!
TOTAL: $21.96

We are adding new videos to our YES Spaces DIY page regularly this year until we reach 52! Based on your input we have directions and when needed measurements and plans here for you as well. So be sure to subscribe here and over on YouTube so you don’t miss anything!
If you want to dress up your home contact YES Spaces today! I would love to talk to you about your family and your space!
Visit our YES Spaces DIY channel to see videos of other family friendly projects!
Connect with us on Facebook for the “How To” behind some of today’s most popular design ideas!
View our Pinterest Boards for my curated design inspiration!

