 This is a very simple apron that I just came up with. Here's the how to.
Items Needed:
3/4 yard main fabric piece
3/4 yard coordinating fabric
matching thread
First fold your fabric over 9.5 inches. Next cut your fabric to these measurements.
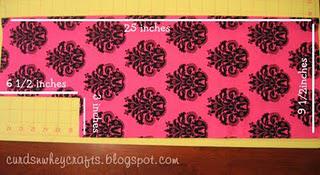 The main piece of fabric is 25 x 9.5 inches. The 25 inches mark is on the fold. Then cut a rectangle out that is 6.5 x 3 inches(make sure you don't cut this on the fold.) You need 2 of these pieces.
Now for the straps, belt and pockets. Cut 1 strip of your coordinating fabric from the bottom of the WOF that is 7 x 21 inches, this is the belt(make sure to cut just 7 inches up from the bottom.) Next you are going to cut 4 pieces that are 3.5 x WOF that is remaining after cutting the 7 inches off it should be about 37 inches long, these are the straps. Now cut 2 pieces that are 8 x 7 inches for pockets.
Okay that we are done with all that cutting lets get started. THIS IS ALL SEWN USING 1/4 INCH SEAM ALLOWANCE!!! Fold your 4 straps in half with right sides touching and sew along one side and the top. I curved my top a little but it still looks cute to do a straight across top. Then clip corners.
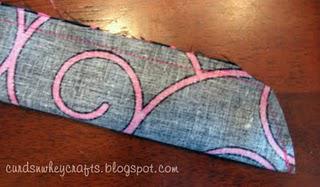 When they are all done we are going to turn them RSO. To do this simply tuck the end that is sewn in and with a pencil start working the fabric down.
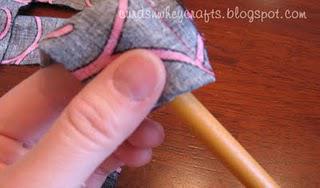
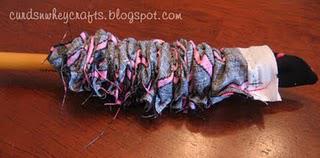 Once the end is poking out you can grab it and finish turning it. Once turned press the straps and top stitch. Next you are going to get 1 piece of the main fabric and lay it in front of you right side up. Then place 2 of your straps down with them hanging over the top of the main piece.
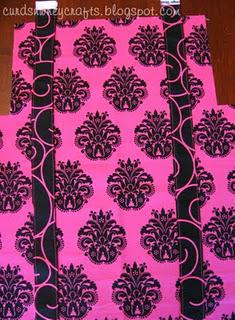 Now take your other main piece and lay it on top of that face down.
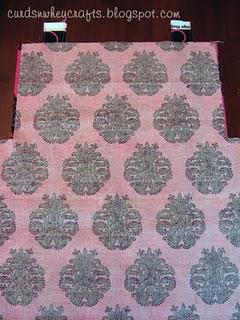 Pin in place well and stitch those pieces together leaving an opening at the bottom big enough to turn. Clip all corners after it is stitched and turn RSO. Next press and top stitch making sure to close the opening.
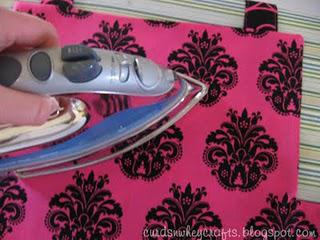
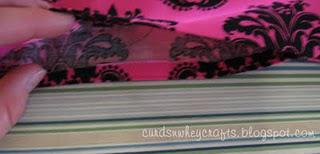 Now it is time for the belt. Fold your belt piece in half and sew down the ONE side. Make sure not to close the ends. Turn RSO and press. Lay belt on top of main fabric piece lining up with the top of the notches.
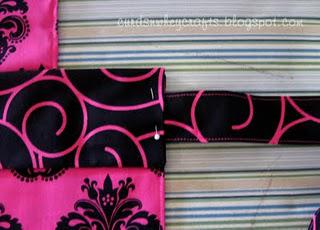
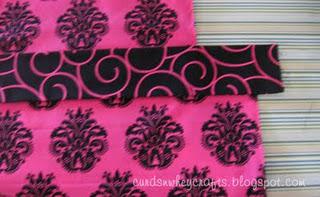 Fold the ends in and press them down. Next tuck your other 2 straps in the ends of the belt and pin. Then top stitch around the entire belt.
 Almost done yay!!! Onto the pockets. Fold the 2 long and 1 short side of the pocket in 1/4 inch and press. Next fold the top down 1/4 of an inch and then fold over again anywhere between 5/8 and 1 inch depending on what you like. Now top stitch the top of the pocket at 1/8 inch seam allowance and 5/8 to an 1 inch depending on what you choose.
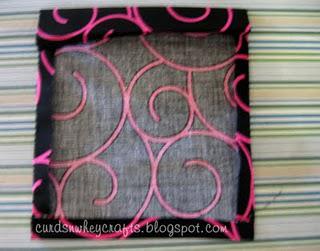 Last step. Place your pockets on the main piece. I just eyeball mine. Pin in place and top stitch the 2 long sides and the bottom.
  And your done. Now go enjoy that beautiful apron.


Click HERE to see where I will be linking to.

