In today's Creativity 521, I'm going to show you how we made another DIY Flower Crown using wires and faux flowers. It's really simple and if I can do it, anyone can too! Oh, what are these crowns for? For my two darlings to put on during their birthday party and feel like princesses for the day!
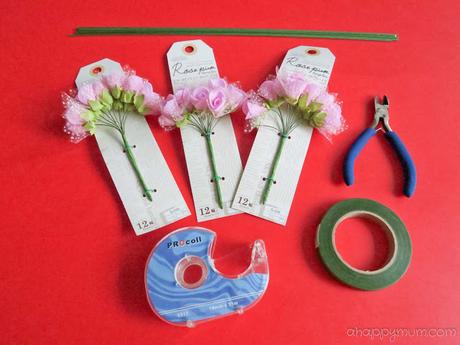 Materials:
1) Floral wire
2) Floral tape
3) Wire cutter
4) Artificial flowers (You can use real flowers too!)
5) Sticky tape
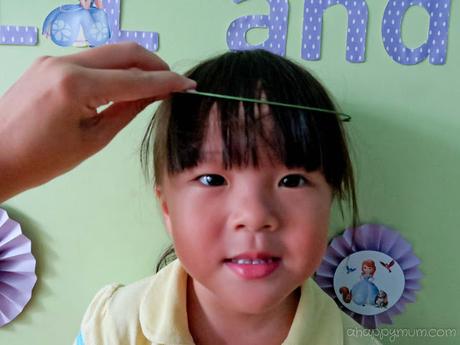 Firstly, join two floral wires together, make it into and a circle and measure them to fit the head loosely. Use sticky tape to secure the wires in place.
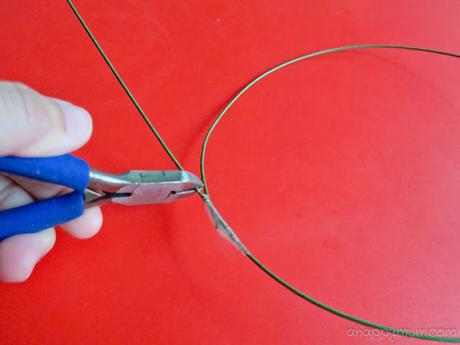 Trim off any excess wire using the wire cutter, making sure that the sharp ends are covered in tape.
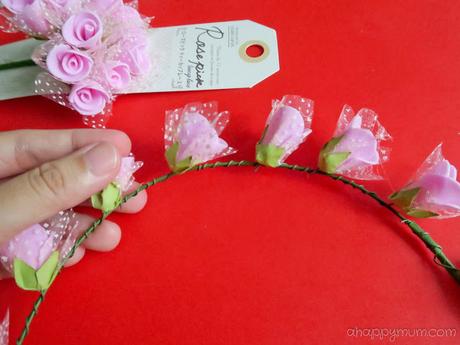 You can use any type of flowers you desire, be it real or faux. For us, we chose to go with these sweet, purple artificial flowers from Daiso which match nicely with our Sofia the First birthday theme. The next step is to coil each individual flower around the crown, making sure that they are spaced neatly apart and that the sharp ends are tucked in nicely.
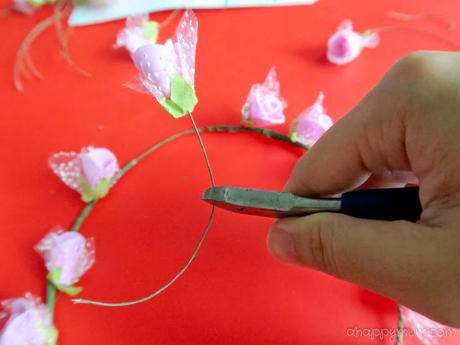 If you find that the wire of the flower is too long, trim it such that it is easier to work with. If you are using real flowers, tape the stems to the crown instead.
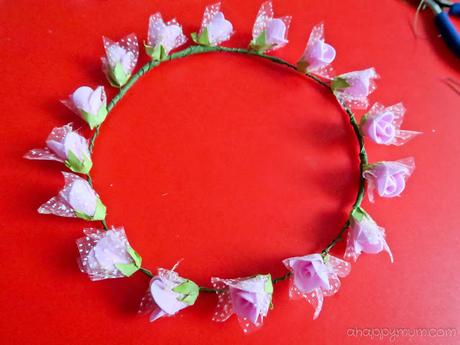 Repeat all the way till you finish the whole crown.
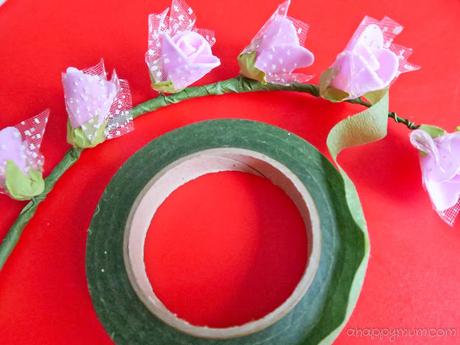 Lastly, use the floral tape to wrap around the crown so that all the wires are hidden neatly. Make sure that are no sharp ends poking out. For me, I used two small pieces of double-sided tape at the start and end because I find that these helps the floral tape to stick better.
 Viola! We are all done! It's really very easy, right? And we spent a total of less than S$10 for two flower crowns!
So, we are now looking forward to celebrating their birthdays very soon! P.S. Their matchy Sofia the First dresses were bought from online for $11 per dress, not bad at all, right?
For more DIY tutorials and craft inspiration, visit my gallery here.
******
 <a href="http://www.ahappymum.com/search/label/Creativity%20521"><img src="https://lh5.googleusercontent.com/-FA3rgSeuQWo/T_K49p08YZI/AAAAAAAAJTY/AxV0r9kjU_c/s150/Creativity%2520521%2520button.jpg" alt="new button" width="125" height="125" /></a>
To fellow bloggers who have a fun craft session, DIY tip or creative idea to share, come join in the party! Highlight and press Ctrl + C to copy my button above, include it in your post/sidebar and add your link below. I will be hosting Creativity 521 on the 5th and 21st of every month, do hop over for more inspiration. Remember: The sky's the limit when it comes to creativity!


