Anyway, I took the girls to go shopping for a Father's Day gift recently and decided to be practical and get something that the hubby needs at the moment - a casual short sleeve button down shirt. Well, the thing is, buying a gift from a store seems like the easy way out and as always, I wanted to do something else. Something else that is simple, personalised and speaks of love. Of course, this being Father's Day, it would only make sense if the kids played a part in it too, right?
So, in this week's Creativity 521, I'm sharing with you something we made that is really fun and cute to go along with the present - a DIY Shirt Card! Makes perfect sense, right? I also wanted to let the kids make something for their granddads too so we made a total of three cards in total. Here's how we did them.
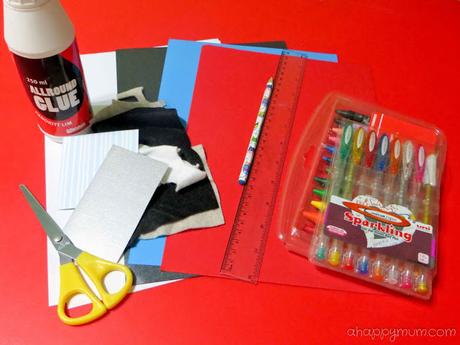 Materials:
1) Coloured paper
2) Plain paper
3) Scissors
4) Glue
5) Ruler (or a scorer if you have one)
6) Pencil
7) Decorative materials such as felt, scrapbooking paper etc
8) Coloured pens or markers for writing messages
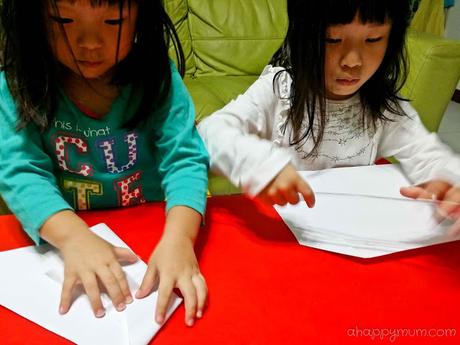
Origami can be a fun learning but challenging task for young children. So before we began making the cards, I let the kids have a practice session by folding plain paper into halves and using a ruler to score the paper. Note that while the shirt card is not too complex to fold for an adult, it can be quite difficult for a child so do step in to help and guide when needed.
Here are the steps to folding the shirt card.
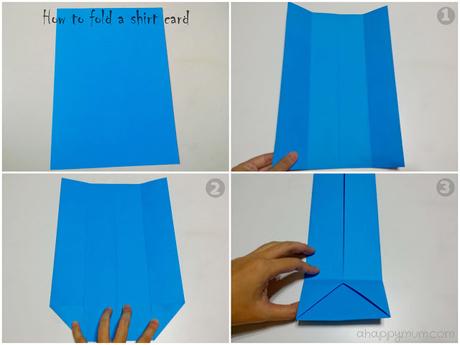 1) Take a piece of rectangular paper (I used A4 size) with the right side facing down if you are using a patterned paper. Fold it into half vertically, open up, fold the left side to the centreline, crease and unfold. Do the same for the right side.
2) Fold the bottom left corner in and line up with the nearest crease. This will make a small triangle. Do the same for the bottom right corner.
3) Fold in the left and right sides to the centreline as shown. Make a crease just slightly on top of the inverted V by folding the bottom upwards.
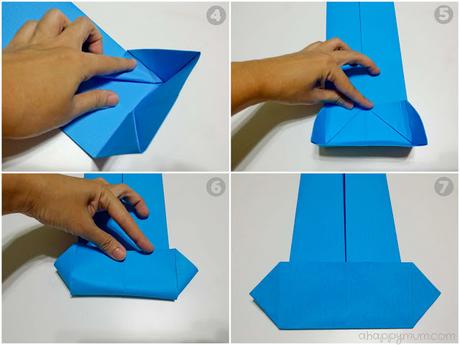 4) Here comes the most challenging part. Open up the triangle so that one side lines up vertically as shown.
5) Do the same for the other side.
6) Carefully fold the bottom up so that you form your left and right sleeves as shown.
7) Score the paper to make it neat and this is how it should look like.
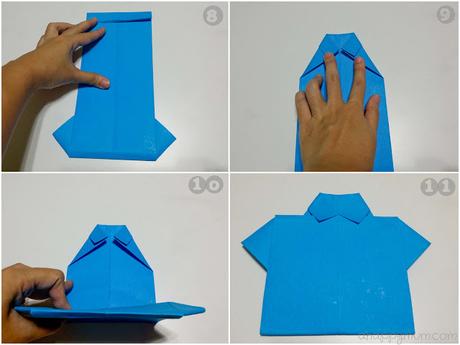 8) Turn the paper upside down. Make a small fold downwards at the top as shown. Flip the paper back.
9) Fold the left and right corners to the centreline so that their tips meet. This will be the collar.
10) Lastly, fold the paper so that the bottom edge tucks under the collar nicely.
11) Viola! You completed your shirt card!
If you need a video tutorial to guide you in the steps, you can check this out.
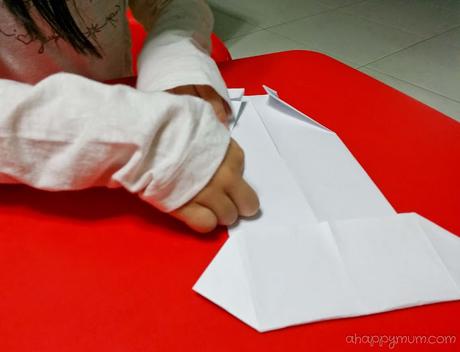 Repeat the steps for as many cards as you need and try making different coloured or patterned shirts.
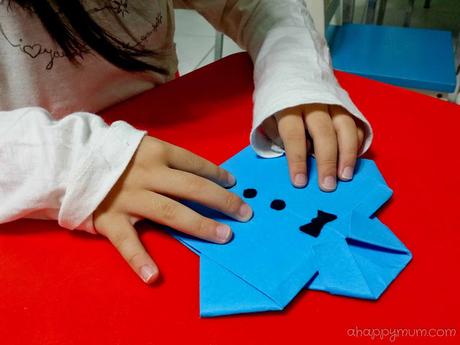 To jazz things up, we decorated the front of the shirts using felt and coloured paper. Simply cut out buttons, bow ties, neck ties and stick them on using glue. You can even write names or make a small pocket to hide a surprise if you want!
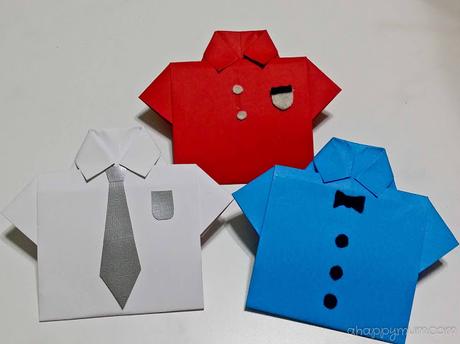 Ta-dah! Here are our completed DIY shirt cards! Oh wait, there is still something we wanted to do to make them more personalised!
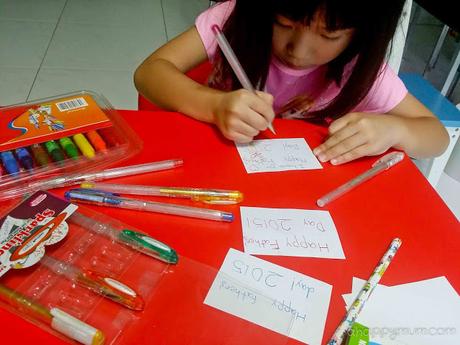 Angel took complete charge of this and she wrote names, wishes and messages onto small pieces of white paper which I had measured and cut out to fit into the shirt card as shown. Just ensure that the cards are able to open and close when you do so, so remember not to stick anything onto the collar part.
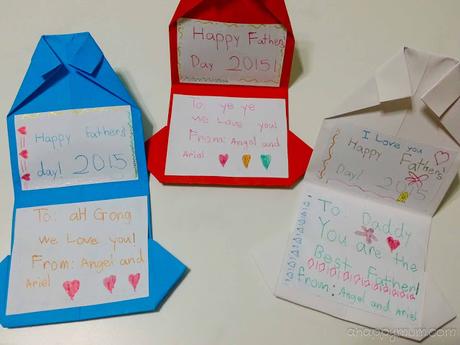 And yes, we are done! How do you like our DIY shirt cards?
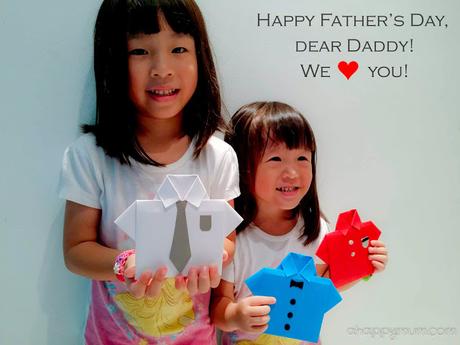 I sure hope the hubby and our dads will be thrilled to receive these from the girls tomorrow. How are you going to celebrate Father's Day?
 "Any man can be a father, but it takes someone special to be a DAD."
For more DIY tutorials and craft inspiration, visit my gallery here.
******
 <a href="http://www.ahappymum.com/search/label/Creativity%20521"><img src="https://lh5.googleusercontent.com/-FA3rgSeuQWo/T_K49p08YZI/AAAAAAAAJTY/AxV0r9kjU_c/s150/Creativity%2520521%2520button.jpg" alt="new button" width="125" height="125" /></a>
To fellow bloggers who have a fun craft session, DIY tip or creative idea to share, come join in the party! Highlight and press Ctrl + C to copy my button above, include it in your post/sidebar and add your link below. I will be hosting Creativity 521 on the 5th and 21st of every month, do hop over for more inspiration. Remember: The sky's the limit when it comes to creativity!


