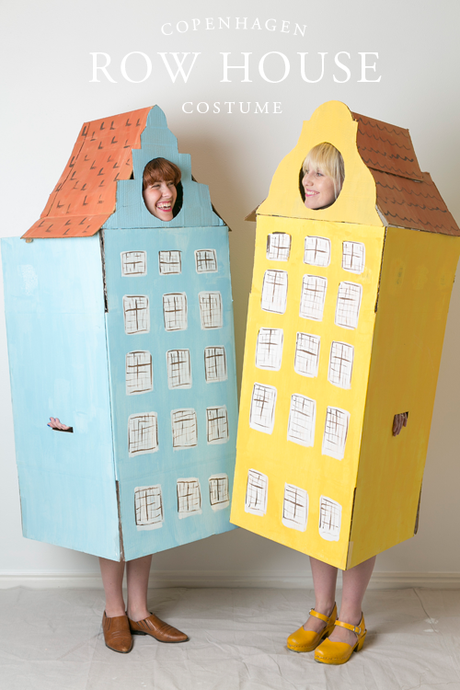
 Let's take a break from our Tortured Artist series and sprinkle it with some sunshiney Scandinavian delight. Shall we?
Here's the story. Last year for Halloween Paul and I needed costumes last minute (surprise!) for an event we were attending. The idea came in a flash: Copenhagen! We needed to be Copenhagen. I drew it up in my mind, got the boxes, painted it, put it together AND THEN realized, DOH! The reason it came so easy is because it was Merrilee's idea from her new book Playful, the book that you know, I just styled. The one that hadn't been released! I couldn't very well steal her thunder (though the one she created was a dollhouse) so I've had to wait a WHOLE YEAR to release this puppy. Do you know how hard that is for an antsy craft blogger?!
Since Paul LOVES to be in photos (NOT), I had Hillary come in and play my next door neighbor. She's a bright ball of sunshine.
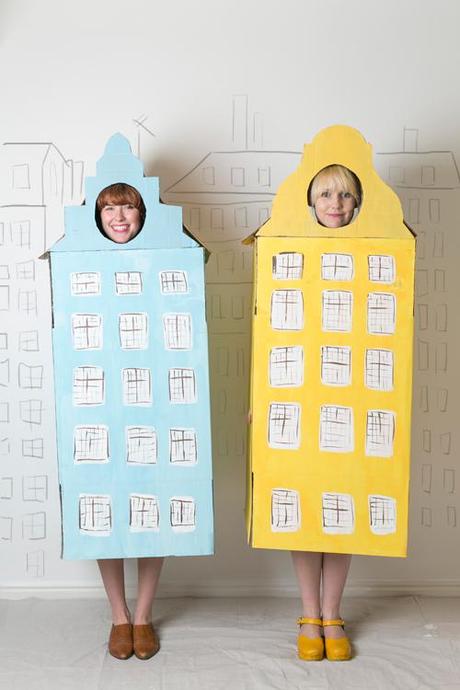
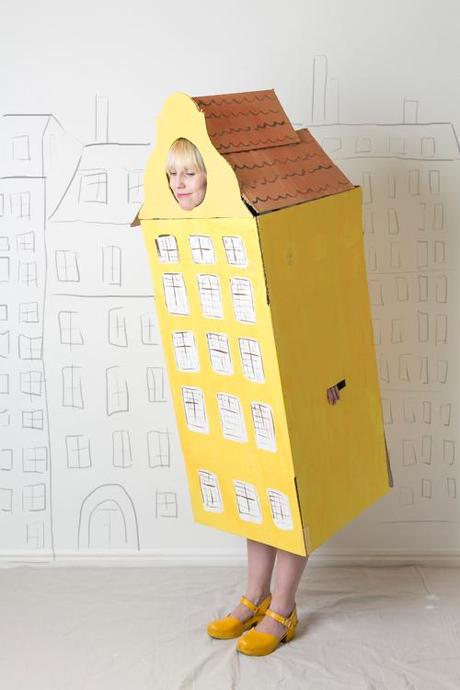
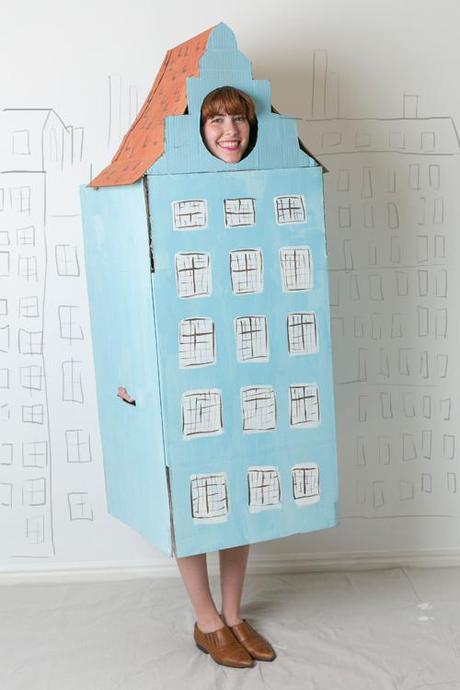
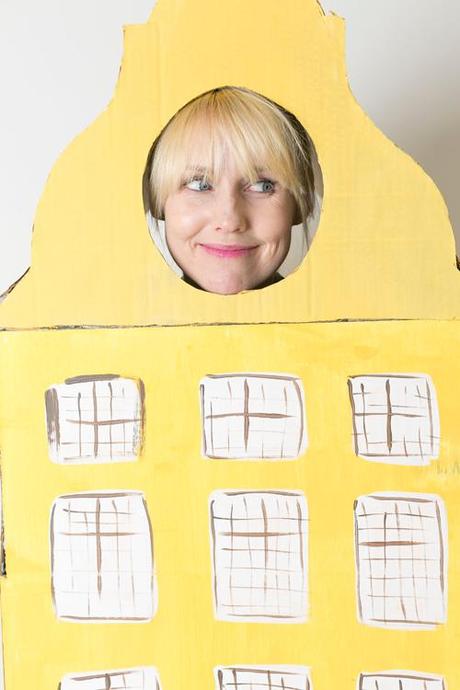
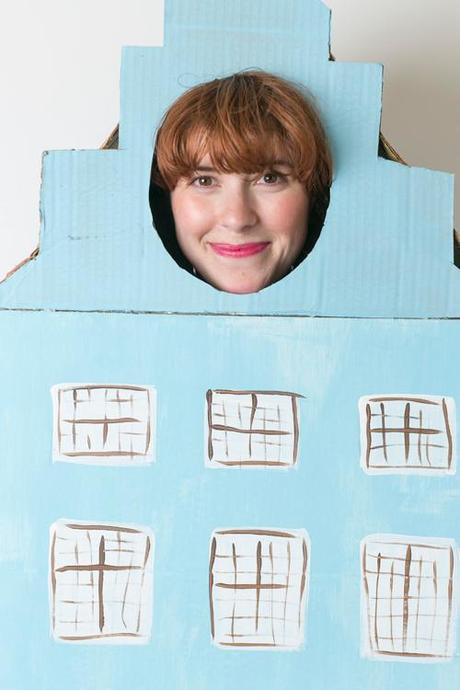 Photography by Trisha Zemp
See the full instructions below
How to make a row house costume
Materials:
- cardboard box large enough to fit into
- piece of cardboard for the roof
- craft knife
- paints in your preferred colors
- paint brushes
- scissors
- glue gun
- duct tape
- Open the box so all the flaps are out. You need a shape that will feel like the height of a building so I made mine as tall as it could go. I sealed up the flaps with duct tape and reinforced it with glue gun.
- Create the shape of the roof by getting an extra piece of cardboard and creating your preferred shape. Cut it out with your craft knife. Cut a hole to the size of your face.
- Attach it to the box with duct tape and glue gun.
- Make the A-frame roof by bending a long piece of cardboard in half. Have it hang over the box by a few inches.
- Attach the roof to the rest of the house with duct tape and glue gun again. Make sure the roof is in a position where you don't have to duck.
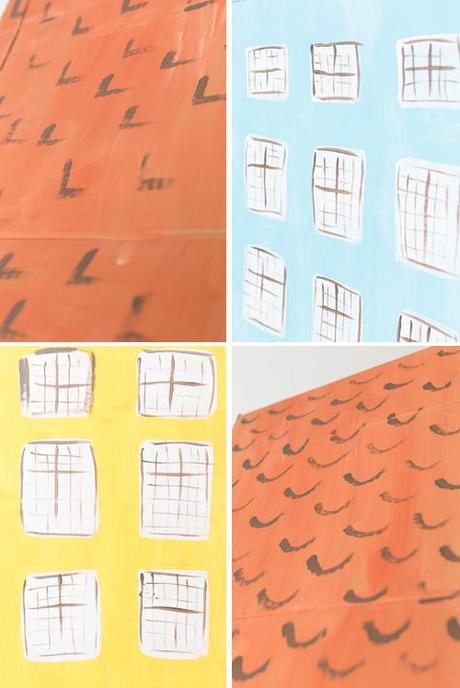
- Paint the box to your desired colors. If possible, use white cardboard so it's easier to paint on top of (less layers). I went with traditional Copenhagen yellow and blue like the main harbor, Nyhavn.
- Figure out where your hands will be holding the box and cut out slits.
See more rad ideas like these in Merrilee's new book Playful!

