You’ll get to read about this in another post shortly but, this past Sunday, I successfully led my first walk of the year, with previous walk-leading experiences having come all the way back in July.
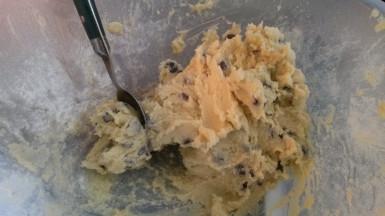
For this occasion, I decided that I would continue my tradition of baking something… I considered brownies, which I’d attempted on another walk last year. Shortbread seemed the easiest option – but again, it would be too familiar with July’s walk. Then, as I began to think of biscuits, I settled upon the idea of cookies.
I baked these using a recipe that can be found in Sarah Flower’s Halogen Oven Baking Book
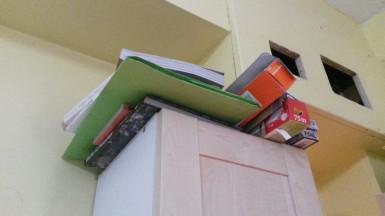
Speaking of cook books, I do hope that I can come up with a better solution for storing mine, sometime this year.
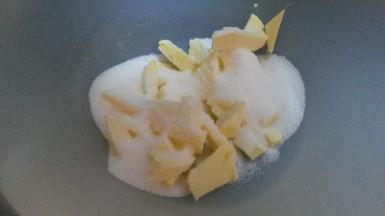
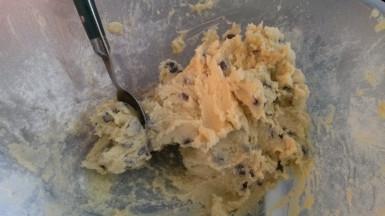
Before long, I would gradually add the other ingredients (it’s a chocolate chip recipe) and form a dough. At which point, I decided to pre-heat the oven – with only a 12lt capacity, I never see the point in pre-heating a halogen oven for much more than five-minutes, regardless of what any instruction may suggest.
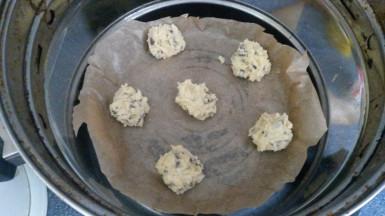
I ended up baking these in two efforts, after spacing them out on the lined, round baking tray.
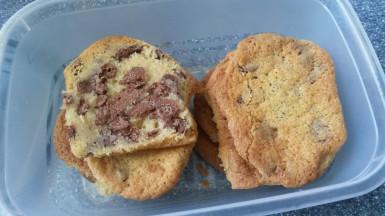
Within minutes (of a fourteen-minute timer at 190°C), each lump of dough had sunk and spread out far enough to meet with each of its neighbours. Also, the chocolate chips appeared to have simply sunk to the bottom of the mix – I had the very same experience a couple of weeks earlier whilst attempting a similar recipe for a large cookie dough pizza.
I think I ended up with fourteen cookies from these first two batches. Each time, the tray was removed from the oven immediately after baking, so that they were less likely to turn hard and biscuit-like.
I wasn’t entirely happy with the end result (they were soft and very thin) and I wasn’t confident I would have enough for the walk. So, I decided to attempt a second batch on Saturday afternoon.
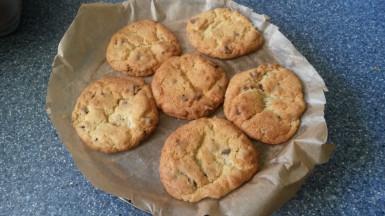
There were two significant changes I made here…
Firstly, I used regular granulated sugar (the kind of stuff you might put in your tea) in place of soft caster sugar. This was after flicking through the baking book to find a near-identical recipe for chocolate and hazelnut cookies, with unspecified “sugar” listed within the list of ingredients. I also noticed that, on the side of my bag of sugar, there’s another recipe for chocolate chip cookies that I may attempt in the future.
Secondly, I further reduced the oven temperature. Sarah seems adamant that you should be baking at 200°C or 210°C but, I think her model cost more than mine did. Personally, I have had too many failures with the higher temperatures and only the best of successes at no more than 160°C. I think the photo above illustrates that it went well.
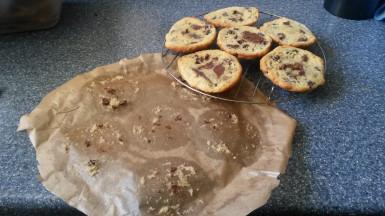
This second load was soft without being doughy. I found the easiest way to remove them from the baking paper was to plant them (carefully) upside-down on a cooling rack and the, after removing the tray, to carefully peel away the paper. Then, I could spoon away the leftovers – to prevent me eating the finished goods!
They were still a little soft and one or two had stuck together by the time they were served on Sunday morning but everyone seemed to love them and I, for one, do prefer the kind of cookie home-baked cookie than does not come wrapped in a tube of plastic.
