The other day I posted part one to this creative evening of treat making with Ally – The Coconut Ice recipe (Click here to read). I promised the fudge recipe would follow…so here it is… After making the Coconut Ice we gathered all the fudge ingredients from our shopping bags:
- 450g (1lb) granulated sugar
- 85g (3oz) butter
- 150ml (¼ pt) milk
- 175g (6oz) evaporated milk
- Few drops of vanilla extract
- A little vegetable oil
Now this recipe probably does take more judgement and perhaps more patience, something I will say I struggled with at 11pm on a friday evening :P But we made it a few times – we had quite a few people to make for – and therefore got better every time! I would recommend doing at least a couple batches so you can get used to when to take it off the heat. Here’s how to make them….
1. Measure the sugar, butter, milk and evaporated milk and place into one heavy based pan. Heat gently, stirring regularly, until the sugar has dissolved. We waited until the butter had melted into the mixture too.
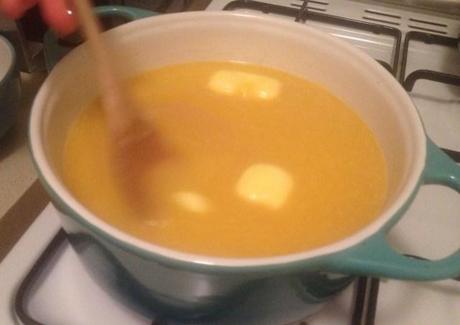
At this point, if the saucepan is over half full, I would divide the mixture as ours did bubble over the first time and we had to split the mixture later on – it does expand!! Store the other half/ extra to the side in a bowl.
2. Bring the liquid in the saucepan to the boil without stirring. Stir the fudge occasionally so that the sugar doesn’t stick or burn. It does get super hot, as my thumb found out, so do be VERY careful!
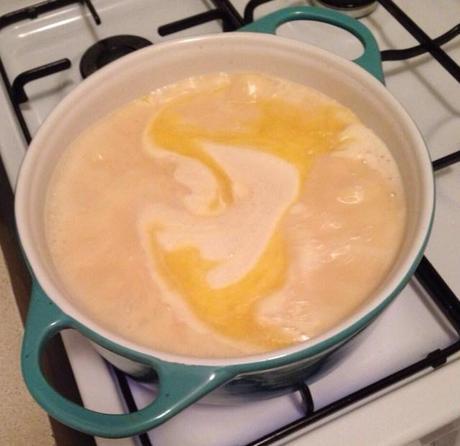
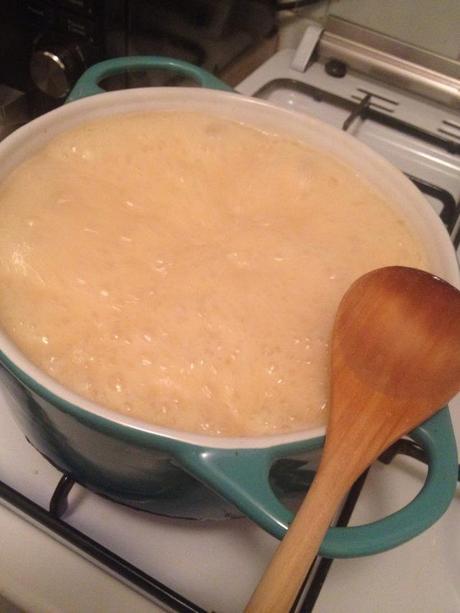
This could have been just before our first one bubbled over…so keep an eye on it!
It says to continue boiling until a temperature of 116°C (240°F) is reached on a sugar thermometer OR if you don’t have one of these, you can test if the fudge is at this temperature by spooning a small amount of the syrup into some iced water, it should form a soft ball.
We did try the soft ball technique, but it didn’t seem to work for us. We did however still come out with delicious fudge. We stopped boiling ours once the liquid had turned to a different, slightly thicker looking consistency and was sticking to the bottom a little too much – just before it was burning. This is where the trials and patience are needed – I think it took our liquid about 20 mins…
3. When you think it’s ready, take off the boil and whisk in the vanilla essence. We used an electric mixer for this. The mixture will thicken and start to harden.
4. Pour into a tin lined with baking parchment and leave to cool for 10-15 mins. At this point you can mark the fudge into pieces (we didn’t actually do this).
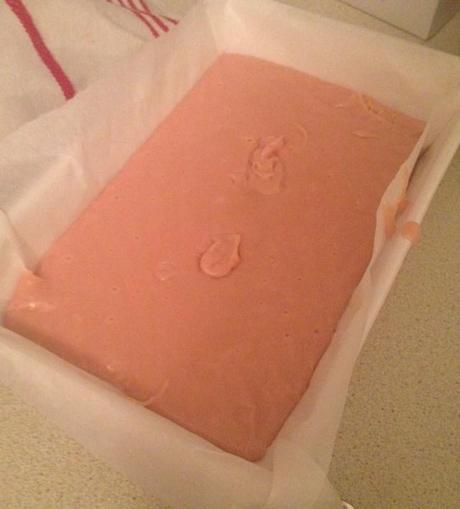
We used a tad pink colouring in this batch
5. Chill in the fridge overnight if possible.
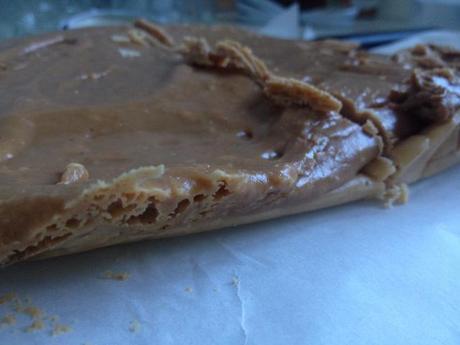
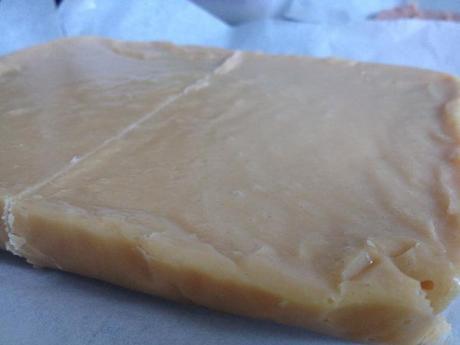
This was our third attempt…They definitely got better each time
Once it has been left and set it will be ready to be cut and packaged. Take a look at ours…we put our fudge into jars with chocolates we made using moulds bought from Sainsburys, which I think look fab – little gingerbread men and candy canes, with festive sprinkles on the backs.
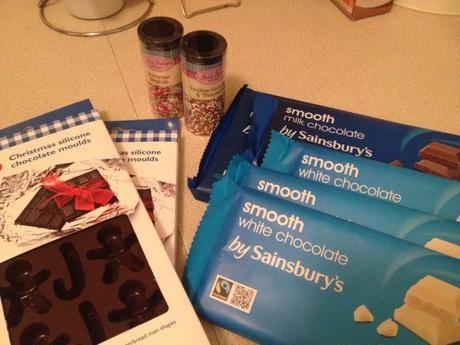
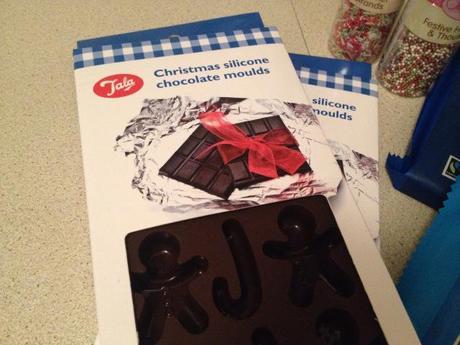
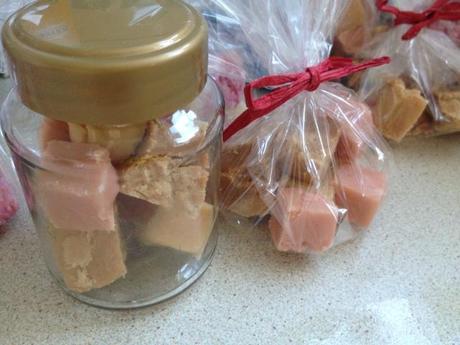
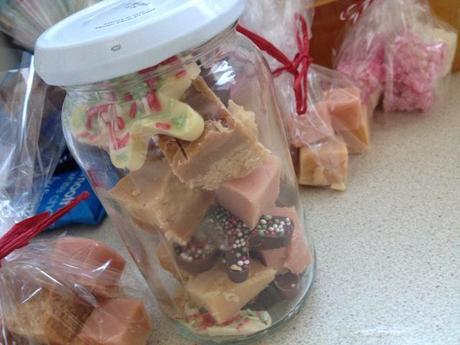
It does take a little extra patience but it’s well worth it. They taste delicious and look fab! Our jars were only 30p strawberry jam jars from Sainsburys, emptied and soaked. They still need a little decorating, ribbons, tags and TLC but then they will look awesome!
Hope you have fun and make some delicious pressies…there’s nothing like a homemade touch.
Chloe xx

