You probably weren’t to know, as I haven’t been shouting or raving about it this year, but Monday 31st was my 29th birthday. Yes, just one last year to go before I kiss my younger days goodbye! To celebrate this occasion, I took a couple of days off work and set myself the intention of baking a cake on one of them. It seemed to go hand-in-hand with my newly-found interest in cooking… And I do love cake!
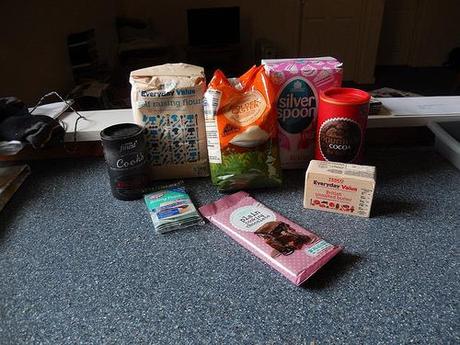
I haven’t looked at how much I spent (it was probably close to £10) but above, you can see the ingredients necessary for me to bake this chocolate cake. A week earlier, I’d purchased enough to make my first pancakes – several weeks after Shrove Tuesday.
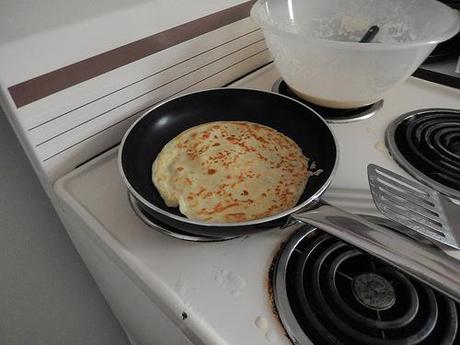
It was straight forward to follow and I’d made sure I had plenty of milk and a few eggs in the cupboard. While I contemplate the purchase of a new induction hob, I had to wait an age for the electric cooker to heat up adequately. It got warm very quickly but then, it takes a longer time before you can confidently cook pancakes in only 30 seconds for each side – which is what the recipe advises.
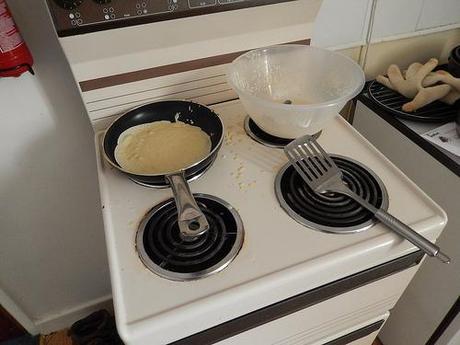
I was reluctant to spend £6 on a humble whisk from the supermarket, so I using a simple fork from my cutlery set and that did a good job of beating everything together. It didn’t take long for the mix to disappear as the ‘cakes began to pile up on a nearby plate. I made quite a mess of the cooker, though!
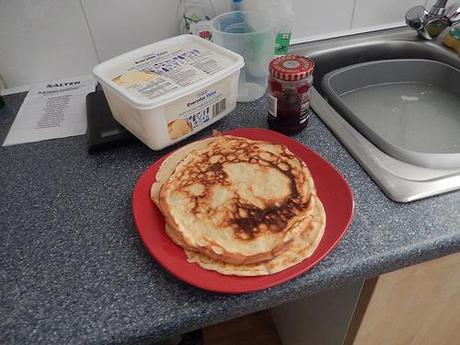
If any of them burned, that one was certainly the worst of the lot.
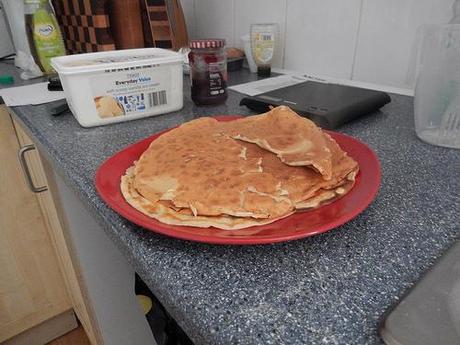
My sole attempt at flipping the final pancake was a 50% success, as it landed down on the fresh side before folding back over itself! You really do have to be quick tilting the pan to ensure the mix spreads evenly around the saucepan.
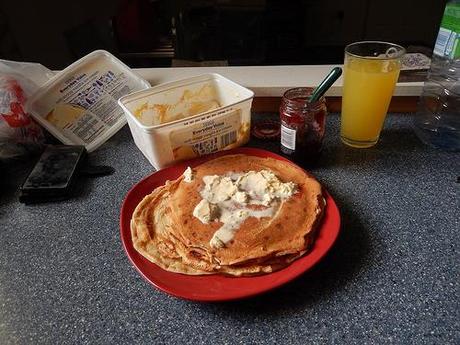
Jam (or jelly) and ice cream, anyone?
As I’d forgotten to look for maple syrup and, shame on me, hadn’t even considered lemon juice during two trips to the supermarket; my only options from the fridge were to top them with jam or ice cream. Some even had both! After 8.5 pancakes, my birthday lunch was consumed and, although feeling a little sickly after all the sweetness, it was time to look at baking that cake.
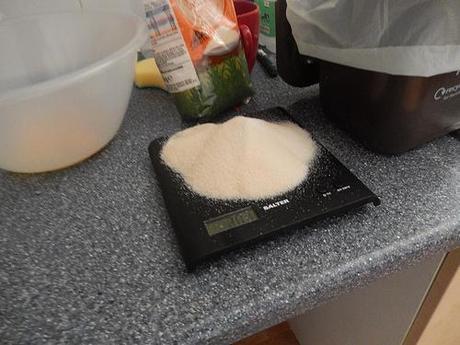
Another new purchase for the ever expanding kitchen range!
Before I could do any of this cooking, I had to rush out and buy a set of electronic scales. These came from a local-ish hardware store. With a maximum rating for 3k it’s made me again question how people weigh larger items – thinking of parcels for eBay sales and courier collection. With some items, it’s not always convenient to pop in to your local Post Office and, although I have used bathroom scales in the past, I’ve sometimes gotten the weight measurement wrong and I used to come unstuck in that ‘un-weighable void‘ between kitchen scales and those reserved for the measuring of body mass in the bathroom.
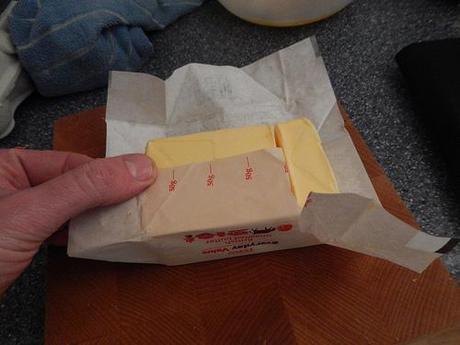
Those scales were essential for the correct quantities of flour and sugar but when I opened the pack of butter, I noticed the paper was marked with graduations that made knife work a breeze.
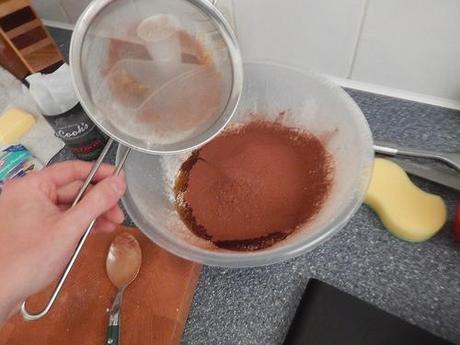
It was nice to be able to use my sieve for something other than the draining of pasta and beans – I had vague recollections of learning something about the sifting of flour from a young age at primary school!
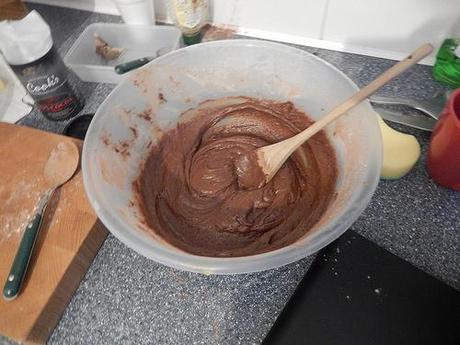
Mixing the actual cake was where it began to get really exciting! While deciding on this recipe a few days earlier, I’d intended to pick up white chocolate drops for the added delight inside the first mouthful. I did forget (looking at the shelves of ingredients was a little overwhelming) but you can’t really go wrong with chocolate, can you. :-)
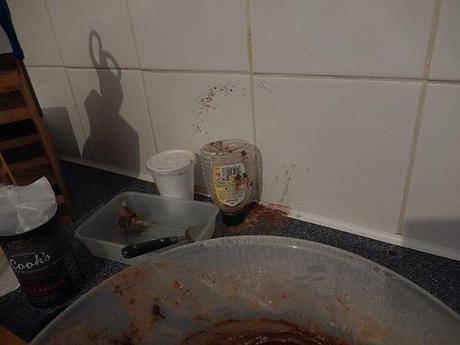
All that mixing and folding with the wooden spoon was leaving quite the impression on the tiles!
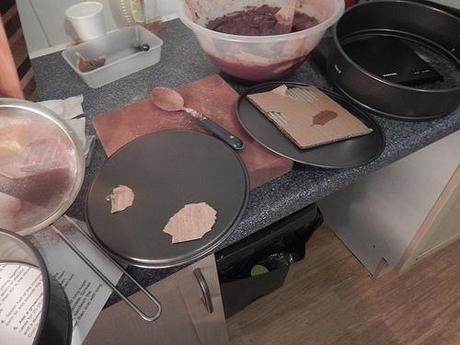
Cardboard is attached with hot-melt glue for packing and protection but it peels off very easily.
Days before buying the scales, I’d been to the same hardware store to purchase a pair of cake baking tins. They were being sold in sets, or pairs, for £12. I knew (from user comments beneath the recipe) that I wanted an 8in/200mm tin but each ‘pair’ contained two tins of differing widths… So, the bottom half of this cake was going to underhang the perimeter of the top. I considered buying a second set of tins, as they apparently then give you a 20% discount but, being ruthless with my needs, I payed the minimal amount.
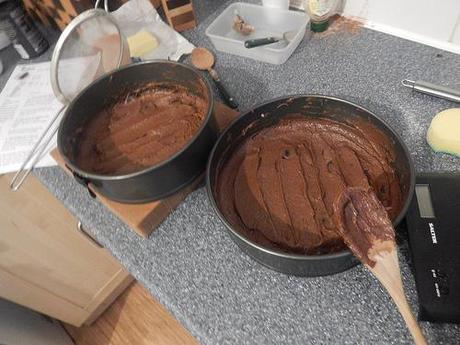
There is probably a neat way of smoothing off the tops of each mix before placing the tins in the oven… Perhaps I should turn to YouTube for that.
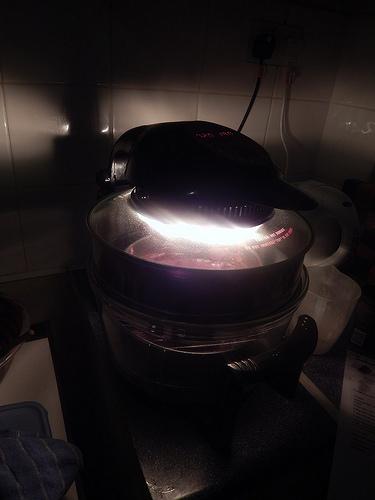
You can’t see this clearly but I set each of the tins on different racks; one sitting above the other, inside my halogen oven. There wasn’t a lot of breathing room between the tins and so, while the top one seemed to come out fine, I had to the put the bottom one in again – which might explain why the finished cake tasted ever so slightly dry (apparently, this can happen when you over-bake items). I’ll have to research in to how others bake with these halogen ovens because I’m sure there must be a way of arranging these high and low racks to accommodate two halves.
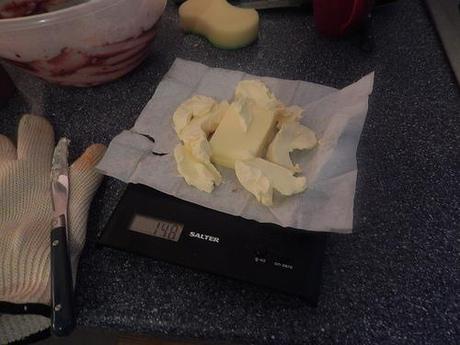
When it came to the icing, I realised I hadn’t bought enough of that butter and had to spoon out a few dollops of the spreadable stuff with my knife. I aimed for about half of the stated requirement, as some of the feedback comments I’d read on this recipe implied that it provides you with double the necessary quantity of icing. I remember being very precise with these measurements at school, down to the very gram. Acceptance and woodworking has since taught me that it’s rarely ever necessary.
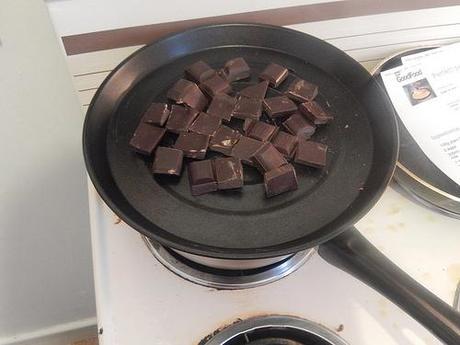
Melting chocolate, when you haven’t planned ahead.
I hadn’t anticipated how troublesome melting chocolate was going to be. There was no word of warning in the recipe guidelines and it wasn’t until I read the back of the packaging that I realised I didn’t have a ‘saucer’ of any kind – so, I adapted by placing the baking tray (from my halogen oven) on top of a saucepan of boiling water and, slowly but surely, this did the trick.
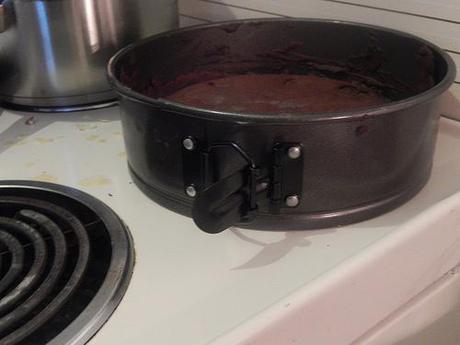
I didn’t know a thing about baking and so I was very impressed when I realised my tins had these ‘clamps’ that allow you to easily from the sides from both the cake and the base of the tin for cooling. I was wondering how on Earth I was going to get a spoon or other utensil in there without digging a hole down one side!
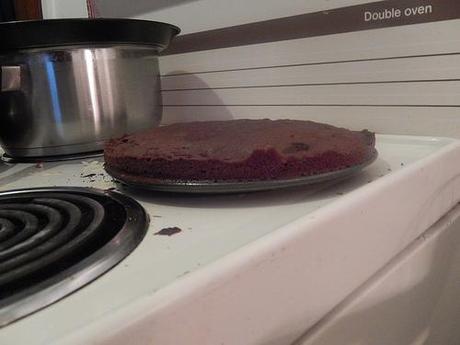
They came significantly thinner than I was expecting, although this was only around the edges, where each half seemed to have risen quite well in the center. You can also spot the ‘crispy bits’ standing proud around the perimeter.
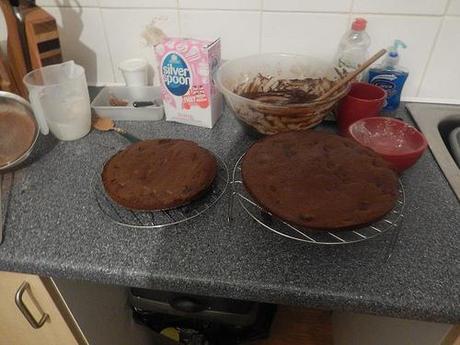
By bringing the two halves together…
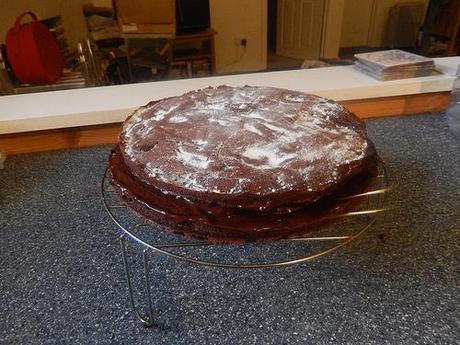
I created a Rebated Chocolate Cake! :-)
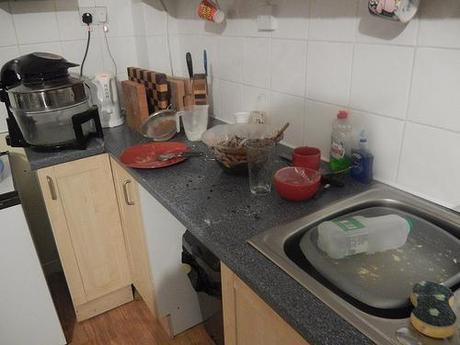
Then, it was just a case of cleaning up the leftover mess…
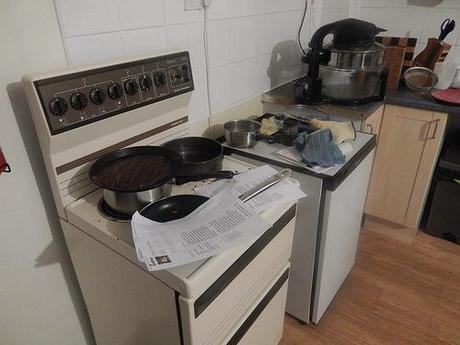
But this didn’t happen for another day as, not only was it my birthday but, I still had a lot of extra icing to ‘dispose of’! ;-)
Thanks for reading. I’m sorry I wasn’t able to save any for you but I only enjoyed two slices myself! It went down very well with family and a handful of work colleagues. I’m sure I’ll be baking again this year, now that I’ve ‘invested’ in the ingredients!

