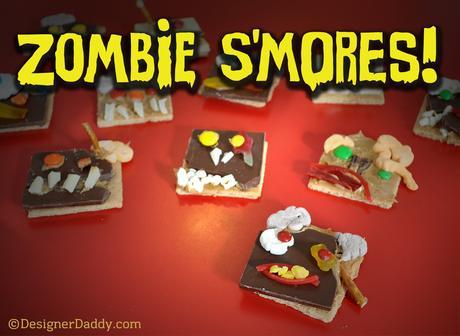
S’mores are just about the most perfect snack. First, there’s the simplicity of them: chocolate + marshmallows + graham crackers; heat, eat, repeat.
They’re also super easy to customize, personalize, and accessorize. Maybe you like yours with peanut butter, or Nutella instead of chocolate; or maybe once in college you experimented with s’mores made from Pop Tarts and have always fantasized about trying that again.
And finally, s’mores are always in season: they taste just as gooey and delicious whether you’re huddled around a campfire telling ghost stories or huddled on the couch binge-watching The Walking Dead.
Speaking of zombies…
A while back I made some spooky monster s’mores for my son’s class Halloween party. They were such fun to make (and a big hit with the kids), that I thought I’d revisit this snack-craft and see what other monstrosity I could come up with. Then it hit me — ZOMBIE S’MORES. What could be more fitting than a gooey, melty, drippy snack made to look like a gooey, melty, drippy reanimated corpse?!
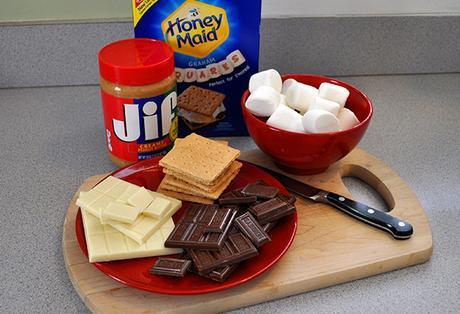
BASE INGREDIENTS:
. . . . . . . . . . . . . . . . . . . . . . . . . . . . . . . . . . . . . . . . . . . . . . .
• graham crackers
• milk & white chocolate bars
• peanut butter (or Nutella) – great for holding rotting flesh tasty toppings together
• marshmallows
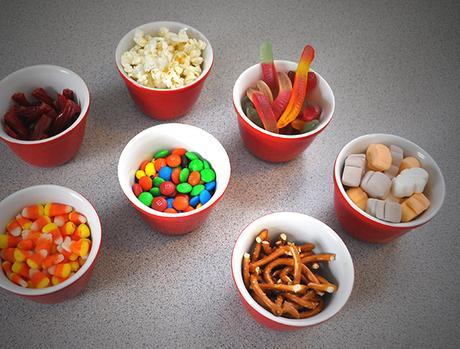
TOPPINGS:
• M&M’s (plain & mini)
• candy corn
• pretzels (for bones)
• popcorn (for teeth, random fleshy bits)
• licorice (lips, veins, worms)
• gummy worms (great for their general gooeyness)
• Kraft Jet-Puffed Ghostmallows (These “ghost”-shaped marshmallows also look an awful lot like brain matter…)
Customize your toppings as much as you like. If you think it will taste good melted into some chocolate, go for it!
HOW TO MAKE THEM:
. . . . . . . . . . . . . . . . . . . . . . . . . . . . . . . . . . . . . . . . . . . . . . .
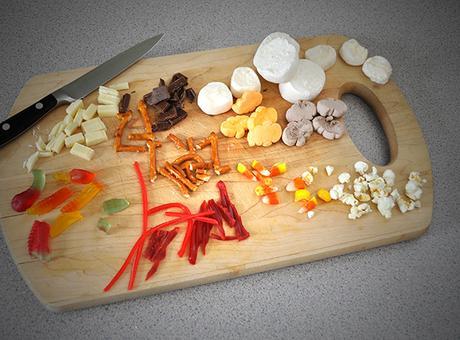
Step 1
Cut, break, and tear up some of your toppings into smaller shapes ahead of time. Once you start building the s’mores, you’re gonna get messy. This helps keep you from getting everything mixed together ahead of time.
HINT: Rinse your knife in hot water before cutting the marshmallows and candy. It cuts much easier and keeps less of the candy from sticking to the knife.
Step 2
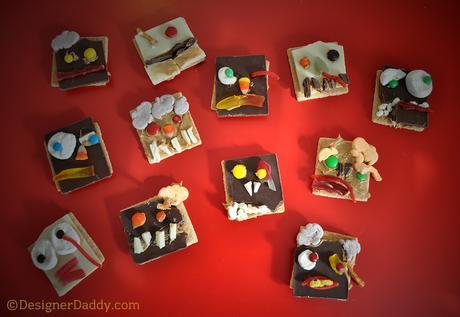
Spread a layer of peanut butter or Nutella onto a graham cracker square, then start making zombies! The great thing about zombies is that they can never be too messed-up looking. Have fun stabbing your s’mores with pretzels, sticking brains in random places, and generally having an awesomely apocalyptic time. Kids will especially love this part!
Step 3
Take a before picture. Trust me, the payoff is more fun this way.
Step 4
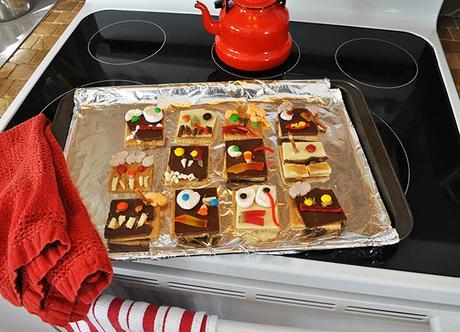
Place the s’mores on a cookie sheet covered with wax paper or aluminum foil. Bake for 3 – 5 minutes at 350. You may think you want to cook them longer, but they’ll continue to cook/melt for a bit after you remove them from the oven. There’s a fine line between zombie ooze and unrecognizable mess.
Step 5
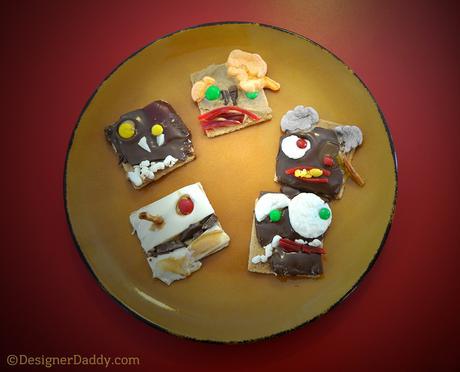
Take an after photo. I love how all the eyes shifted into even freakier positions, and how the gummy worms turned to skull slime. Yay, science!
Step 6
EAT! But be warned, once you eat one, you’ll only want more…
. . . . . . . . . . . . . . . . . . . . . . . . . . . . . . . . . . . . . . . . . . . . . . .
Never miss a post! Scroll up on the right to where it says “SUBSCRIBE,” enter your email address, and get Designer Daddy posts delivered to your in box!
For more crafty/creative/parenting stuff, follow Designer Daddy on Pinterest!


