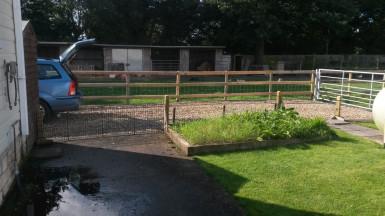
Some of you may remember how, earlier this year – before the summer that appears to have come and gone so quickly – I erected a fairly straightforward freestanding, temporary fence to keep my mum’s puppy from wondering off along the shared driveway.
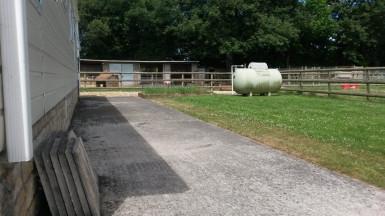
Inevitably, I was asked to do the same again alongside the garden to the rear of the property. This is a job I actually completed in July and, as I sit down to write about it now, I’d like to indicate that I had to make a couple of slight alterations for the same idea to function in its situation.
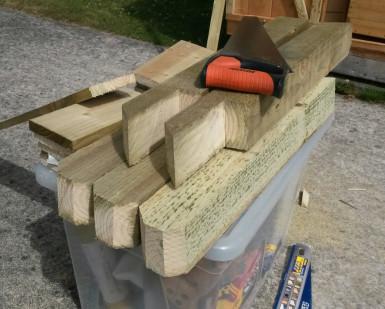
Preparing the posts, hand-sawing and screwing everything together (as before) was always going to be the easiest bit. With that out of the way and the glue drying, I could look at the two issues that I could foresee:
You’ll hopefully notice that I notched one end of two of these posts, which also happen to be slightly longer than the rest. That was in order to overcome the obstacle of a (presently unused) raised bed:
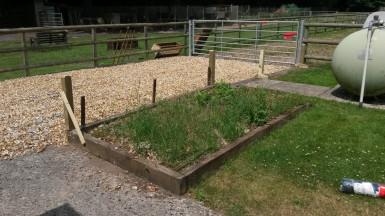
It’s about 2.5m in length and sits roughly halfway along the 8m span between the building and boundary fence.
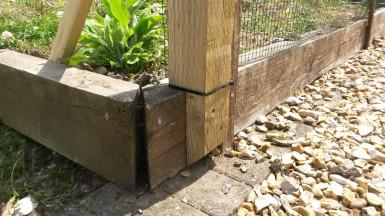
Both of these notched posts were to be screwed in place without glue, which maintains the ‘temporary’ theme. At one end, I had to bring the post in several inches from the mitred ends of the raised bed border.
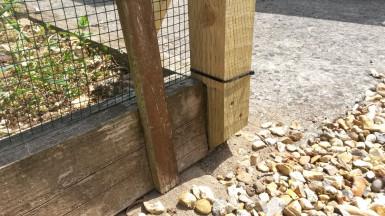
At the other and, nearest the property, there was a simple butt joint which meant I could sit the post quite neatly on the end.
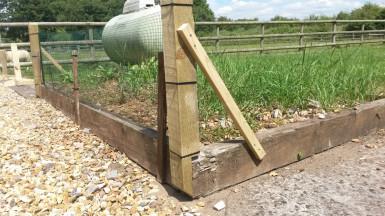
I added one diagonal brace to the outside of each post, as you can see. This helps to keep the post level and also means that the structure isn’t solely relying on the strength of those hand-sawn notches and a couple of 75mm long screws. You can also see that I mitred the ends of each post, so that the end grain isn’t sitting on the ground to soak up moisture and, hopefully, any further rainfall will run off and drain away.
It may be unnecessary but, I like it.
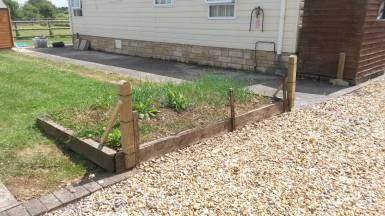
We needed another two rolls of the 500mm high fencing mesh (oddly, Amazon only dispatched one but were happy to fulfill the order later) and, with two of the five posts in position, I cut, trimmed and fixed a 2.5m run of fencing with cable ties, just as before.
Away from the property, I could easily and securely tie one end of the fence (and its corresponding post) to the existing post-and-rail fence that marks the boundary for this property.
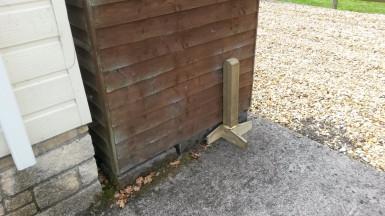
At the other end though, I was looking to link up with a garden shed… Also, I was asked to incorporate “a gate” of some sort, so that a lawnmower could pass through to the lawn with relative ease…
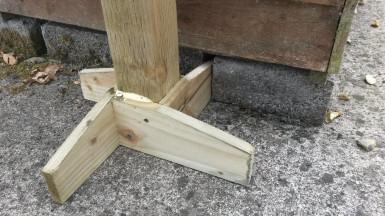
Looking closely, you can see that one of the four feet on this post slots neatly between the foundation blocks of the small shed. This, I thought was going to be enough (provided no dogs were to repeatedly jump and try to climb the fence, causing it to flex and contract along its length…).
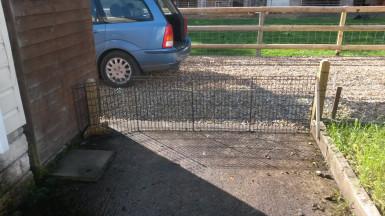
It was actually my mum’s idea to incorporate this fold-away pen, which we’d been using to allow Billy some time outside while he was younger. With fencing all around now, it was surplus to requirements.
Given the benefit of hindsight, I could probably have save a couple of metres of the green mesh. Maybe also one post.
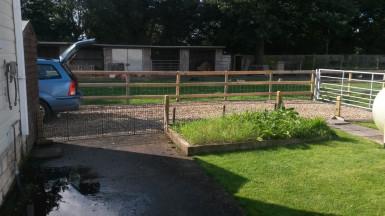
So, it’s been up for a couple of months now and is still going strong. Just as with the first iteration; I don’t think it looks too obtrusive against its surroundings.
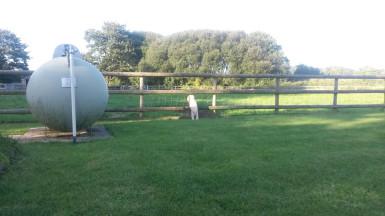
Elsewhere, stock fencing will keep the boy from escaping to an even greater space. Nine-months ago, he might’ve been able to squeeze through the square holes but he’s grown considerably in his first year.
