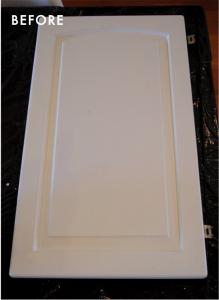
 Meet the cabinet doors in our den. Unfortunately I didn’t take a photo before removing them from our built-ins, but you get the idea. They are nice, solid wood cabinet doors, but for some reason the routed-out arch at the top made me think of an early 90s country kitchen every time I looked at them. They also had no handle or cutout for your hand to open, so we were constantly snapping our nails and fingers in them. Our built-ins may get an overall facelift themselves sometime down the road, but in the meantime we wanted to give the doors an aesthetically pleasing user-friendly update.
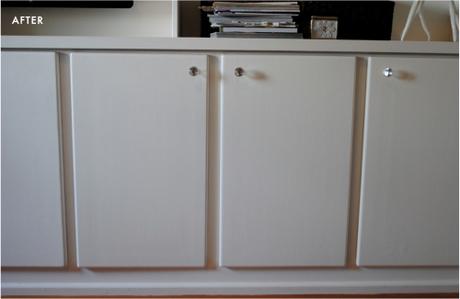
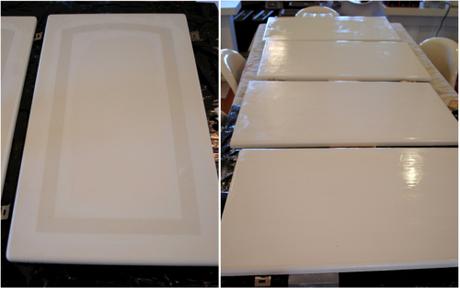
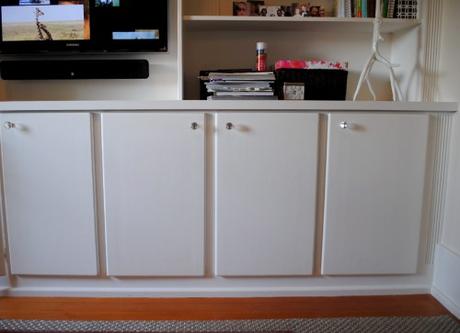
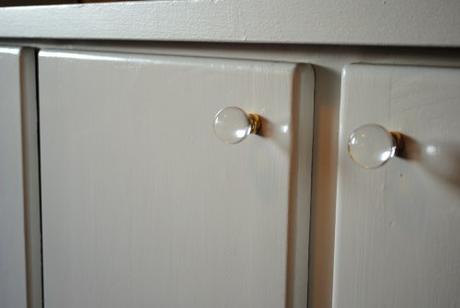
The mechanics were fairly simple. We removed each of the doors, laid them flat and filled the routed part of each with a product called Flexall, a pre-mixed all-purpose wall patch from Home Depot. The Flexall worked great and doesn’t shrink or crack like many other products we’ve tried. It took a couple of days for the first layer to dry since we were filling about a three-quarters of an inch thick area in the routed part. After it dried, we sanded the area lightly and applied Flexall a second (and sometimes third) time in some areas until the routed area was flush with the rest of the door. When everything was dry and sanded smooth, we painted the doors with a high gloss paint (with built-in primer) and added a brass and acrylic knob we found on eBay.
XO, Heather


