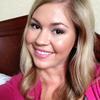
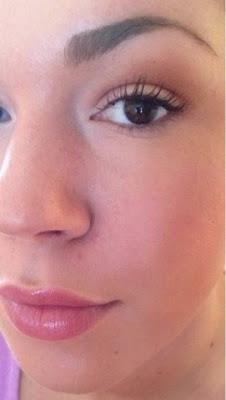
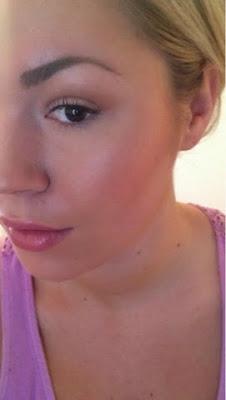
Here are some of my favorite brows...
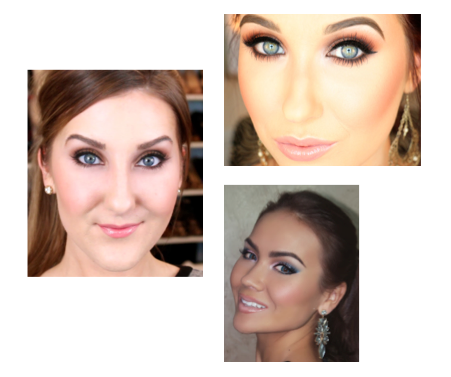
See what I mean about framing the face?
So today I am breaking down the steps I take to get that sculpted brow we all know and love. Here are the products you will need:
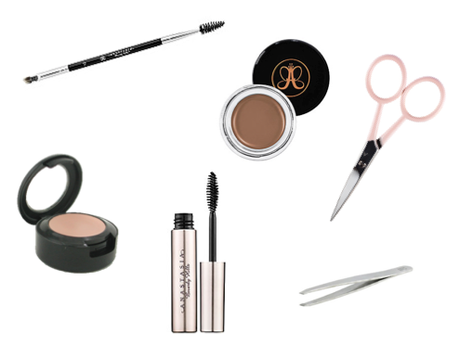
double ended spooly/flat definer brushAnastasia Dip Brow Pomade [this is the essential product to really shaping your brows]concealer [use one the same shade as your skin]clear [or tinted] brow geltweezerssmall beauty scissors
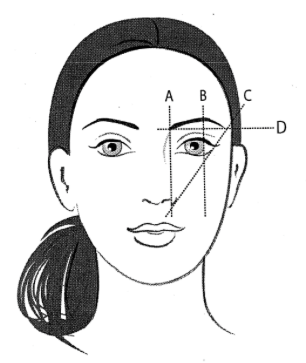
This is a great diagram to consider if you have a lot of hairs to pluck OR don't have much to follow when filling them in.
Step one: comb your brows into their best shape. [trim long hairs if you need to.]Step two: dip small brush into pomade, getting the smallest amount onto your brush. this stuff is super pigmented so it's better to start with a little and build it up as needed.Step three: starting at the bottom, use small stroking motions to apply the product, following the natural shape of your brow.Step four: focus the darkest shading at the tail of the brow, this will look the most naturalStep five: flick the brush upwards to fill in the rest of the hairs [you can trace along the top as well, however, this really darkens the look and isn't necessary for every day.]Step six: run through your brows with the spooly again to diffuse and blend the color you just applied.Step seven: set brows with a clear [or tinted] brow gel.Step eight: pluck any stray hairs that fall outside the filled in shape you just created. [doing this after will prevent over plucking.]step nine: using a concealer in the same shade as your skin [or slightly lighter if you want to highlight], run a small concealer brush under the bottom of your brow to sculpt and intensify the shape of your brow. this also helps clean up any smudging or mistakes you may have made.
And that's it! You now have perfectly shaped & sculpted brows. I believe the trick is to follow the shape of how your brows naturally grow. People tend to get scared thinking about filling in their brows and end up skipping this step, because they think it means drawing on scary, dark brows that don't fit your face. When done correctly, filled in brows are the key to a pulled together makeup look!
What products do you use to get your perfect brows?
via here, here, & here
