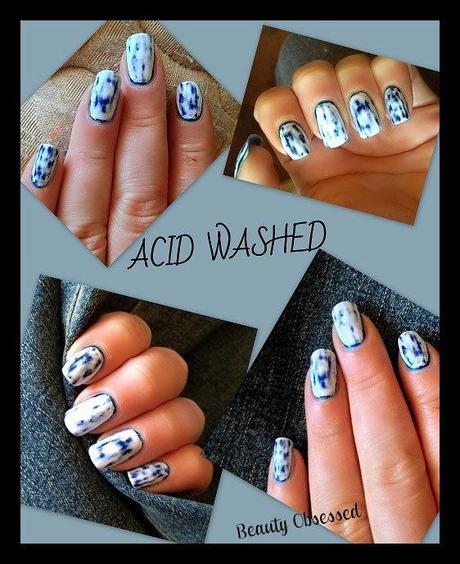
Here is a little step by step tutorial with a short video to help you with the 3rd step.
What you will need:
- Blue nail polish
- White nail polish
- Nail Polish Remover (preferably acetone)
- A bunch of Q-Tips
- Top Coat
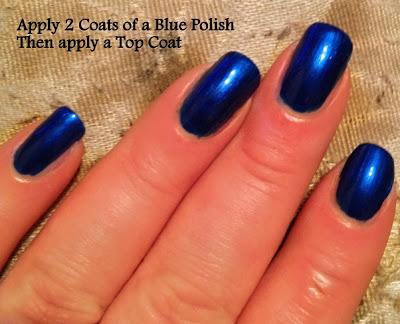
Apply 2 coats of a blue polish then a top coat. Let them fully dry.
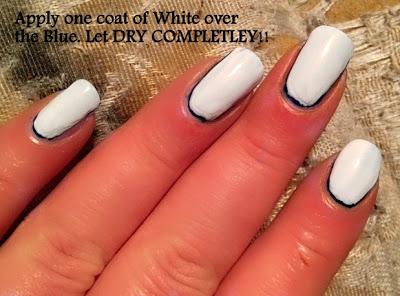 Once the blue polish is dry, apply a coat of white polish directly over the blue and again let fully dry!
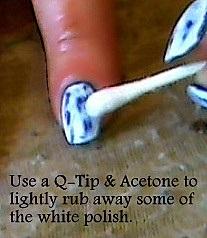 **Watch the quick video I made below to see exactly how I do this**
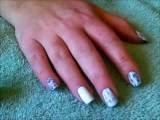
Saturate a Q-tip in nail polish remover and start to rub the nail in a downwards motion using light pressure. Then add some top coat and your done!
Quick Video on How to get the Acid Wash Affect!
TIPS & TRICKS:
- You will probably need 2 Q-Tips a nail since your picking up a lot of white polish
- Make sure the Q-Tip is saturated in the nail polish remover. This will help it go by faster.
- Don't rub too much in one spot because you don't want to pick up too much of the blue polish.
- Use light pressure when using the Q-Tip, or you can end up with a bumpy nail like I did.
- Be patient with this manicure, let the blue polish and white polish dry completely.
- Be careful that your Q-Tip doesn't get bits of cotton on your nails, that's why it's best to use a few Q-Tips each nail.
- If your nails still feel tacky because of the 3 coats of nail polish, dip them in ice cold water before you go in with the Q-Tip. That should take any stickiness away.
- You don't have to use the standard blue and white colors, you can be creative and use any colors you want!
Click the links below :) Follow via GFC Follow me on Twitter Like my Facebook Page Follow me on Bloglovin


