It’s that spooky time of year again folks. We’ve managed to miss any organised trick or treating events this year, again, which is completely my fault and I feel a bit guilty because I know that’s kind of ‘it’ as far as trick or treating goes. We were all prepared last year for the U.S style onslaught we’d come to know (and love) via Hong Kong, but it wasn’t to be, it’s just not a big thing round these parts. In fact, from memory, last year there were no trick or treaters at all visiting around where we live on the 31st, but I seem to recall a smattering of kids a couple of days later, but I’ve still not worked out what that particular custom is all about as it’s clearly a little different from what we know – or maybe it was just a one off thing. If you can explain, I’d love to know!
This lack of organisation hasn’t prevented me from feeling a little creative, and with all the gorgeous Autumnal colours around here to inspire, I turned into ‘crafty mum’ and decided we needed to have a bash at some (tasteful) Halloween decorations (I know, it’s not exactly in the spirit of the occasion but sometimes you have to dictate a little while the kids are still young and impressionable and don’t really care either way).
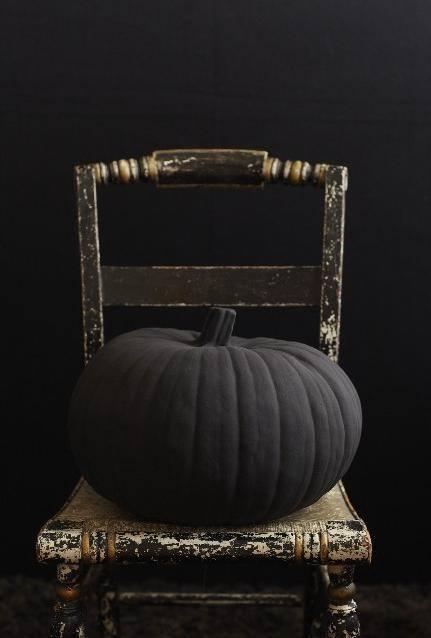
I love this guy’s blog. James Snowden is a interior designer/blogger/shopkeeper hailing from Kentucky in the USA. He does pared down – but oh-so-tasteful – rusticity so well and I love getting his posts in my facebook feed. He inspired me with ideas like this (I’m just loving the black painted pumpkin):
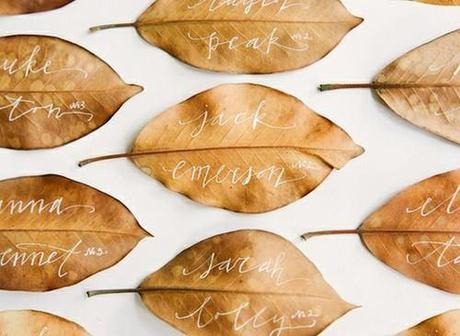
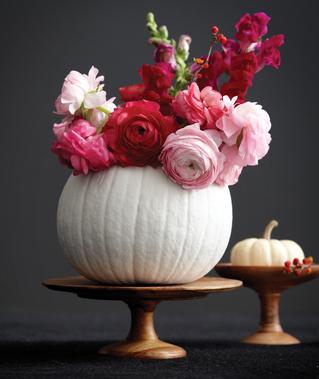
I got googling and found lots of lovely images of painted pumpkins including this oh-so-pretty version here on Chatelaine’s blog:
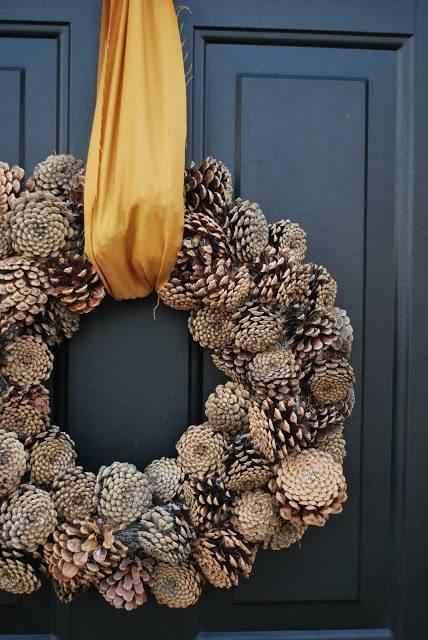
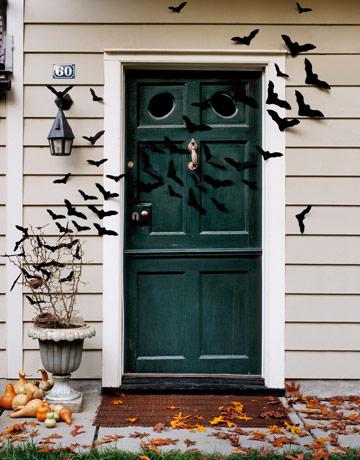
I was debating how to decorate the front door and porch and decided it had to be something along these lines taken from Country Living USA:
The kids’ always receive a parcel of Halloween treats from Nanny and Grandad and cousins on Gareth’s side so we decided to get creative as a thank you, after taking inspiration from Apartment Therapy’s post on Clay crafts:
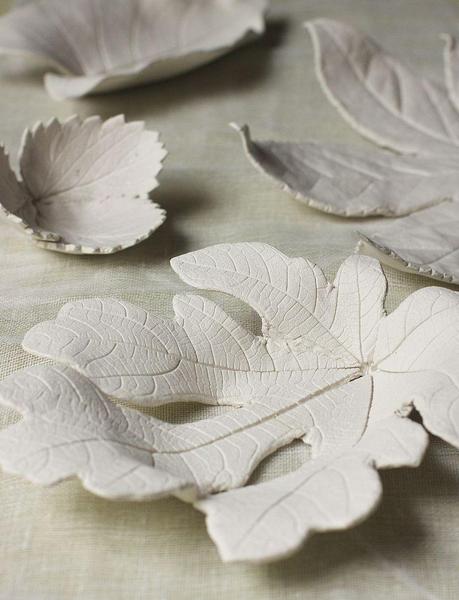
Here’s the results…..
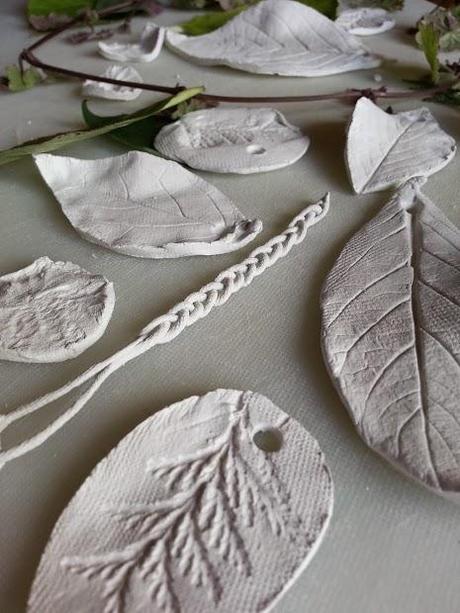
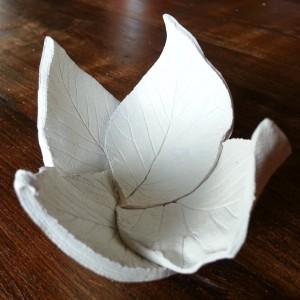
Our air-dry clay crafts include a leaf bowl and some leaf imprint charms to make into key rings. We need to paint and decorate but we’ve been away for a few days and I wanted to get this post up before Halloween so here’s the charms sans colour:
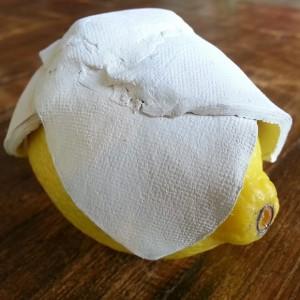
And the leaf bowl (we shaped it around a lemon to get the desired ‘bowl’ shape:
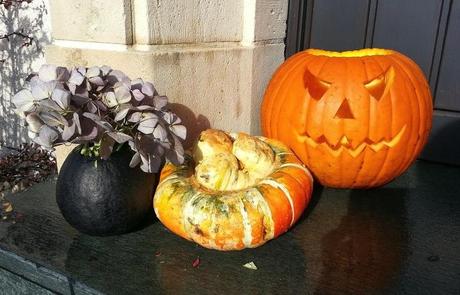
I decided to paint one of our smaller pumpkins in black paint and used some dried hydrangeas from the garden to create a little autumnal still life for the front step:
We then made some bat cut outs by googling ‘bat template’ online, printing out the template, scaling into three different sizes, tracing the templates onto black card to get 10-12 bats and finally, cutting them out.
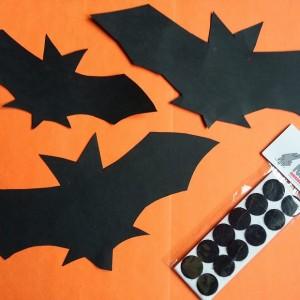
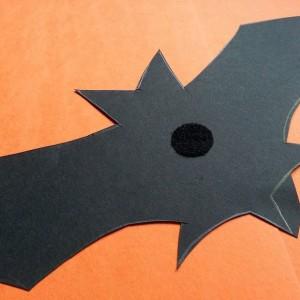
I purchased some handy dandy button shaped sticky velcro dots to affix to the wall and each bat. I figured that sticky tape wouldn’t suffice but little did I bank on the humdinger of a storm that hit Sunday night just as attempted to put the darn things on the wall. I admit we lost a few but enough remain to give quite a pleasing ‘flock’ effect:
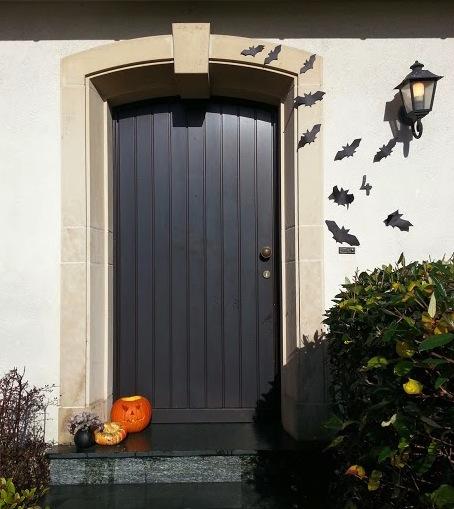
The kids seemed happy with the results and we’ll add some ghoulish extras and spider’s webs tomorrow night, even though we know noone will be knocking on the door for sweeties and candy! Sometimes it’s just fun to make the effort.
If you’re wondering where to get the little velcro stickers and indeed any and all crafty type items, you need to check out Ava craft and hobby supplies (there’s a branch in Howald) or Cactus Hobbi (there’s a large branch at Belle Etoile and others around Luxembourg). Both stores have a great selection of arts and crafts supplies.
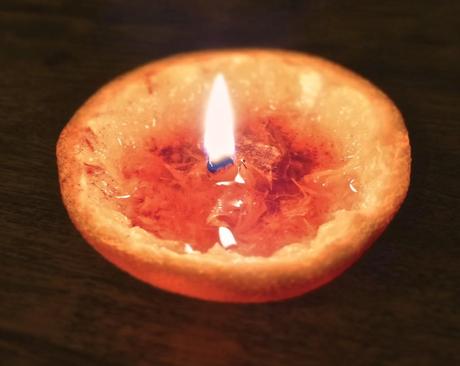
Finally here’s an idea you can make in literally five minutes. Simply cut an orange in half, remove the flesh but leave the white, stalky part sticking up to form a kind of wick. Simply sprinkle a little cinnamon or nutmeg inside and fill about half way up with vegetable or olive oil and light for a really adorable and budget-friendly little lamp that burns for ages, looks good and smells of really yummy stuff:
Happy Halloween Folks!

