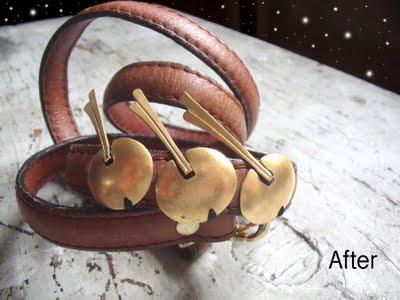
 Once upon a time, this leather strap was attached to one of my bags. I soon realized the bag was way cooler as a large oversized clutch, so off went the strap to my craft room until a new use for it presented itself. I found my inspiration when some brass charms showed up at work in a pile of things to be thrown out. Materials:*leather handbag strap*3 miscellaneous charms*2 rivets*copper O-ring*brass hook
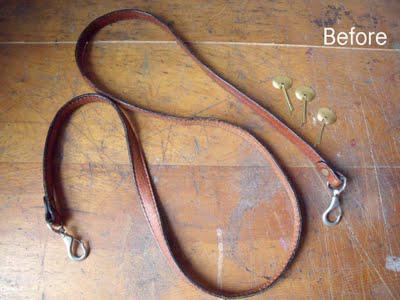 The first step to transforming this into a bracelet was to cut off the metallic clips at both ends of the strap and replace them with better looking hardware that would also make getting the bracelet on and off much easier.
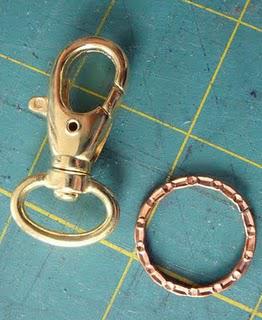 I started with the O-ring, folding one of the strap ends around it. I picked a good place to put the rivet and marked it with an ink pen.
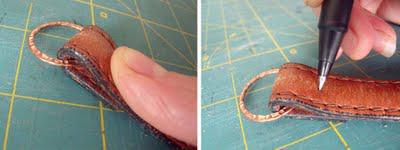 Next, I used an awl to puncture the leather over the mark (making sure to go all the way down to the mat). When I unfolded the strap, this mark had been transfered to the other side of the fold. Directly over these these two marks, I made the actual hole with my punch and mallet.
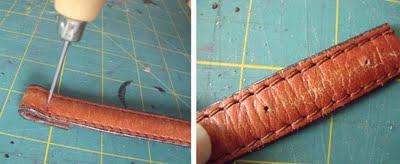
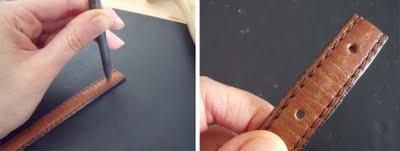 Now I just needed to set the rivet.*If you haven't set a rivet before, but wanna know how click here
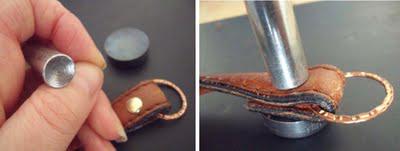 And the first end was done.
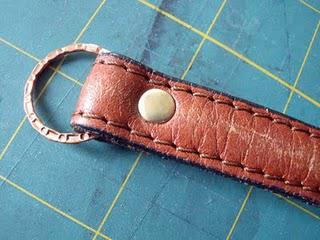 I repeated these same steps on the end of the strap, now with the hook, beginning with marking the rivet's placement.
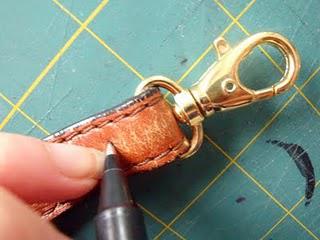 Ultimately, both ends ended up looking like this: nicely finished and ready to encase my arm.
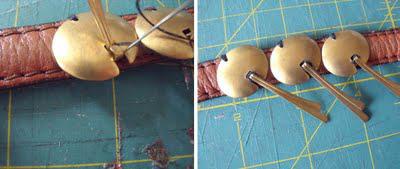
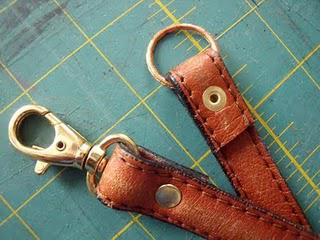 The only thing left to do was place the charms. I wanted them located in the center of the strap, so that when the bracelet ends were hooked together on the back of my wrist, the charms would be centered in the front. Using the awl, I pre-punched a hole in the leather where the charm would be secured, and sewed it into place. I repeated this to attach the second and third charms.
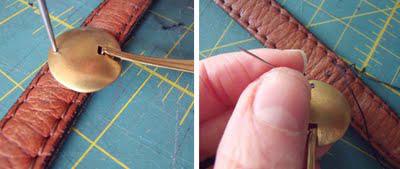 This was followed by making new holes in the leather at the bottom of the charm, on either side of the pendulum, and stitching down. Aside, from anchoring the charms more securely, this also prevented the pendulums from being able to move around (i.e. be less annoying to wear).
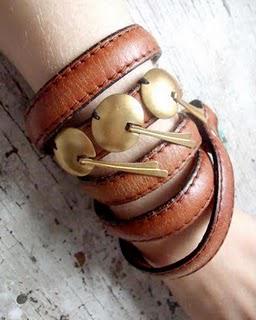
 I had hoped to sell this piece on Etsy but I, uh... ended up wearing it.I took it down from my shop that day and it's mostly been on my wrist ever since.
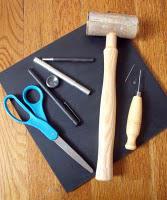
  TOOLS NEEDED:*scissors*pen*mallet*awl*leather punch*rivet setter and pedestal*needle and thread*cutting mat